Hello from Australia guys!
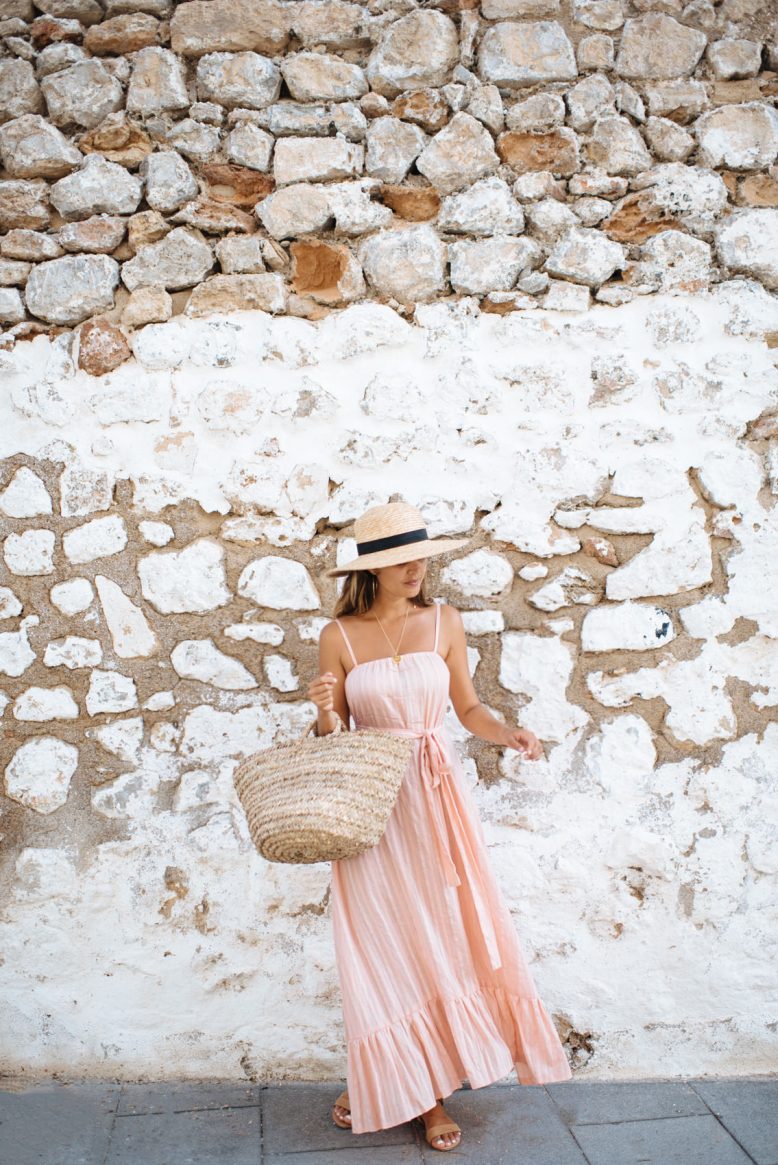
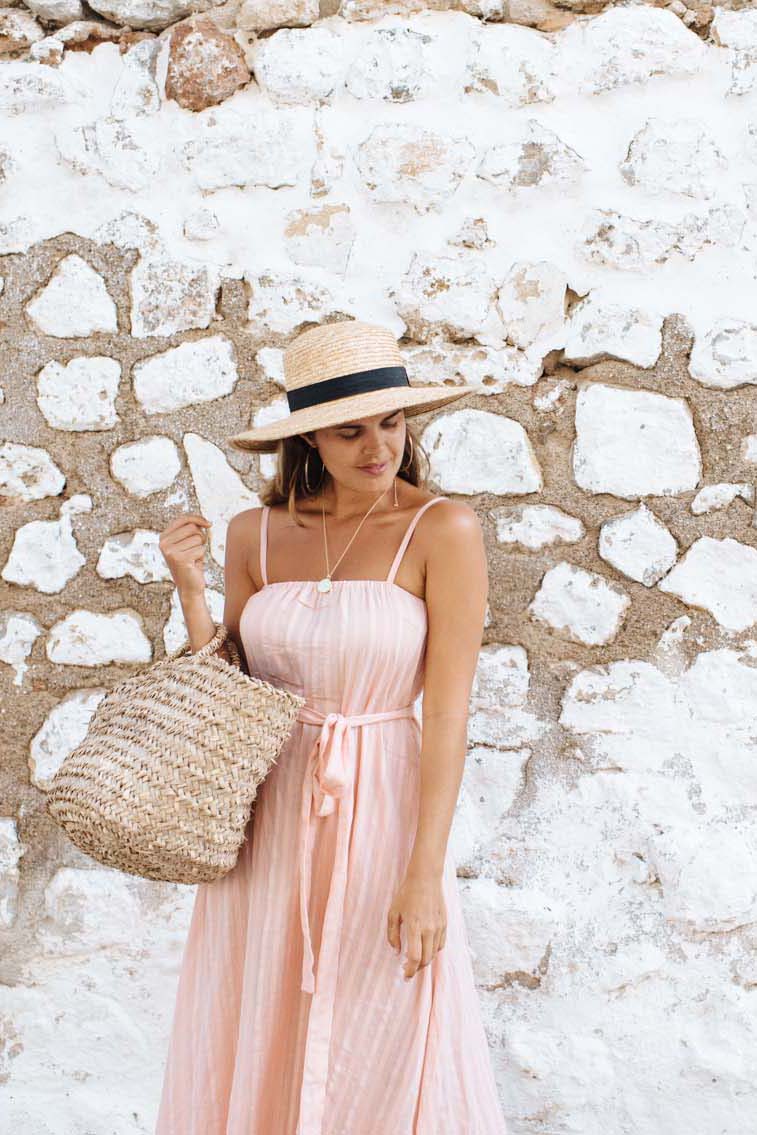
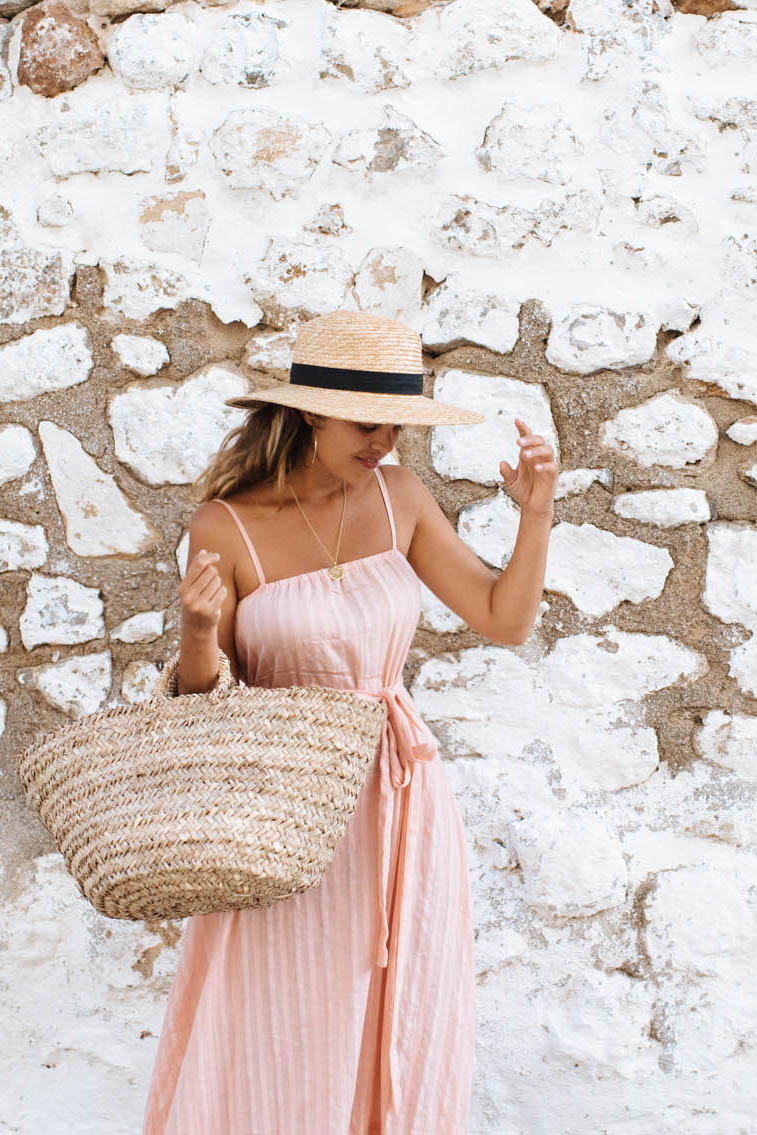
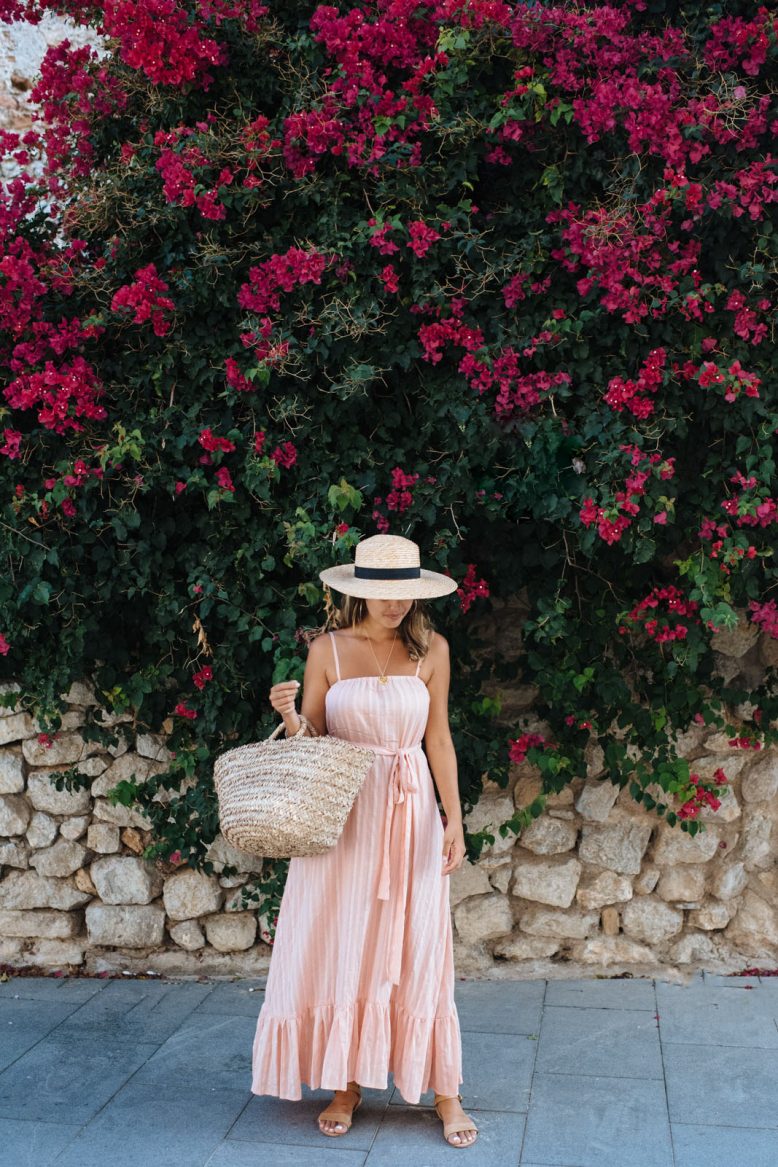
I’m down here working on a really exciting project that I’ll be sharing with you soon (don’t you hate when people say that?!). But in the meantime, I wanted to share a super simple DIY tiered maxi dress tutorial that is so so easy to make and definitely something you’re going to want to chuck into your travel suitcase next time you head to a warm destination. I gave it a good old test out in Ibiza and (other than flying up while I was on the ferry to Formentera and showing everyone my underwear – my fault, I mean who wears a long dress on a boat?!) it passed with flying colours. Read on to see more!
DIY Tiered Maxi Dress
What You'll Need
This is the pattern for the maxi dress.
The bodice is drafted using the bust and waist measurements. We did the length of the bodice 10” (25cm) long, but you can adjust the length if you prefer the bodice to sit higher or lower on your bust.
The length of the skirt is 24” (61cm) long, with a 10” (25cm) ruffle. But again, feel free to adjust the lengths to your liking.
Be mindful that the width of the ruffle needs to be at least two times the width of the dress hem in order to create the gathers. You’ll probably have to piece several pieces of fabric together to achieve the width, but the seams won’t be noticeable after the ruffle gathers.
1
Draft your pattern onto the wrong side of the fabric, then leave seam allowance and cut.
3
Sew your ruffle panels together and hem the bottom edge first. We used fusing tape for this step but you can use a traditional hem if you prefer.
4
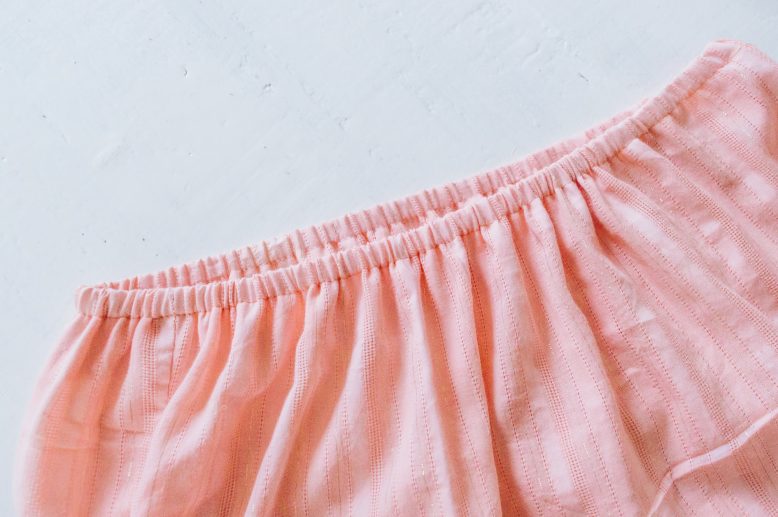
Create a tunnel for the elastic by flipping in and sewing the seam allowance at the top of the bodice. Then thread in the elastic, which will create gathered ruffles on the bodice.
5
Sew a straight stitch on the top edge of the ruffle, then gather it until its width matches that of the dress hem. Then sew the ruffle to the hem.
6
We also made matching straps for the dress, and also a thin 1.5'' (4cm) wide sash in the same fabric so that the dress has more structure.
Voila!
I also wore this dress when I was exploring Ibiza’s old town. I didn’t expect much from the town itself but it turned out to be a gorgeous, quaint little cluster of Spanish terraces built on a hill with twisting cobbled streets and rampant bougainvillaea bushes on every corner… I instantly fell in love.
Like this DIY dress? Pin it on Pinterest!









Very playful! 🙂
I know right? Thanks so much!
The fabric is amazing! The color really suits you.
http://squirrelsgotstyletoo.blogspot.ro/
Thank you so much! I love it too 🙂
Awwww thanks! It was so so easy to make xx
I love this DIY because it’s such a pretty dress!
http://www.thoughtsinstyle.com/
Awwww thank you thank you!
It looks so festive, wow! Such a beautiful dress!
https://www.makeandmess.com/
I’m so happy to hear you say that!
Ahhhh! This is so perfect! I love the flow of it 🙂 pics look fantastic!
Charlotte
http://www.deconstrut.com
Thanks!
This dress is so stunning! Loving the floral backdrop too x http://www.justsavxnnah.com
Awww thanks! Ibiza had so many pretty spots x
Love a good DIY! Beautiful dress. x
http://fahmidabx.blogspot.co.uk
Lovely dress and perfectly travel ready! I think your fabric house is what really makes it. What did you use Geneva?
I love your diy’s, this is so pretty
Lauren
livinginaboxx
So pretty!! And you look great in pastels!!!