Hey guys! I’m excited to introduce a new series over here, focused on taking your sewing skills up a notch.
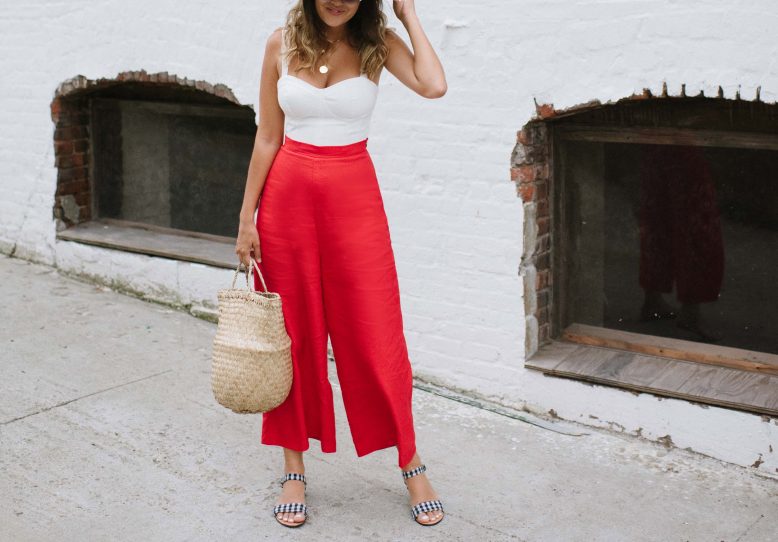
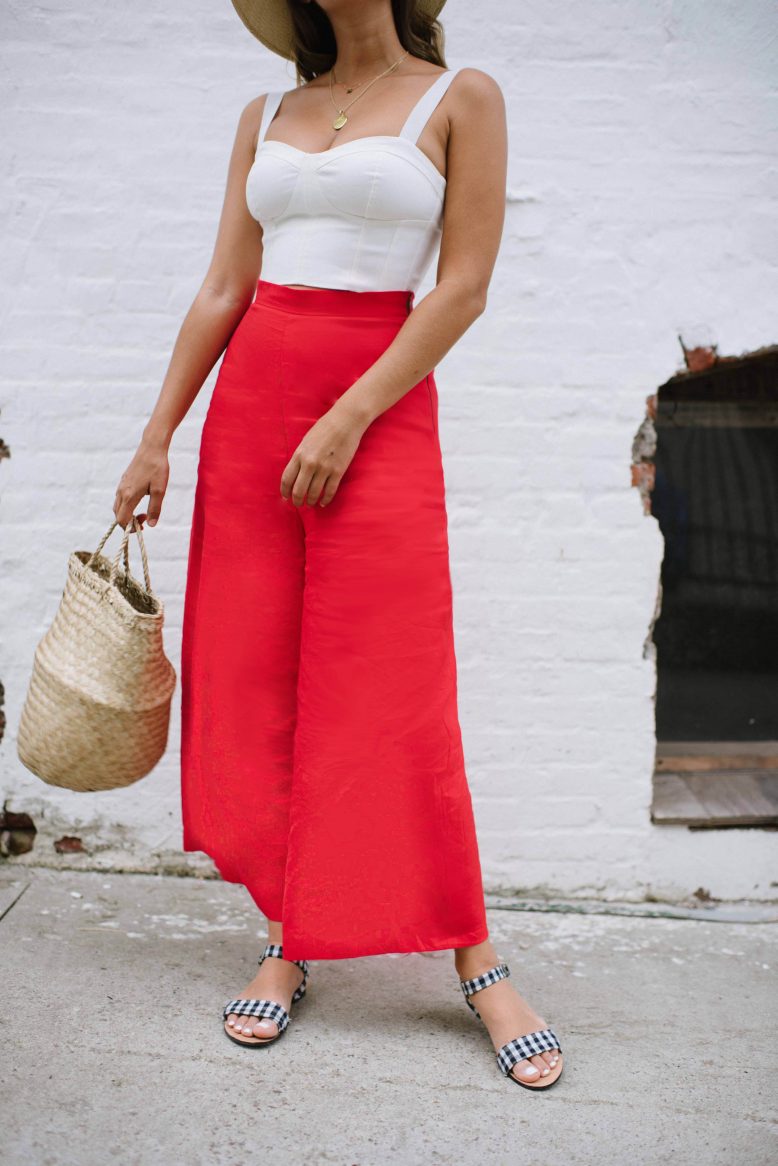
Waistbands. The right one can help you to perfect your project and make it look tres expensive. Which is what we’re after right? And you know what? A properly finished waistband isn’t even that hard! When I was younger I relied on the gathered waistband method, which works but does tend to look a little sloppy (I mean, these DIY trousers would look awful with a gathered waist). As soon as I invested in some more technical skills, the quality of my projects went up ten fold. Over the next few weeks we’ll be showing us how to perfect our sewing skills, by focusing on the little details. After all, with clothing that’s the thing that matters!
What You'll Need
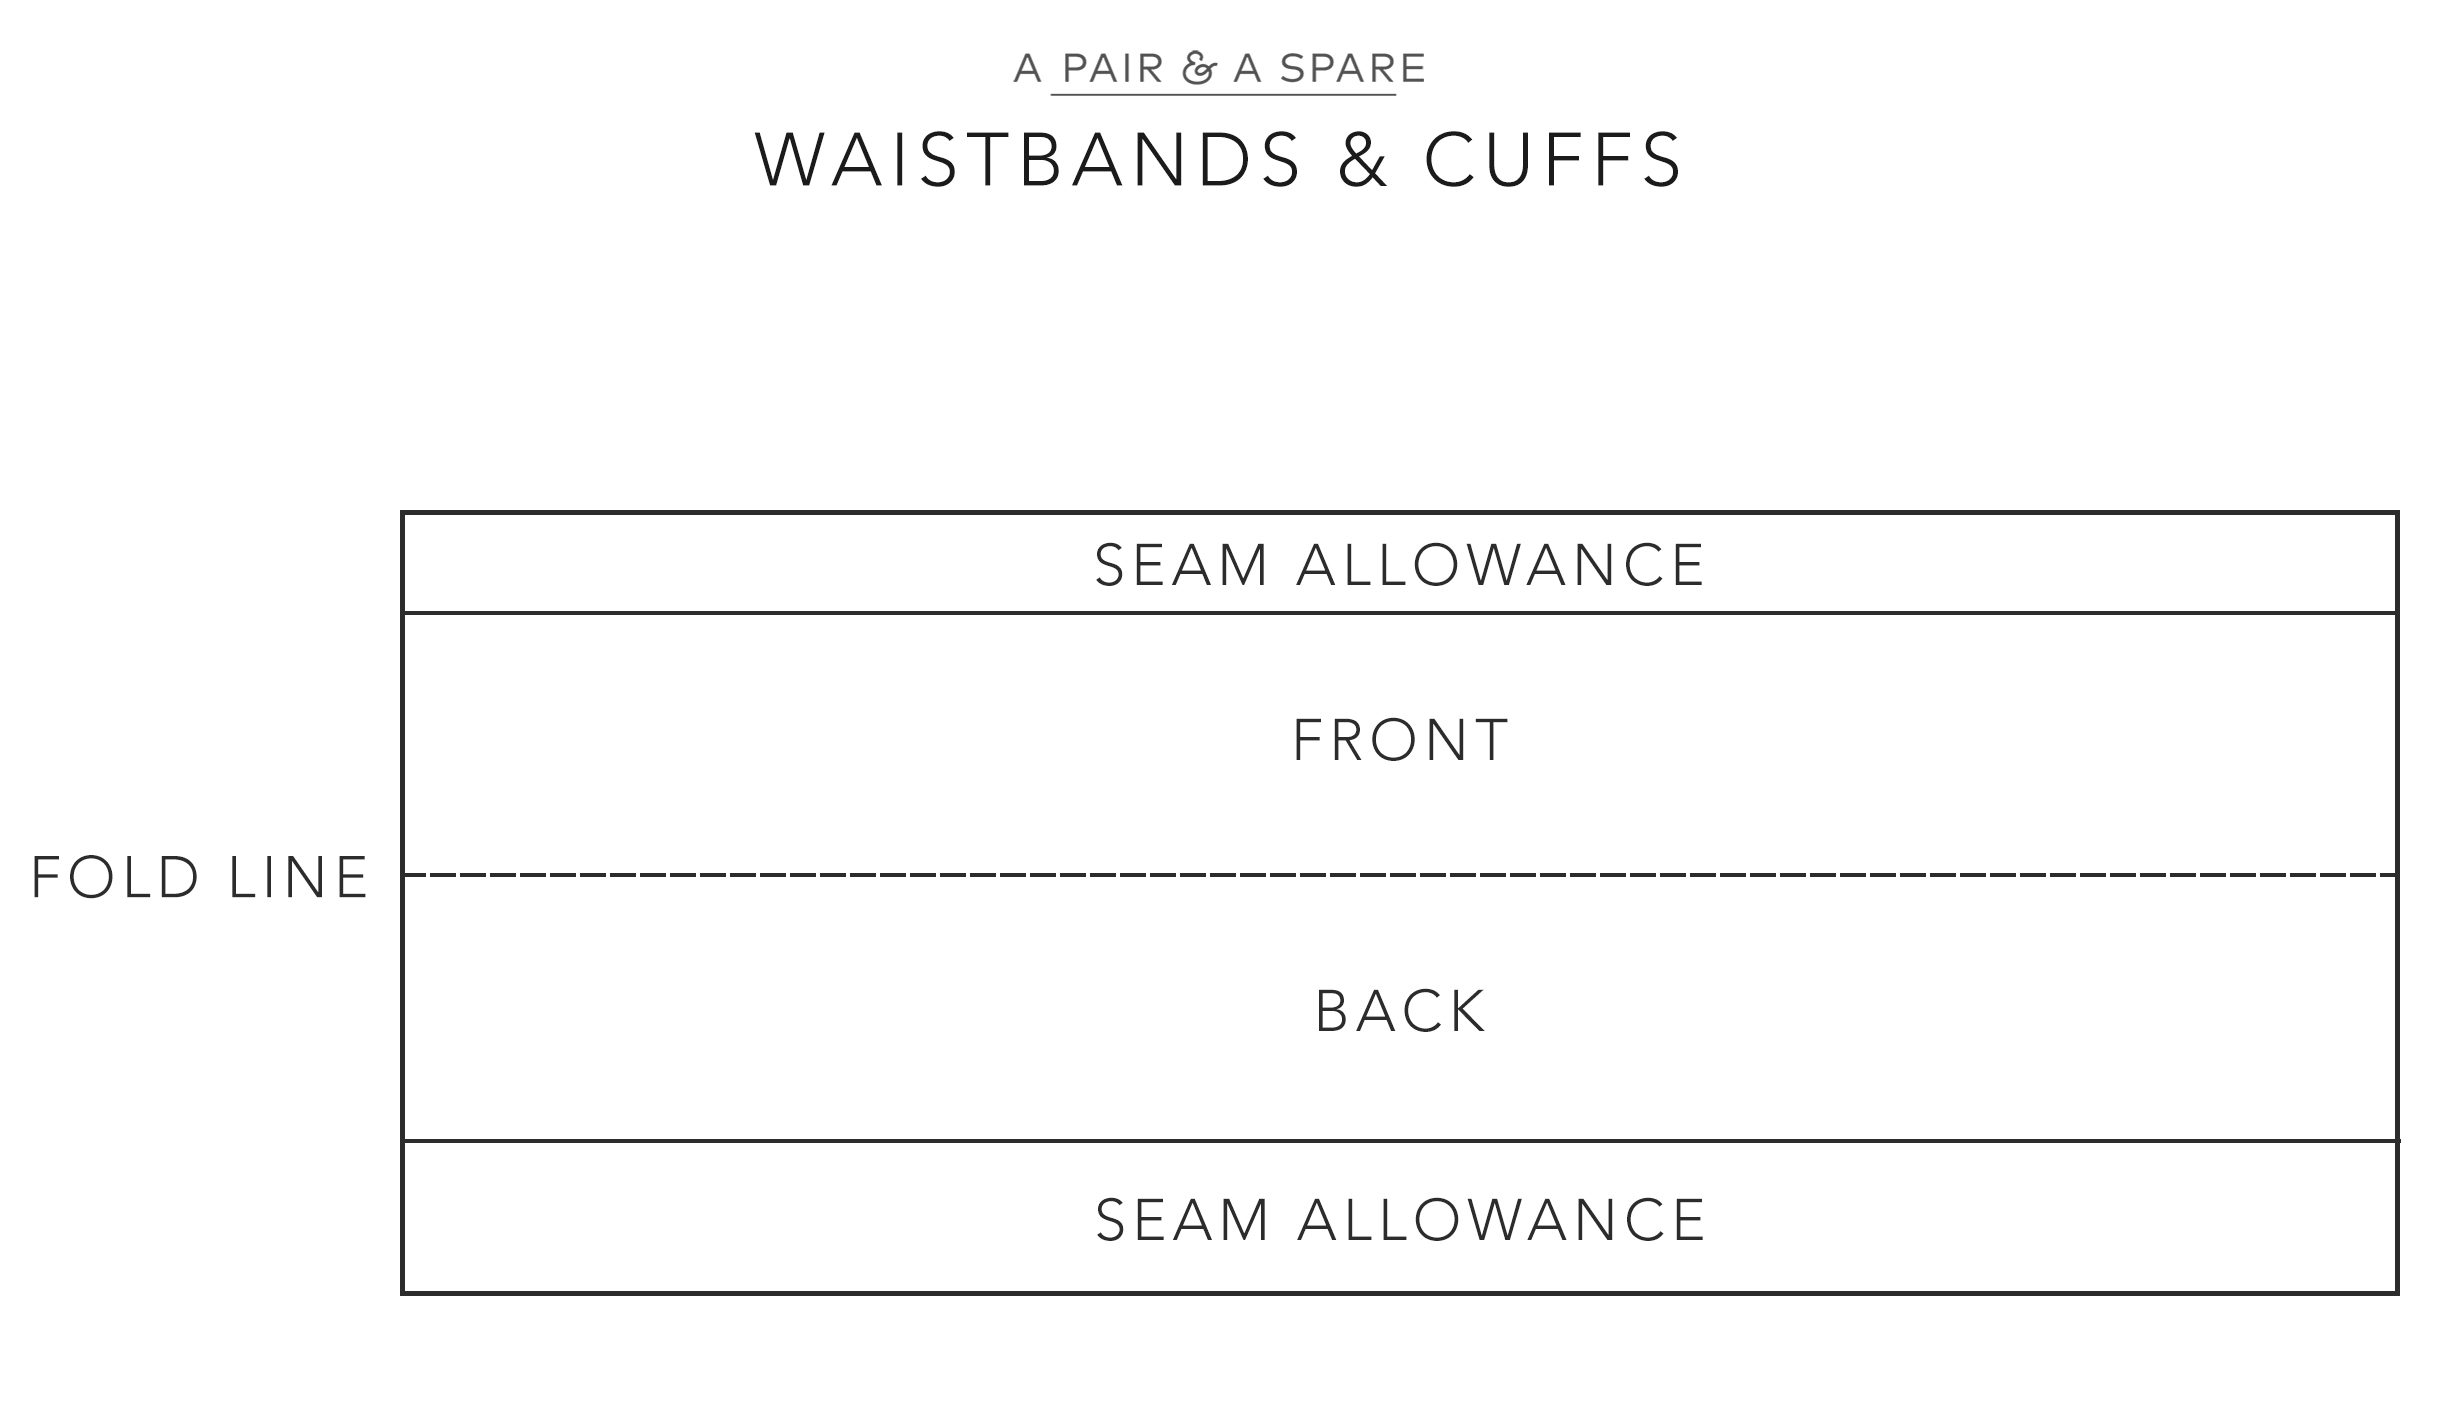
Pattern for Sewing A Waistband
A few tips when drafting your pattern
- If you want your waistband to be 5cm (2 inches) when seen from the front, you will have to double that and make it 10cm when drafting.
- Seam allowances will need to be added to the top and bottom of the piece, but we suggest making the seam allowance on the front of the waistband or cuff piece narrower, and the seam allowance on the back of the piece wider. That’s because the narrower seam allowance will be folded and hidden in the waistband, whilst the other side will be used to secure the waistband.
- If you’re working with a narrower waistband or cuff piece, just bear in the mind that the front’s seam allowance will need to be narrower than the width of the waistband or cuff piece.
1
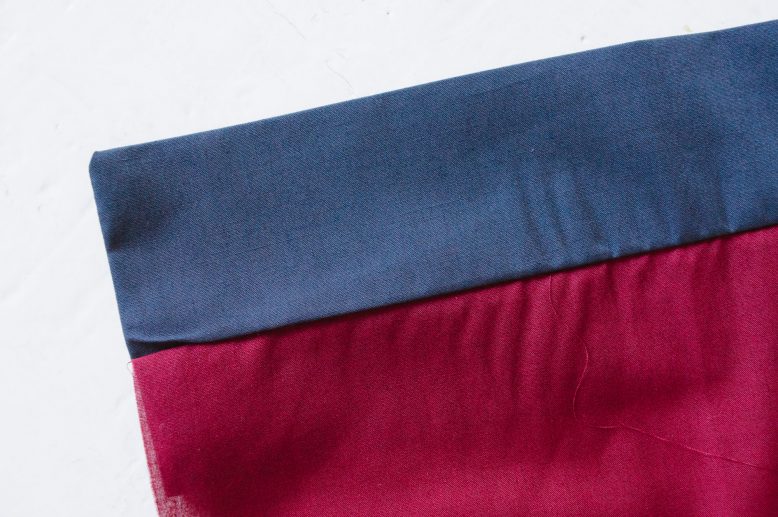
The blue piece of fabric represents my waistband or cuff piece, and the red will be my sleeve or pants/skirt.
2
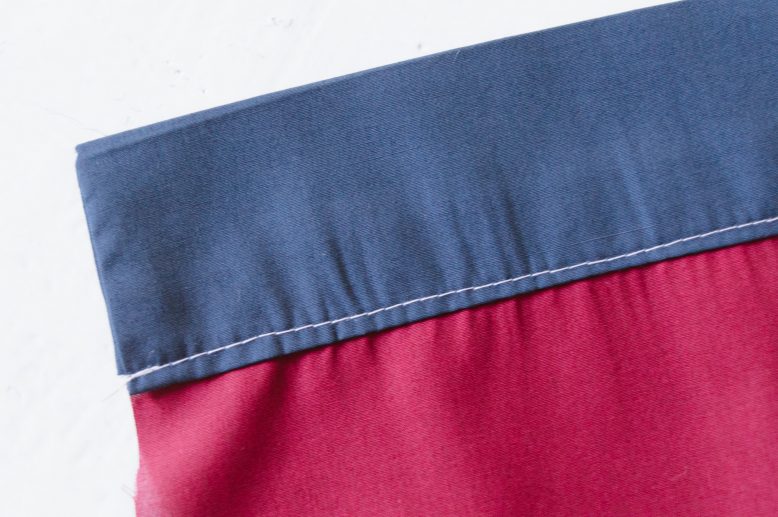
Pin your waistband to the top of your pants, right-sides-together, and sew. You'll be using the narrow seam on the waistband piece for this step. The raw edges of the seams should be facing the same direction.
4
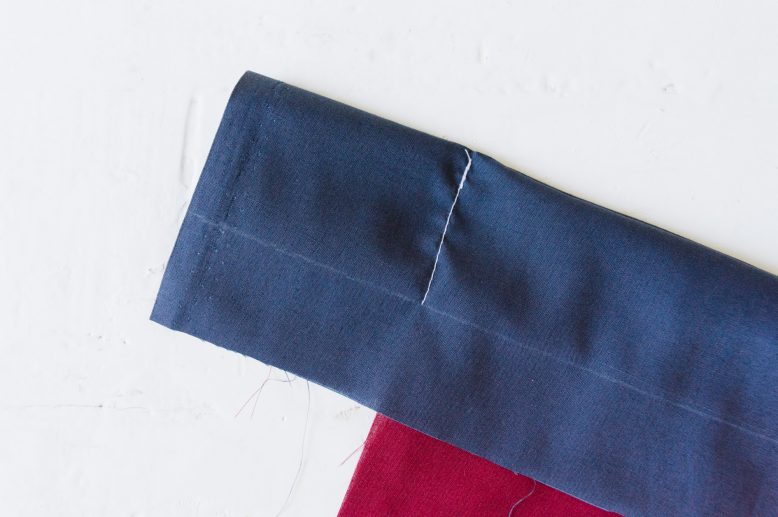
Open your waistband again and fold it open the other side. Match your markings, and sew down the side, but don't sew down the seam allowances.
5
Cut off the excess on the sides, and snip off the fabric in the corner.
Doing this will ensure a crisp corner when you flip the waistband right-way-out.
7
Flip your piece over to the back, and using the thicker seam allowance on the waistband, fold the seam edges in until the back of the waistband piece covers the sewn line.
10
Since the fabric I used for this demonstration is sheer, you can see that the folded edge of the back piece is slightly longer than the front. This is why you should be able to secure the back as you pin along the ditch.
11
Then you're going to sew along the ditch. This sewn line will be almost invisible if you don't stray from the ditch when sewing,
12
This is the back of the waistband. We used white thread for this tutorial for illustrative purposes, but you should choose thread in the same color of the waistband fabric when you sew.
13
The method we've shown you results in a finished side edge. (Piece on the left) But if you're going to add zippers or sew the sleeve cuff closed, you won't need to sew down the side edges, just leave them open as seam allowances. (Piece on the right)
14
To add a zipper, pin your zipper to the seam allowances down the waistband and the pants.
15
Pin and sew the zipper to both the edges, and this will be the final product. And finally, fold and sew the zipper tips to the top edge of the waistband.
