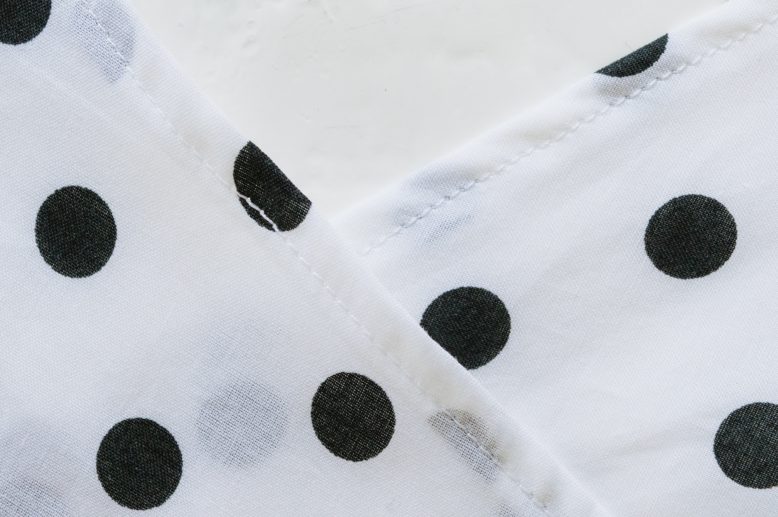
Finishing edges of your clothing can be tricky, especially when it comes to curves like collar and curved hems. But a quality finish is essential! While straight raw edges can be easily finished by sewing folded hems, this technique doesn’t always work for curved ones.
When making summer pieces like dresses and tops that need to be light and airy, or pieces that don’t have lining, curved edges can be finished using ‘facings’. I have to admit that the idea of using facings can be a little daunting, but once you get a hang of them you’ll find them easy! Read on for my guide to sewing collar facings.
What You'll Need
1
Trace the curve of the collar onto a piece of drafting paper. We're only doing the facing for the back collar curve for this tutorial, but this technique will work for any curved edge, including front curved collars and even armholes.
2
After tracing the curve, draft the thickness of the collar. I usually just do them in 2.5cm -4cm (1 inch - 1.5 inch), which is more than enough for facing.
3
Cut the collar facing pattern out. Because we usually do bodice pattern by halves os that they are perfectly symmetrical, you can see here this facing is being done as a half and will be traced onto the fold.
4
Draw a straight line ( pink line), then align and mirror the pattern pieces on both sides (yellow outline) Trace around the pattern piece, then leave seam allowance and cut. Once you have cut out your facing, finish the bottom edge any way you choose - a zig zag stitch or pinking shears are an easy way. Another option is to choose non fraying fabric for your facing like jersey.
5
When you have your collar facing, pin it to the collar of your clothing piece, right-sides together. Then sew along this curve.
6
Trim the inside seam allowances and also add some notches in the curve so that it folds easily and there's less bulk along the inside.
7
Flip the collar facing in along the seam, then iron it flat. We like to add some fusing tape between the layered before ironing to secure it down flat.
8
This step is optional, but you can also sew a straight stitch 1cm (3/8 inch) away from the edge to secure the facing so that it doesn't flip back out easily. Doing this results in a visible stitching around the curve though, so it really depends on your preference and design.


