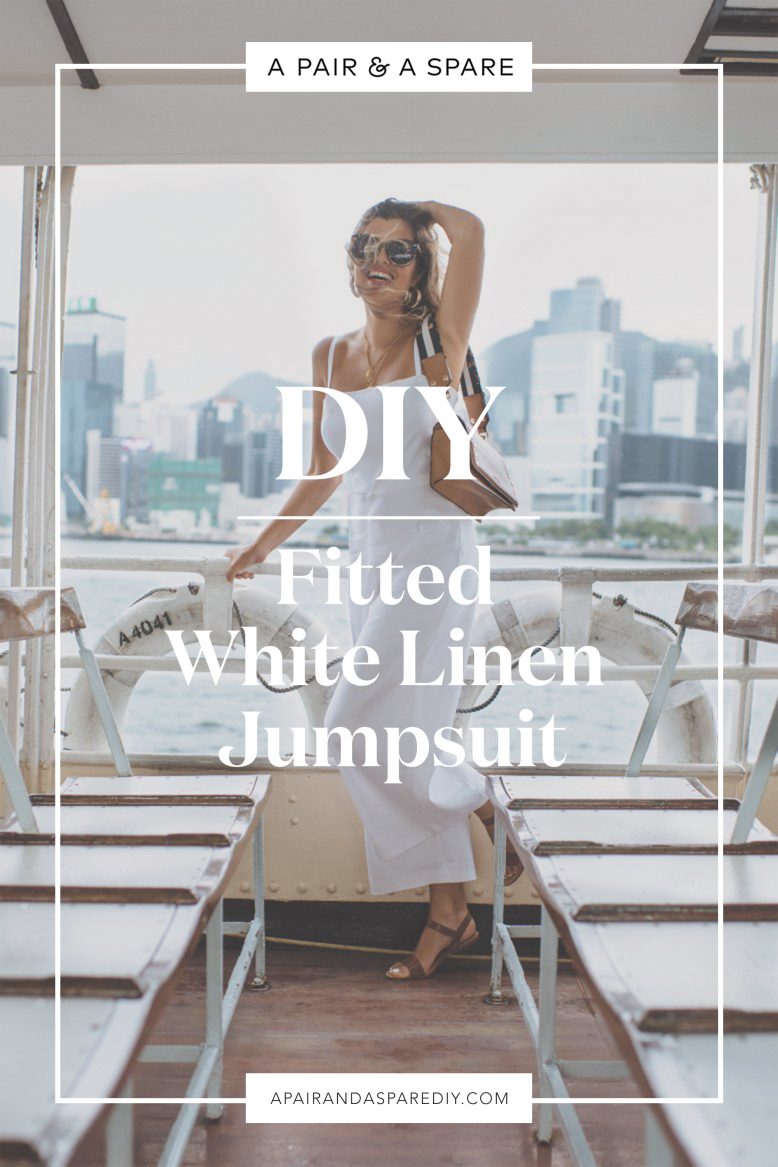
Honestly, every time I open my closet, I try on 15 different outfits and make a complete mess, but pretty much always end up wearing a jumpsuit. They’re just so elegant and easy!
You might remember this one from when I worked with Oroton to design a bag, and since then lots of you have asked for the tutorial for this particular style. Luckily we put one together originally, and I’m excited to be sharing it with you now!
DIY White Linen Jumpsuit
If I’m honest, this project is one of the more challenging ones, because this style has a princess line in the bust, and it therefore more complicated than pretty much anything we’ve made before. It may seem like a lot of steps, but you’ll get there we promise!
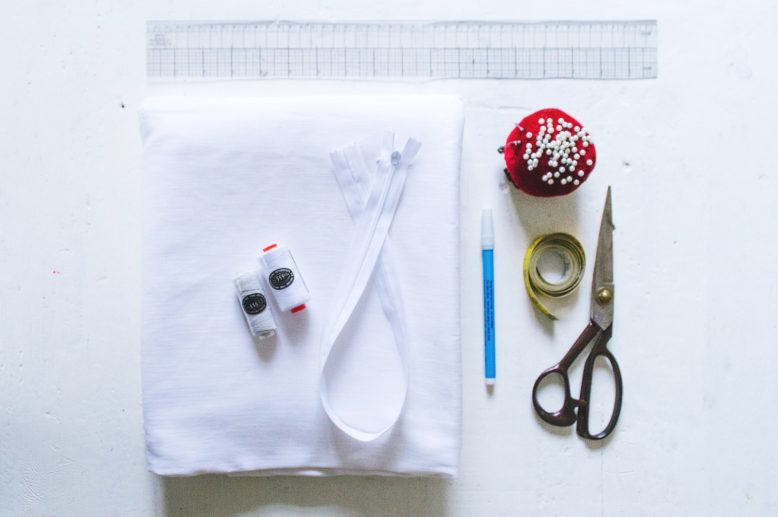
What You'll Need
1
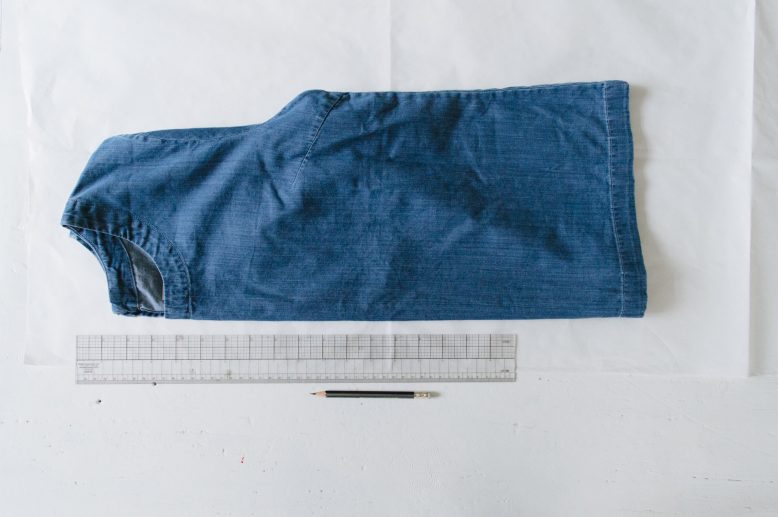
To start off, you need to the copy pattern from a shirt and pants you already own to create a base. Copy both the front and back.
2
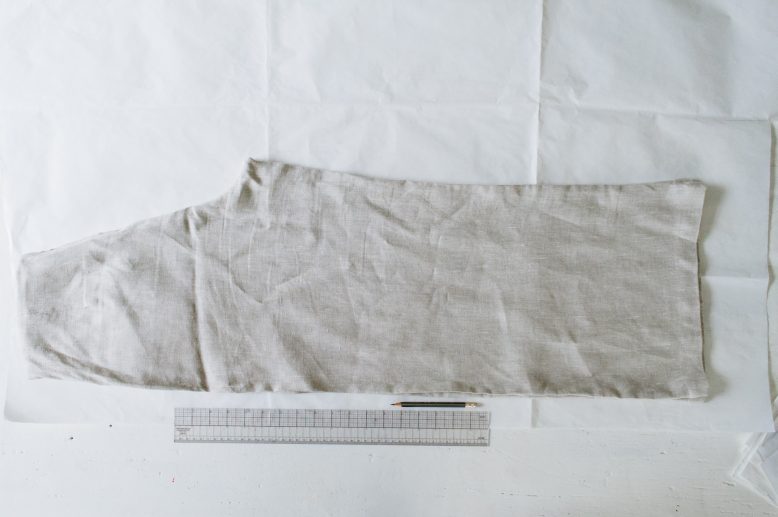
You'll need to copy the front and back of your pants as well. We went for a wide leg design (this is the same pattern we used in my wide leg pants DIY), but feel free to use pants with more fitted legs if that's what you prefer.
3
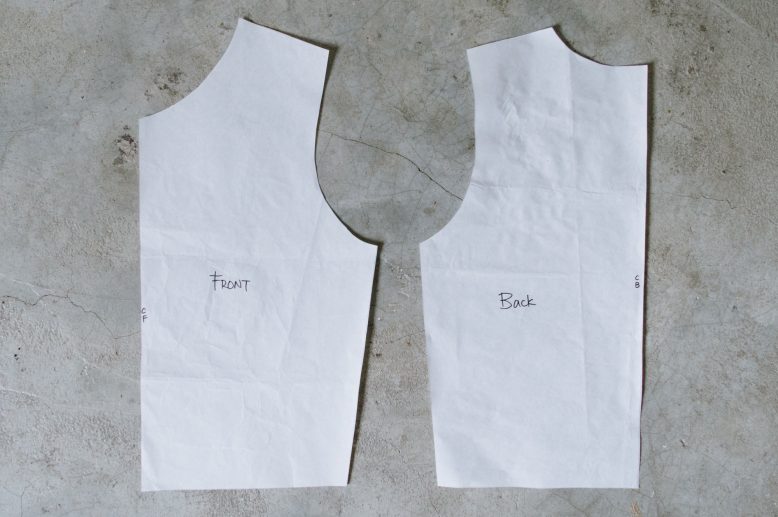
You should have a set of front and back panels for the top and pants when you're finished copying and cutting your patterns out. We'll use these to create a modified pattern with princess lines.
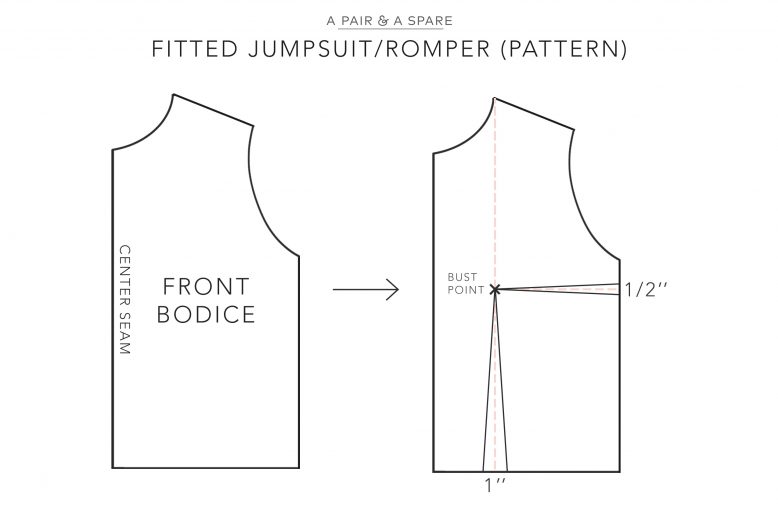
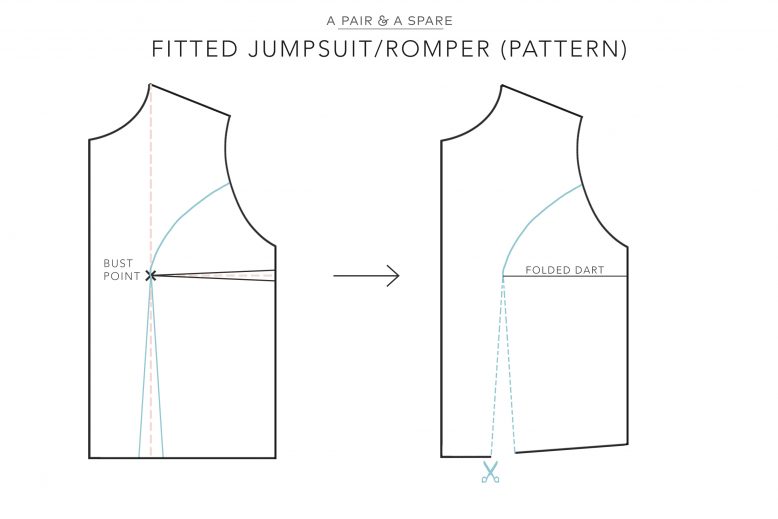
Next, we’re going to draft the curved princess seam. Starting from the middle of the armhole, draw a curve that passes through the bust point. You can use a french curve ruler for this step, or draw it freehand. Then, cut the waist dart lines up till the bust point, and fold the 1cm (1/2 inch) dart on the side seam.
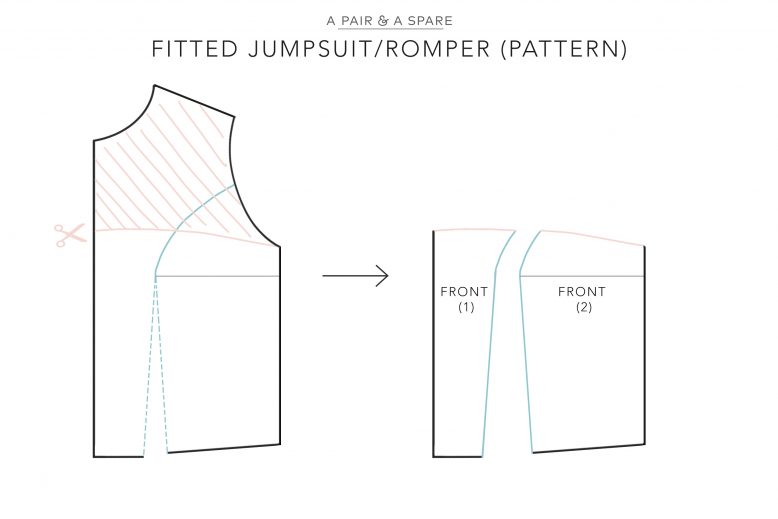
Next, remove the top part of the bodice pattern to treat the neckline. Cut along the curve of the princess seam, and you’ll end up with two separate pieces for the front bodice. Front (1) for the center panel, and Front (2) for the side panel.4
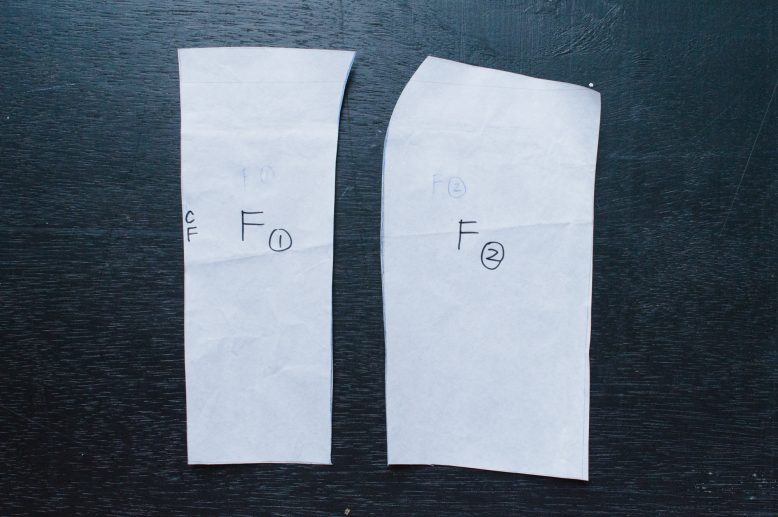
This is the front bodice pattern pieces you will end up with after cutting. Remember than the Front (1) piece will need to be mirrored along a line when transferring the pattern to fabric, so that you end up with a seamless, mirrored piece.
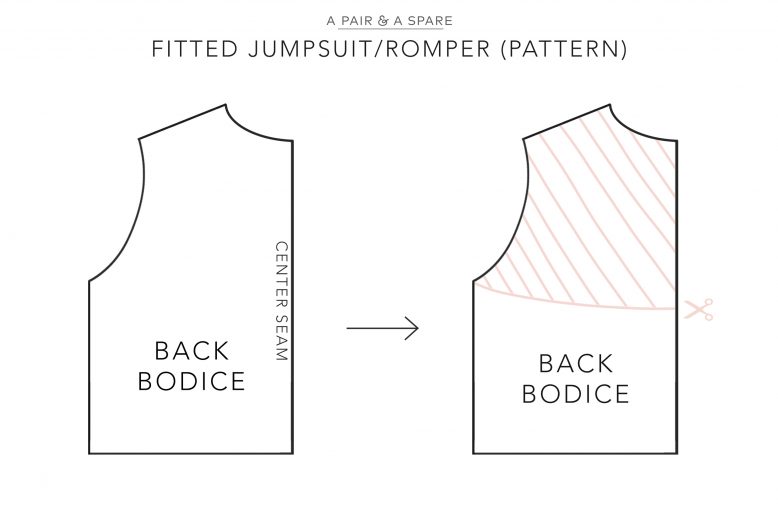
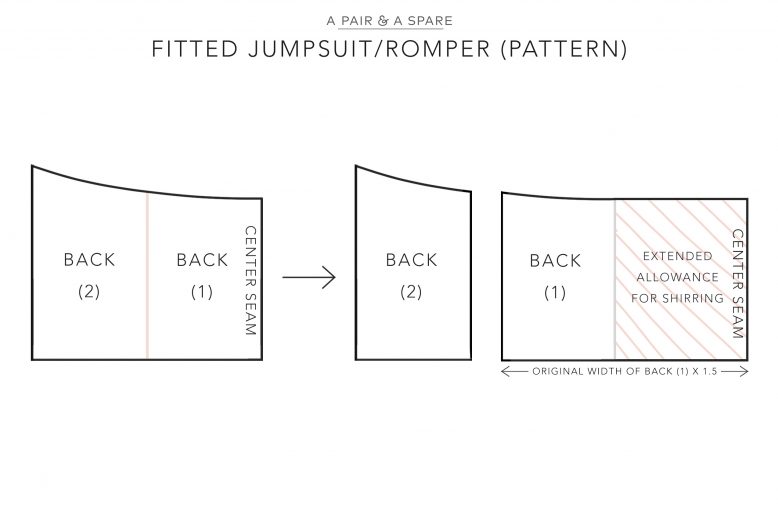
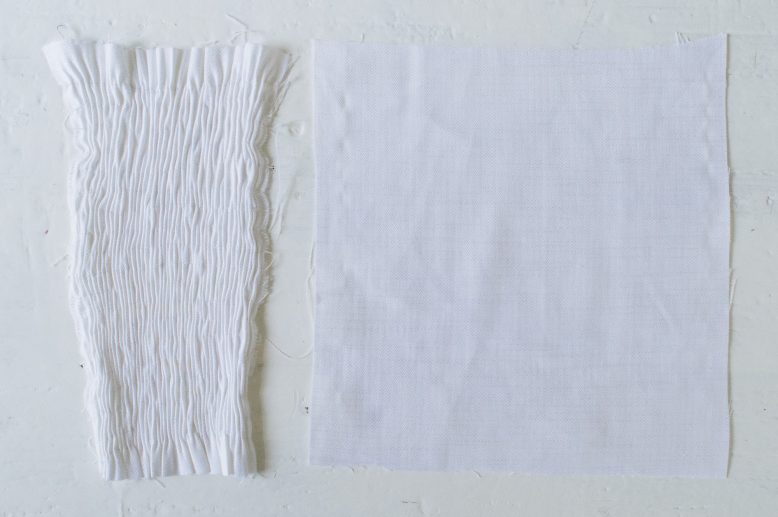
Remove the top part of the bodice from the back panel. We cut ours 20cm (8 inches) down from the collar, and cut the back in a concave curve towards the center seam. Since we went with a partially shirred back design, the panel meant for the shirring, Back (1), will need to be extended to allow for shrinkage during shirring. We’ll start by cutting the back panel in half. (Indicated on the left diagram as the pink line)For Back (1), we’re going to extend this piece on the center seam side. Multiply the width of the Back (1) piece by 1.5, and this is the new width of the entire panel.
5
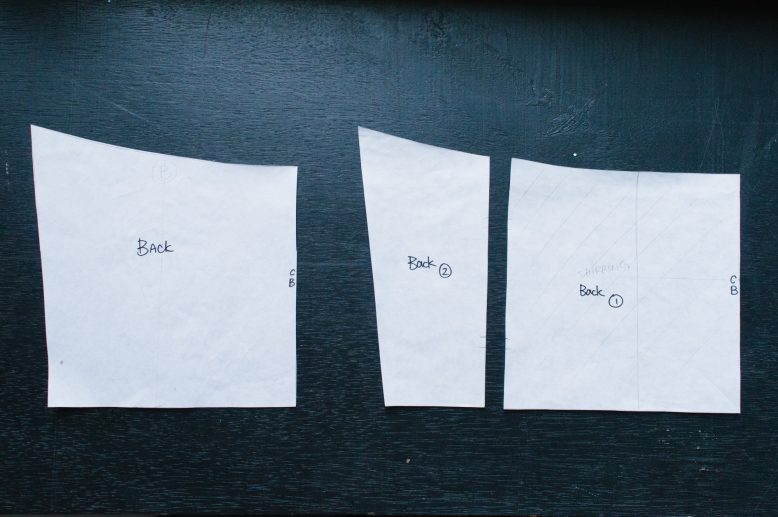
This shows the original back panel (Left) and the adjusted back panel pieces (Right).
6
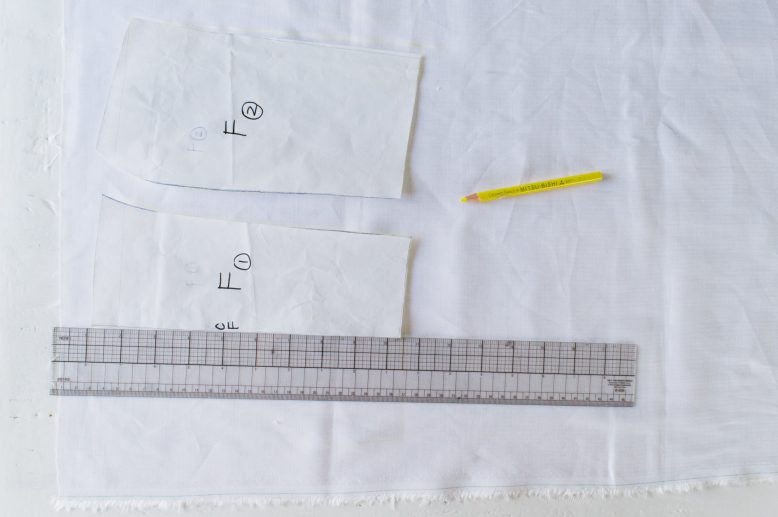
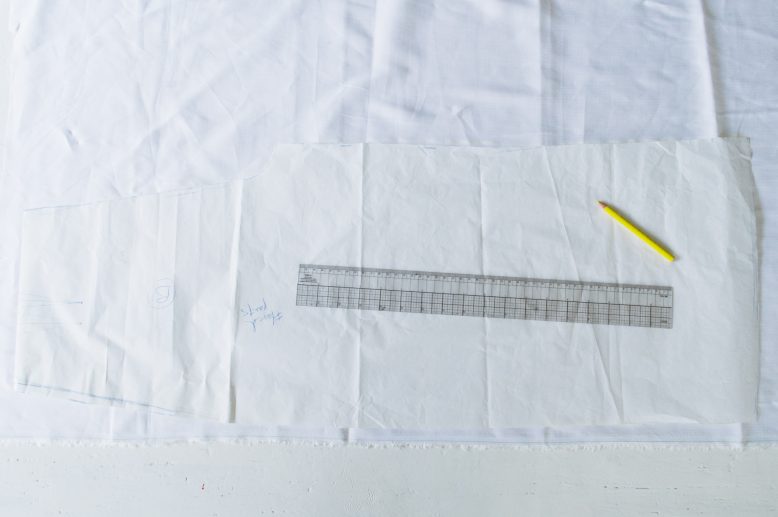
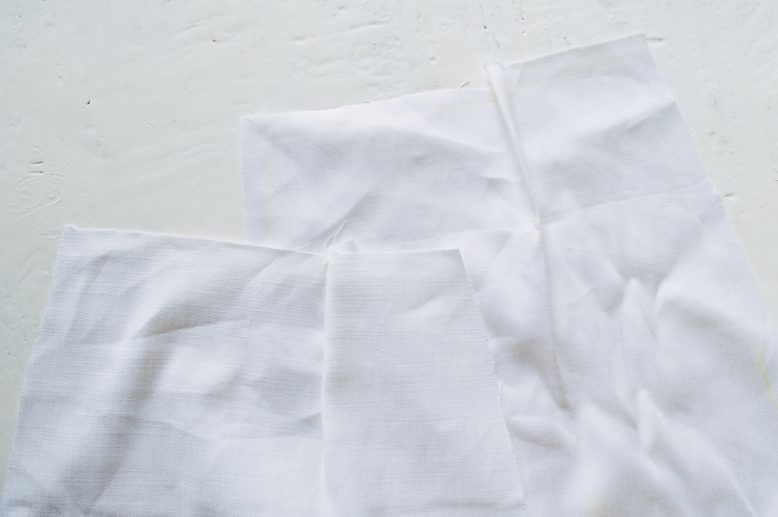
Copy your pattern pieces to fabric. You should trace two separate, mirrored pieces for all pattern pieces except the Front (1) piece.
7
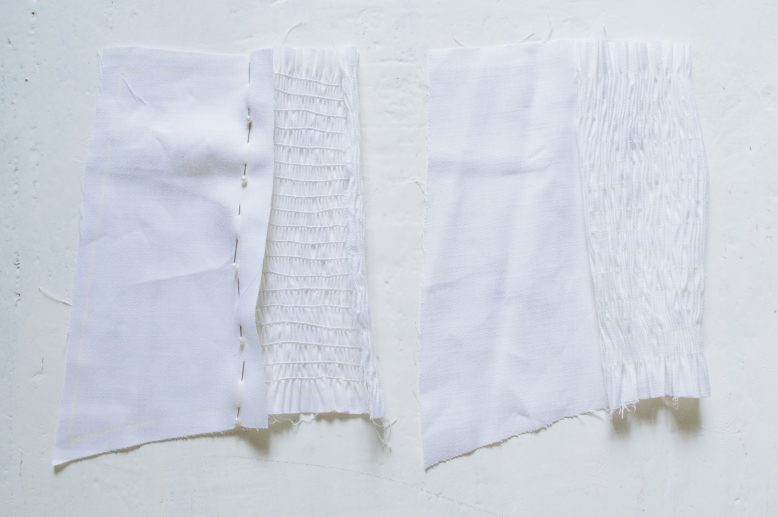
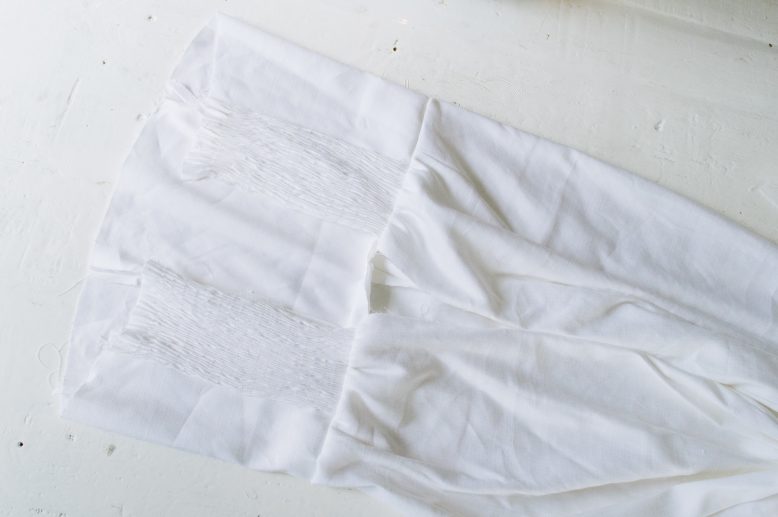
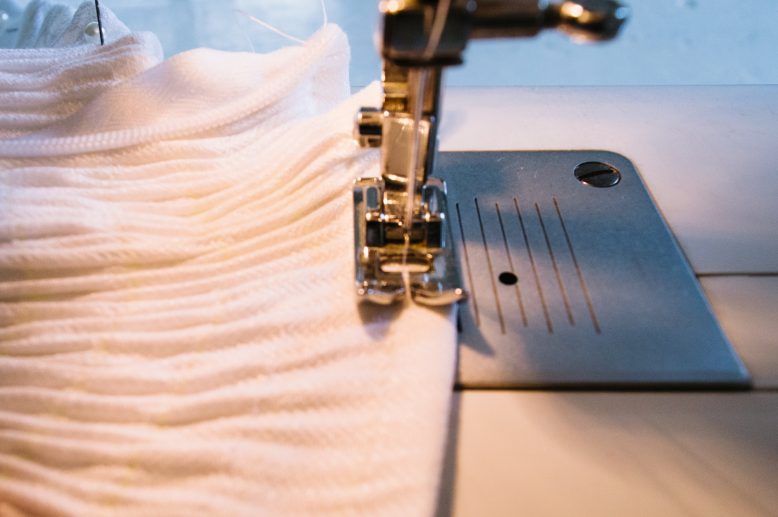
Shirr the Back (1) piece first (a how to for shirring here). It might look a little wonky after shirring since it's being done on a small piece fabric, but as long as your markings are clear, you should have no problem pinning and sewing it to the Back (2) pieces. Remember to ease out the gathers and iron the shirring.
9
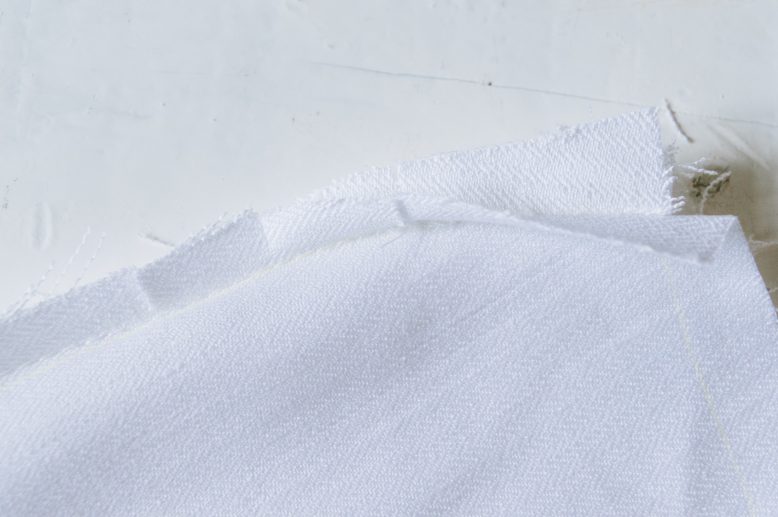
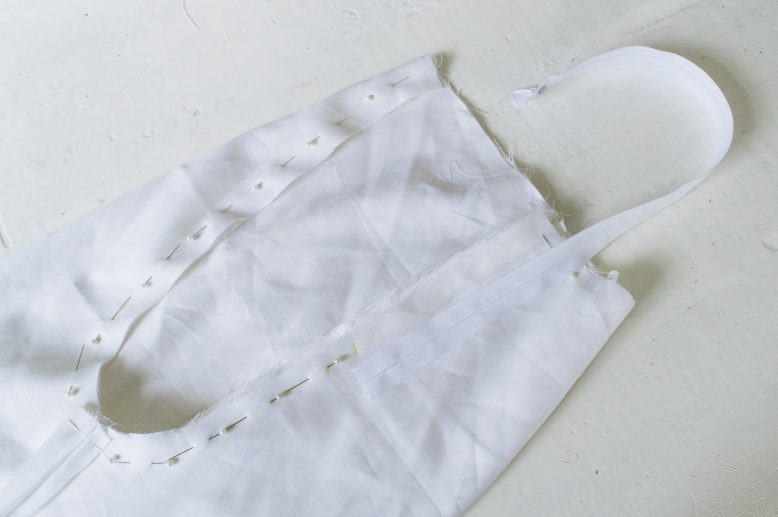
Sew all the front panels together, and snip some notches into the seam allowances on the princess line curves. Then attach the front and back panels together down the side seams.
11
Sew the waist darts on your pants first, if you have any. TIP: Always stop sewing 1cm (1/2 inch) from the tip of the dart, for a smoother finish on the front side.
12
Pin the front and backs of each pant leg together and sew down the inner and side seams first. Then turn one of the pant legs right-side-out and insert it into the other pant leg. Match up the crotch seam, then pin and sew. Remember not to sew the back of the crotch seam fully closed though, leave some allowance for the invisible zipper that's going to be set down the back.
14
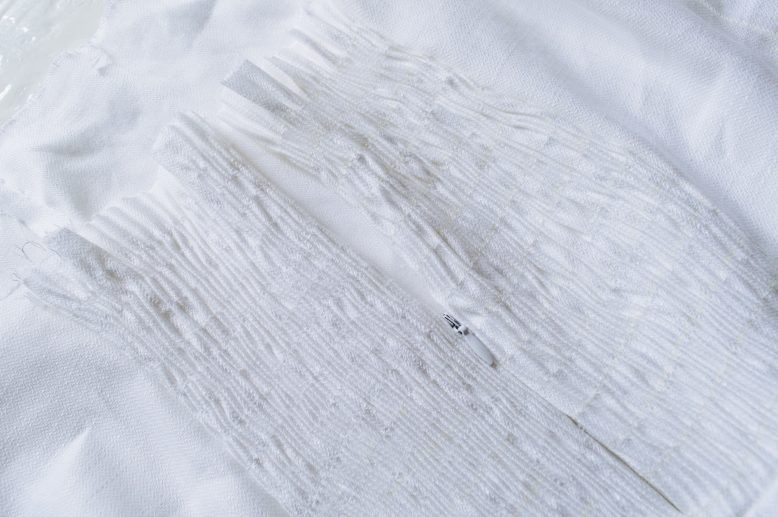
Set the invisible zipper down the back opening seam. (A more detailed step-by-step on sewing invisible zippers here)
15
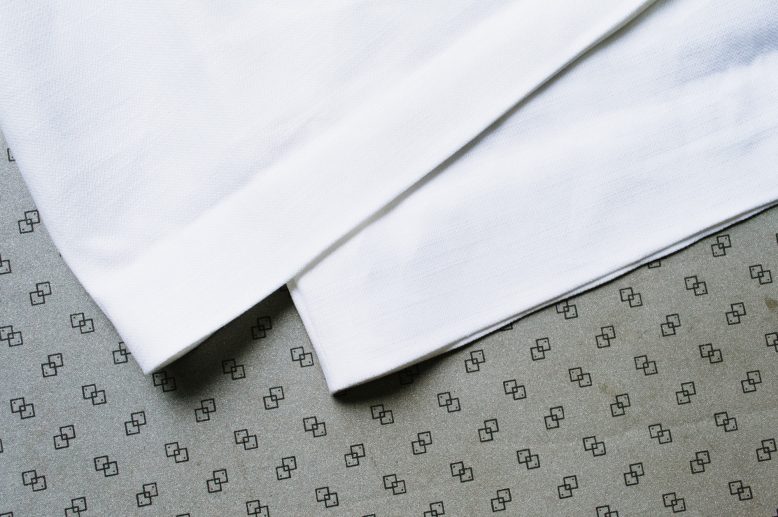
You can then start finishing all the raw edges on your jumpsuit. I did a folded hem for the top edge of the bodice. When finishing the back, be mindful not to stretch the shirred parts too much or you will end up with a puckered edge.
17
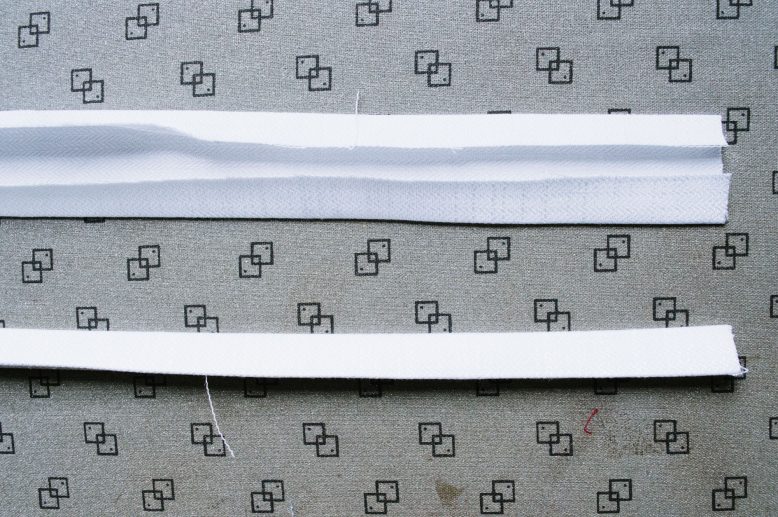
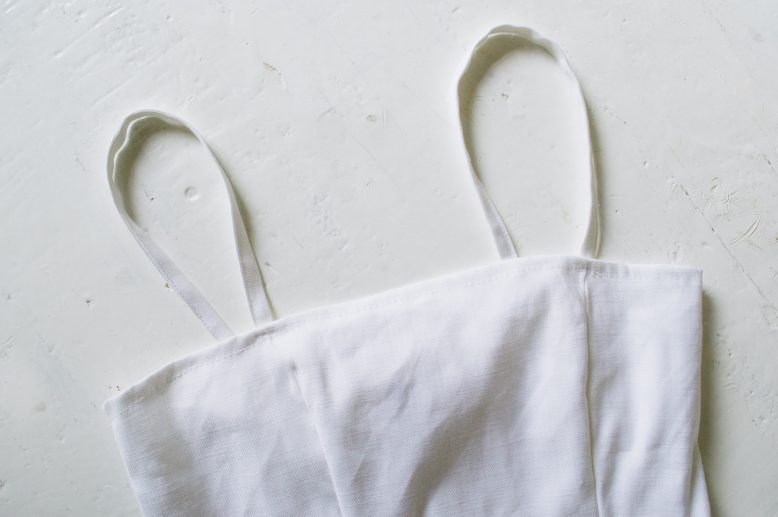
The last thing to do is to create the straps for the jumpsuit. It's best to wear the jumpsuit and measure over your shoulders from the front to back to find out how long the straps should be for you. You can also use grosgrain ribbon or rope!


