Hey guys!
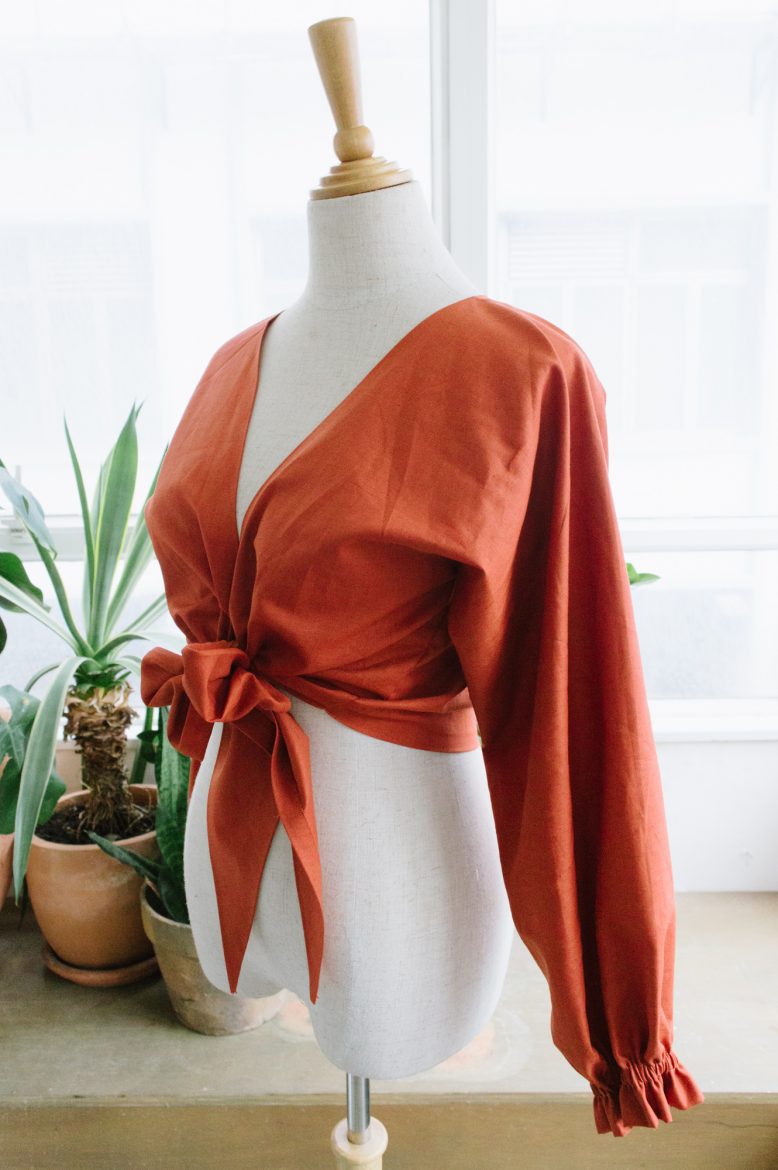
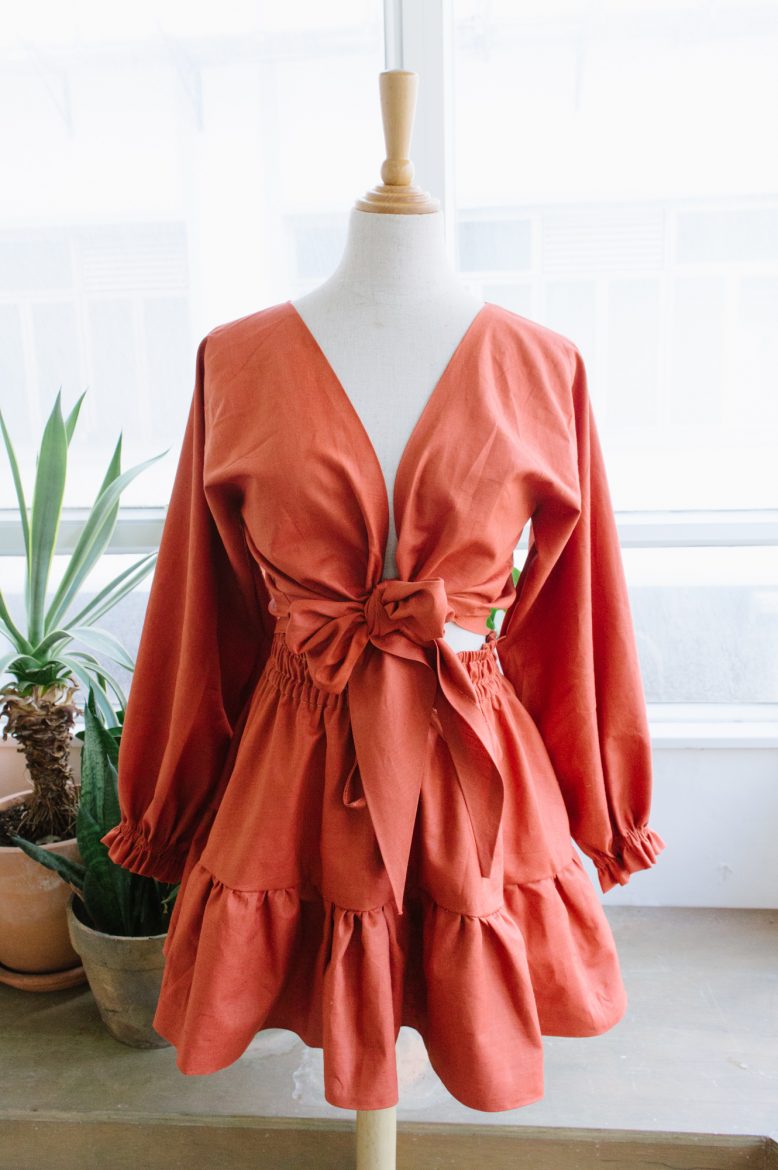
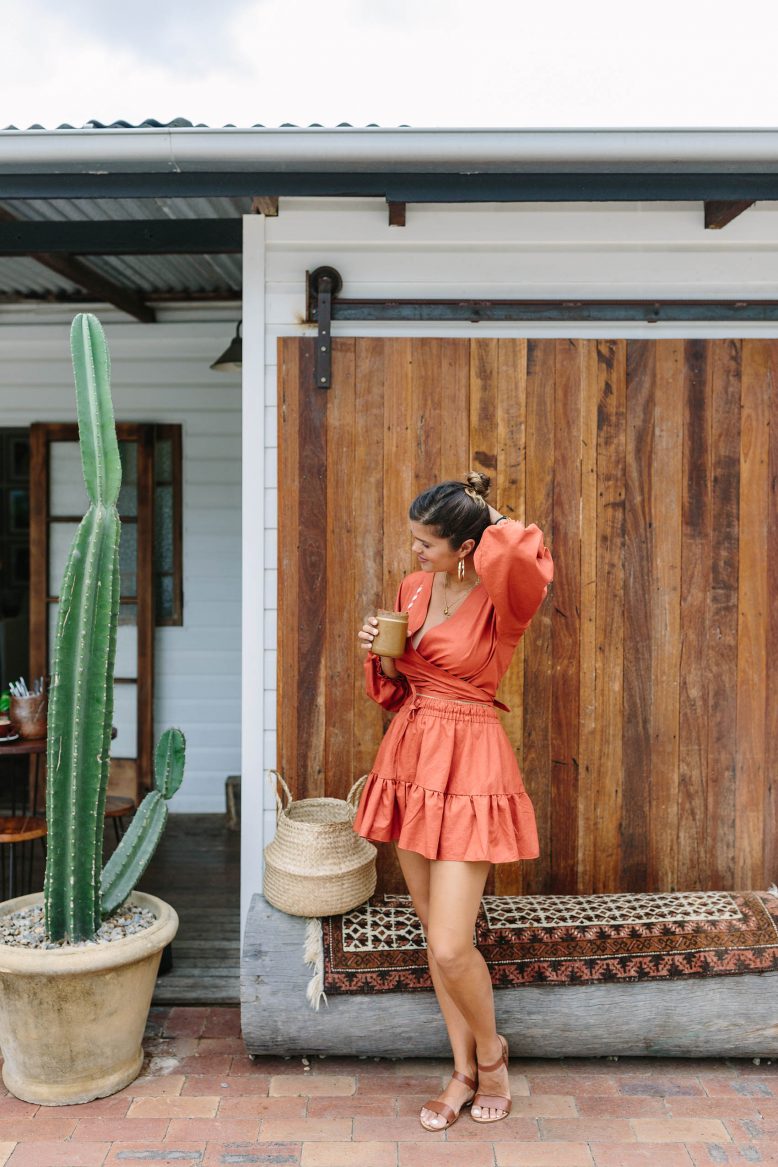
You may remember this outfit from the post about the DIY skirt a while ago… And now it’s time to share the wrap top! This is a similar style to what we have made here a few times, but so many of you asked how to make this top that we thought it would be cruel to leave you hanging. Even though we’ve left you hanging for a few weeks… better late than never right? Enjoy!
DIY Tied Linen Wrap Top
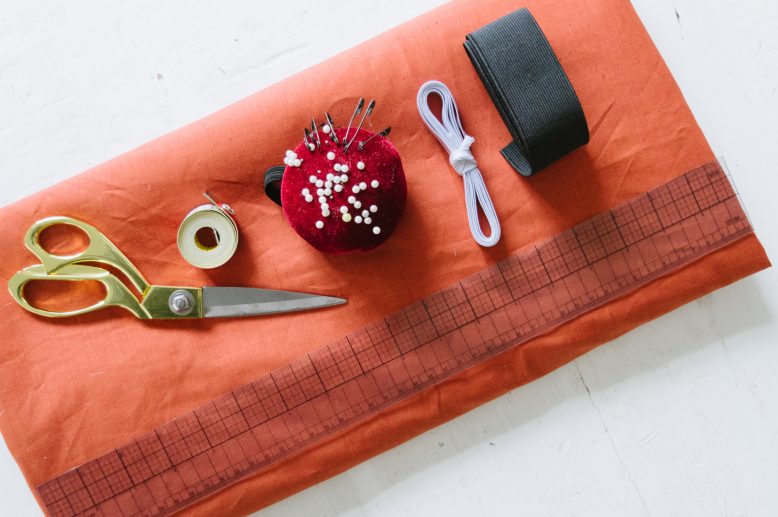
What You'll Need
Cut Your Fabric
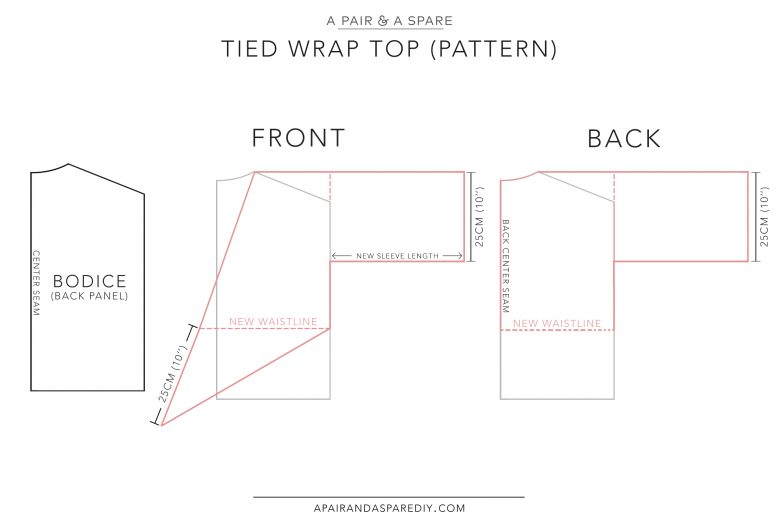
To create a custom wrap top pattern, simply take a loose-fitting shirt and trace around the back bodice panel. Wrap tops have a higher waistline, so if the shirt you copied the pattern from is too long, shorten it to find a new waistline,
Using the bodice pattern as a base, draft your front tie triangles by extending from one shoulder corner and the seam at the new waistline. We extended the ties and made them 25cm (10”) long, but feel free to make them longer if you’d like. Draft the sleeves by simply extending from the shoulder point, and drawing perpendicular line 25cm (10”) down from the first line you’ve drawn.We made the sleeves 51cm (20”) long ,adding elastics to the cuff so that it may be pushed up the forearm to create a puffed sleeve effect.
How to
1
For this design, we're going to eliminate one of the seamlines on the sleeves,so when you trace your patterns onto fabric, align the front (left) and back (right) bodice pieces down along the top sleeve seam before you cut.
2
You'll end up with two halves of the bodice, and you'll only need to sew down the back centre seam to connect the pieces.
4
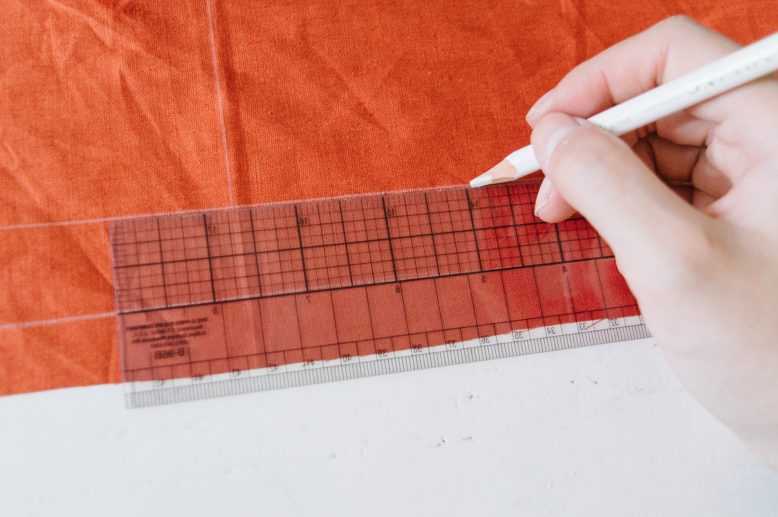
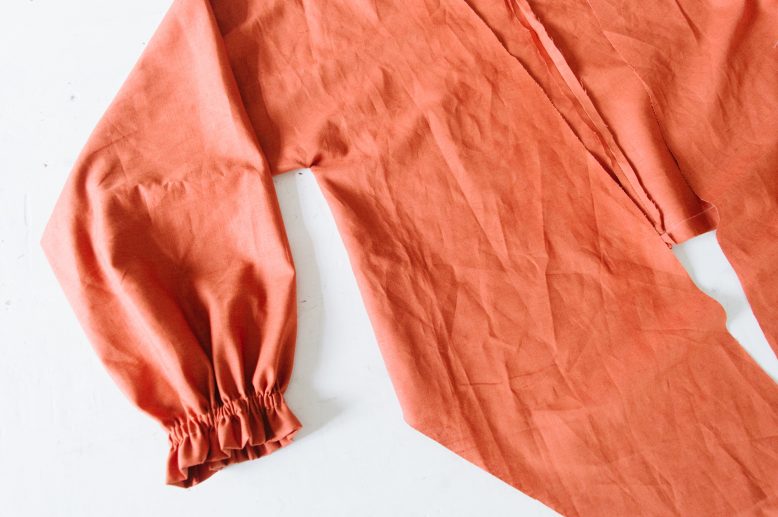
Fold the sleeve edge up to the line you marked, and sew lines to create a tunnel for a piece of elastic to pass through. Length of the elastic only needs to be slightly less than your forearm or wrist measurement, depending on where you'd like your sleeve to sit.
6
The last thing to do is to then hem all around the raw edges of the top .We used fusing tape for a clean finish, but as always, you could just sew a folded hem if that's what you prefer.
You can also find a tutorial for a matching ruffled skirt over here on the blog!
