Who here has fallen in love with corset belts? *Raises hand*
There’s nothing better than an accessory that changes the whole look of your outfit, taking it to a whole new level. I’d noticed the corset trend cropping up everywhere recently, and so couldn’t wait to experiment with crafting something like this. In all honesty, I worried it would be hard to pair with outfits, but once it was done I found that it put the finishing touch on pretty much everything in my closet, and particularly the simple basics I usually wear like high waisted shorts, oversized linen shirts, and dresses. And even though it might give off a certain pirate ship vibe (particularly when paired with mountains of gold jewelry and white linen) I have to say I’m totally cool with that! Read on to see how to make it yourself.
DIY Corset Belt
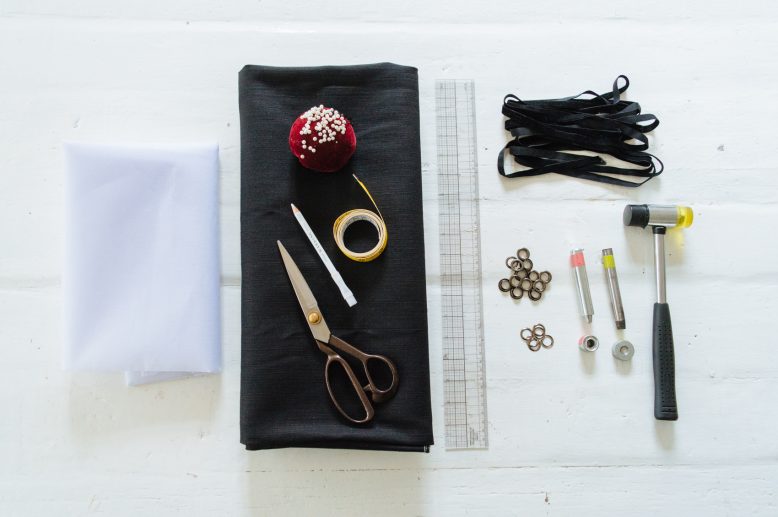
What You Need
The first step is to cut out your fabric pieces, which consists of three rectangles. See it below.
1
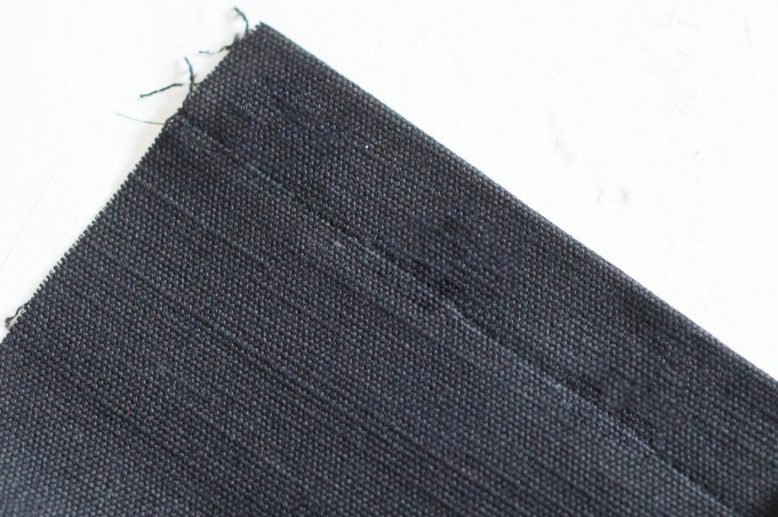
Cut out your fabric, remembering to leave seam allowances and cut (the seam allowances along the eyelet edges need to be longer than the eyelet). You should end up with a rectangle for the back piece, and two pieces for the front.
2
Sew the pieces together down the side seams, then wrap it around your waist (inside out) to find the curvature of your waist on both sides. Pin and mark the curvatures. You'll have to take in the sides and maybe add darts in the back for it to fit your body more snugly. More on sewing darts here.
4
Place the eyelets on the top, bottom and mid-points first, then in the spaces between. This will give you a rough estimate of how far apart the eyelets would be from each other.
5
Mark the eyelet positions on the edge (mark the inner eyelets, not the outer rim of the eyelets). Measure the distances between each mark to make sure they are the same, and make adjustments to the placements of the eyelets if necessary.
6
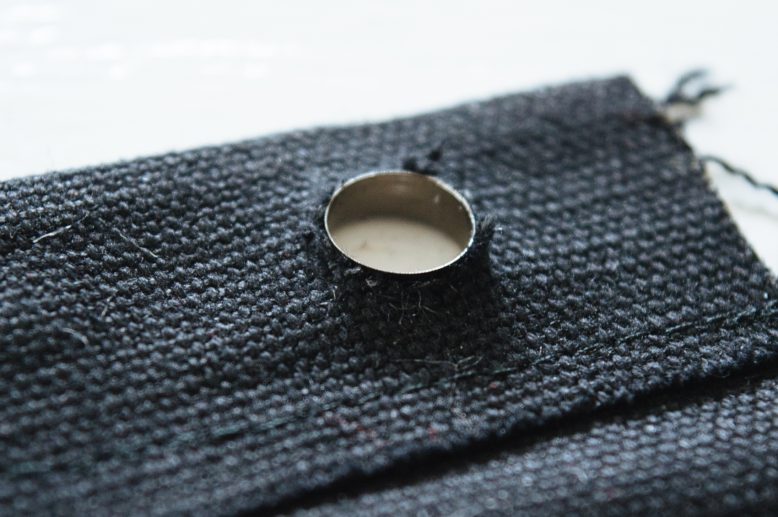
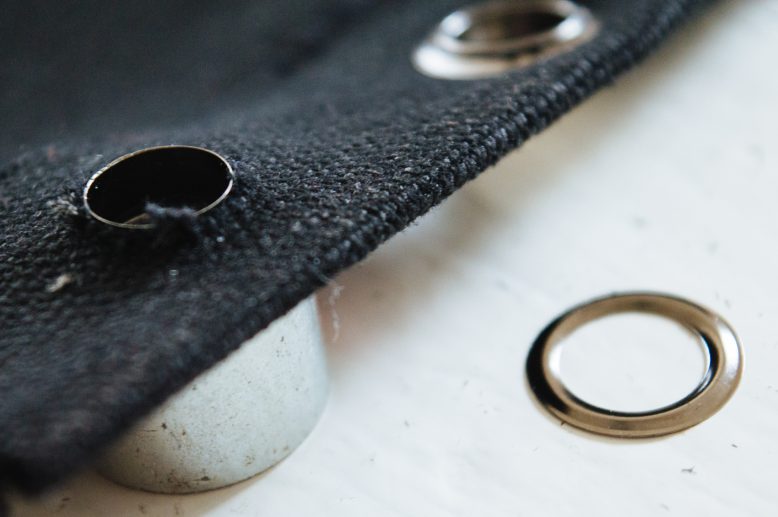
Place the punch base under the fabric, and press the punch tool in until you feel it align with the dent in the base. Hammer the top of the punch tool with a hammer, start with light taps until you feel the tool beginning to punch through the fabric, then finish it off with a few hard taps.
7
The fabric might be too thick for the punch to cleanly go through sometimes. If that happens, cut the hole open with a small pair of scissors.
11
To finish off the top and bottom edges do a rolled hem. Lace the corset with a ribbon or rope and your corset belt is finished!
Voila!
Like this DIY? Pin it on Pinterest!
