Hello from New York guys!
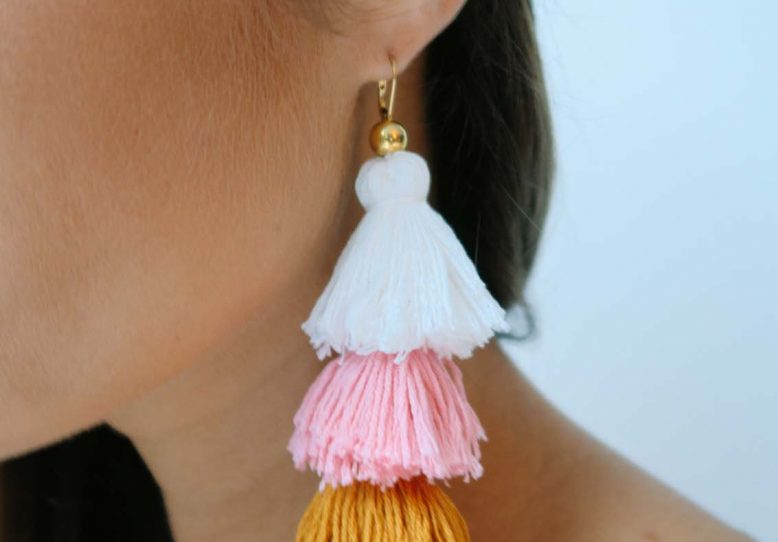
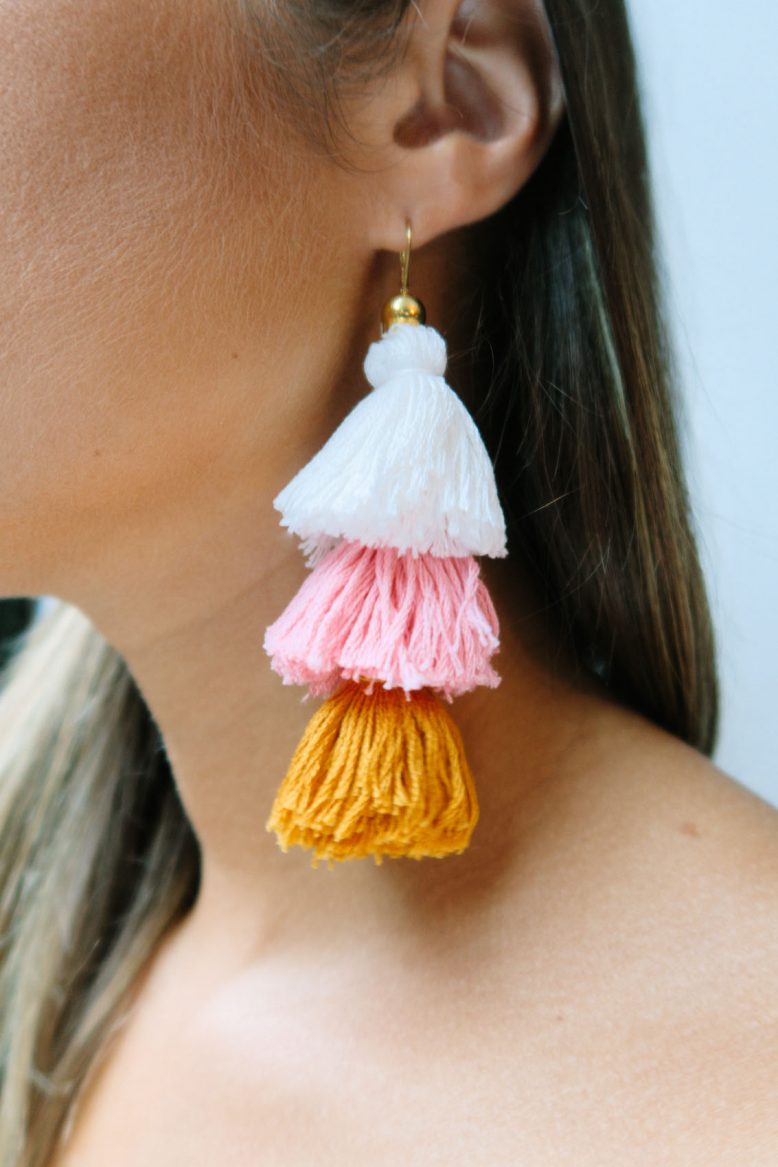
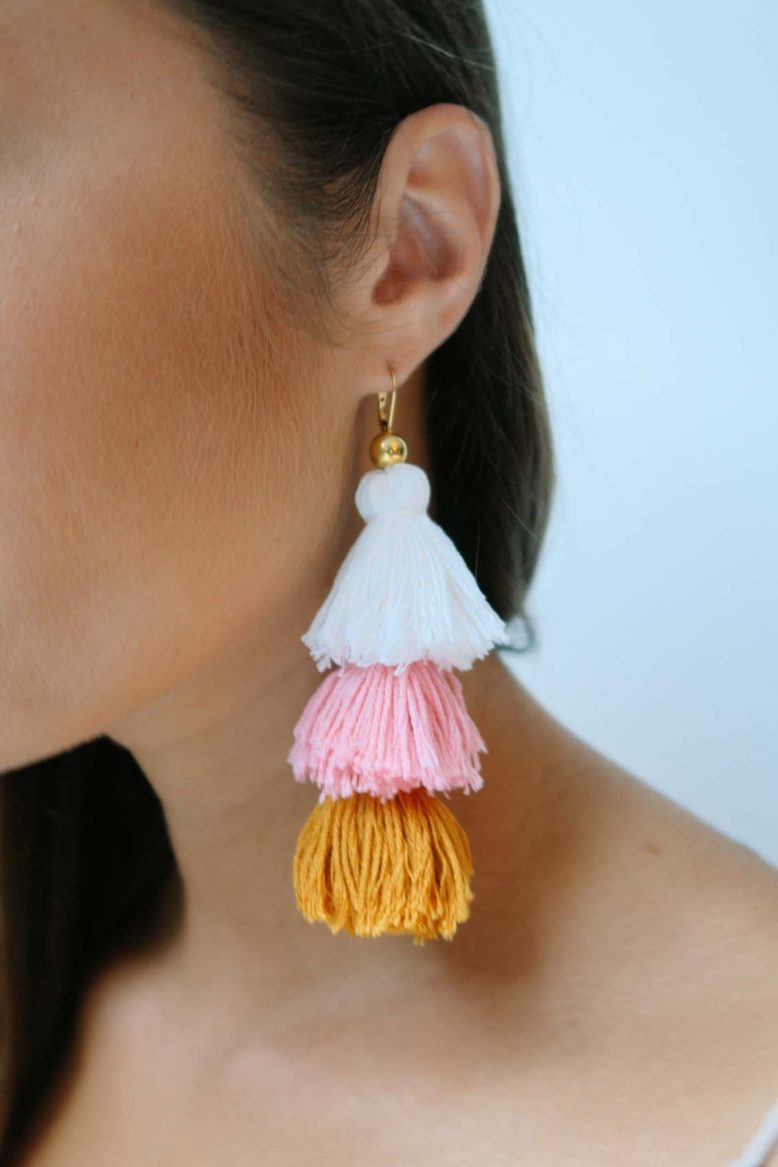
What’s the first thing you do when you visit a new city? Is it hitting the sites? Visiting the most local neighbourhoods? Or are you hunting down a Starbucks (haha)? For me it’s about finding the best craft stores – which is what I did as soon as I got to to this mazing city. My sister in law always talks about one near where they live in Brooklyn so I just had to check it out. For once I went with a project in mind, namely a pair of tassel earrings to match the theme of the last nights party at the Bobbi Brown event I’m here for – I’m hoping these will suit the ‘Crushed Carnival Soiree’ theme right? Anyway, they’re really easy to make, and definitely something you should put on your list for your next going-somewhere-special event… I hope you like!
DIY Tassel Earrings
You need one bundle of embroidery thread for each of your tassels. They usually come in standard lengths, so you can generally just use the bundle to make the tassel without having to unravel it.
2
Using a piece of spare embroidery thread, fold the bundle in half and place it on top.
3
Tie it tightly. To do this it is useful to d this with a friend (I did it with my sister in law) so they can put their finger on the knot to keep it steady.
4
Cut though the loops on both ends of the bundles so that you are left with a tied up bundle of string pieces.
6
Tie it tightly. Once again you might need an extra finger to help with this. It might look like an octopus, ghost or a voodoo doll!
7
Trim the ends with your scissors so the bottom is nice and level. You've done one tassel! Go you.
8
Make the rest of your tassels - I did three for each earrings and layered the colours, but you can do whatever you want in terms of design.
9
Grab your needle and thread and tie a knot in the end. From the underside, push the needle through your first tassel.
10
Add the other tassel on top. I added an extra stitch at the top to the keep it in place.
13
Using your needle and thread do a few stitches through the earring hook and bead into the tassel to secure them. Trim the end.
Voila!
I hope you like guys, I’m excited to share more about the trip to New York with Bobbi Brown soon!
Like this DIY? Pin it on Pinterest!
