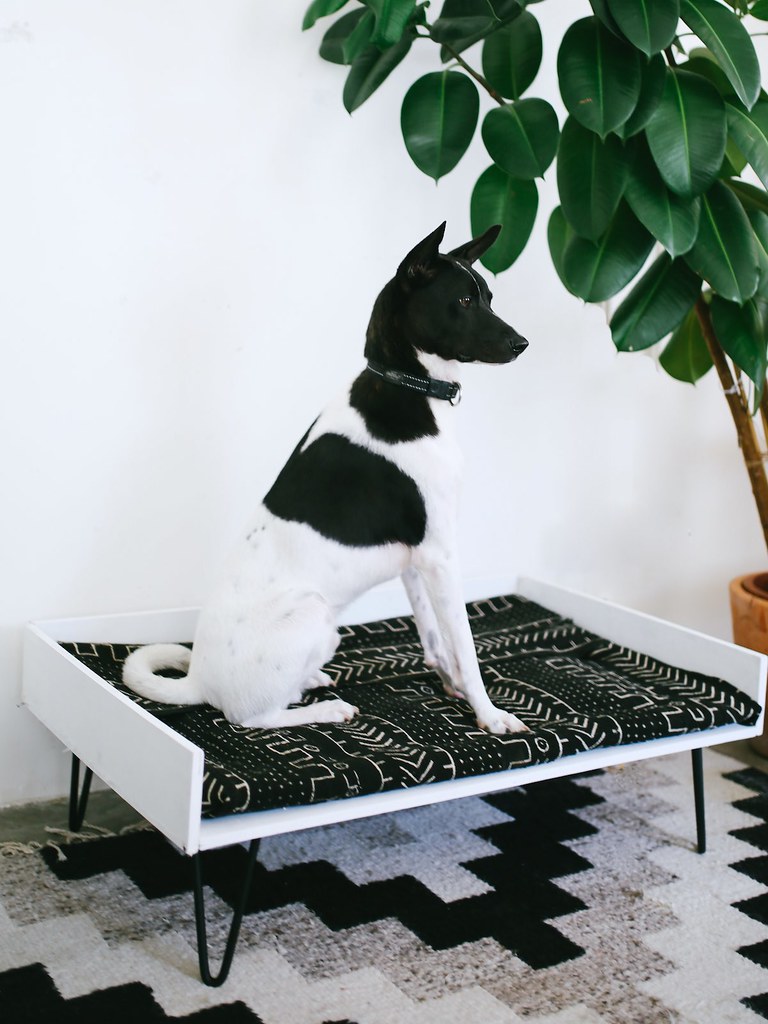
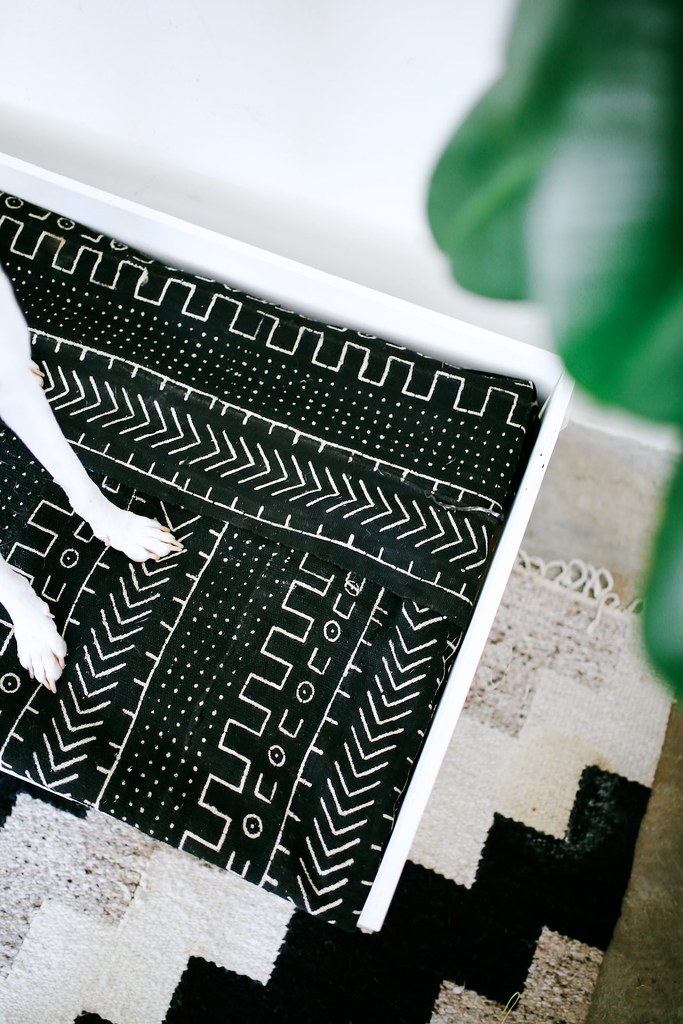
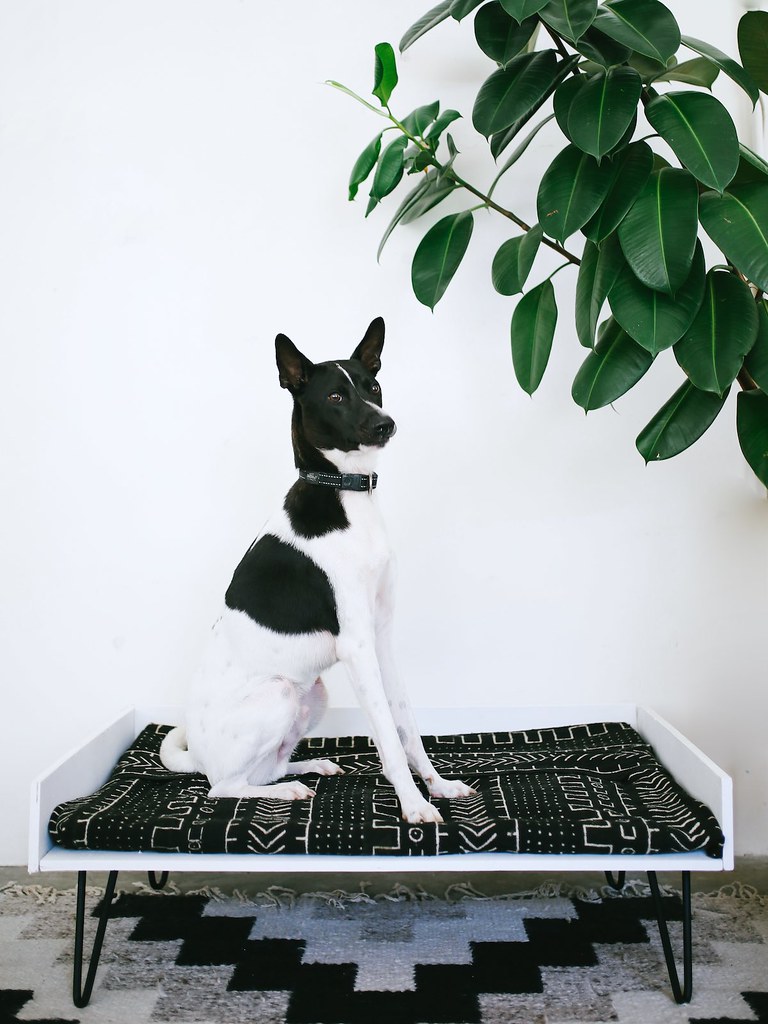
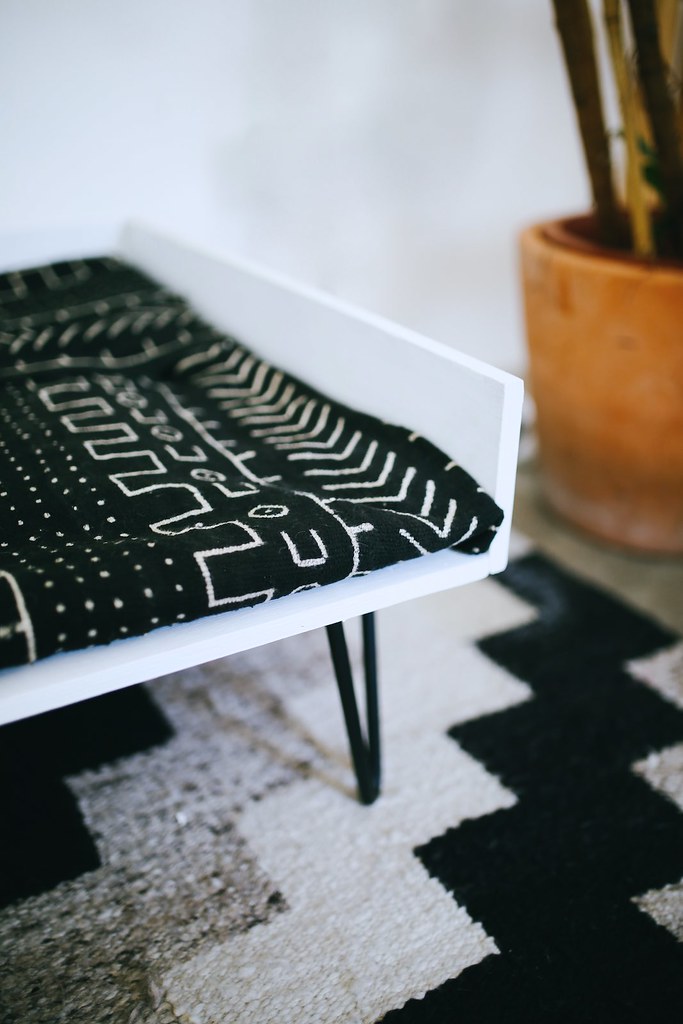
Remember Ollie? Our sweet ‘little’ pup that the shelter told us was ‘probably’ part fox terrier and therefore unlikely to grow very large? Not so it turns out. But regardless of him being triple the size we thought he would be, we love him just the same (or, maybe even more?). You guysss, having a dog is the best! I know this is going to sound cliche but we honestly didn’t know how much we were missing out on until we got him, it helps that he gets to hang out with us in the studio all day! I often look at Ollie and think of your classic fairytale/rags to riches story – born in the back of a junk yard, now sleeping in a mid century DIY dog bed with mud cloth fabric cushions…. Dog you ballin’! Make one for your own pooch using these steps.
Mid Century DIY Dog Bed
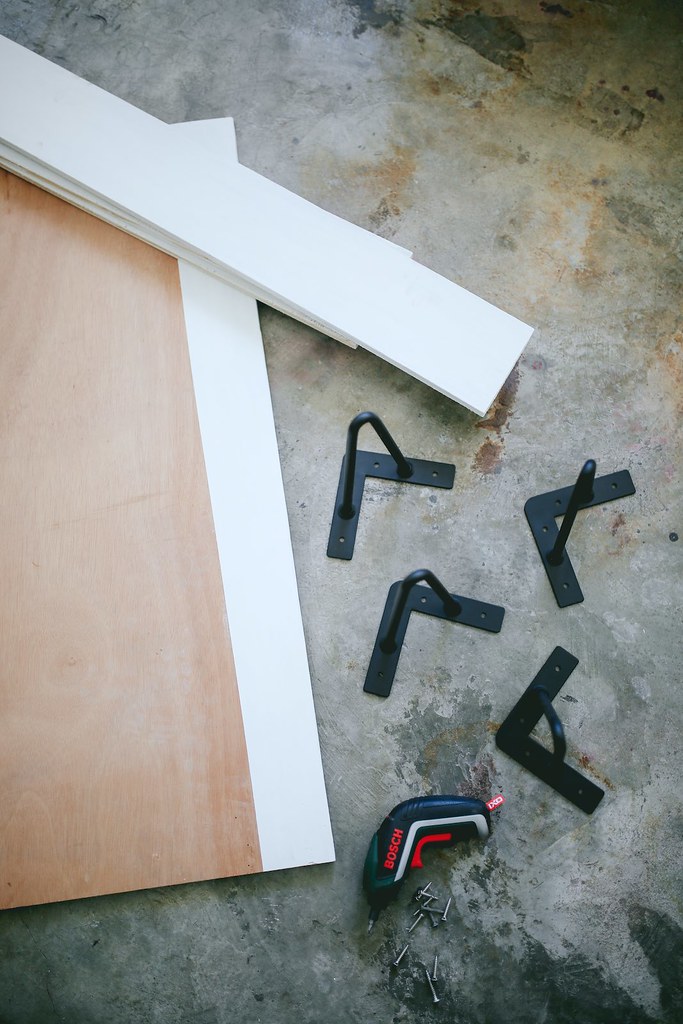
You need
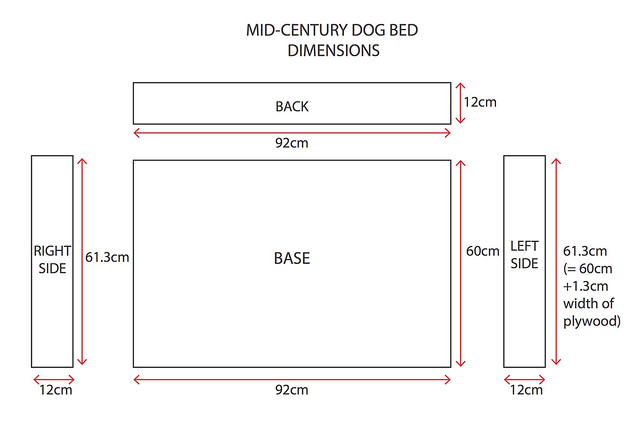
- Plywood cut to size (For dimensions, refer to the diagram below in Step 1. We decided it was easier to paint the plywood white before assembling the dog bed, but this is totally up to you!)
- 4 x hair pin legs
- Power drill
- Liquid nails
- Screws
How to
- We used Ollie’s dog cushion as a guide for the dimensions and took the measurements to the local hardware store and got the plywood cut to size.
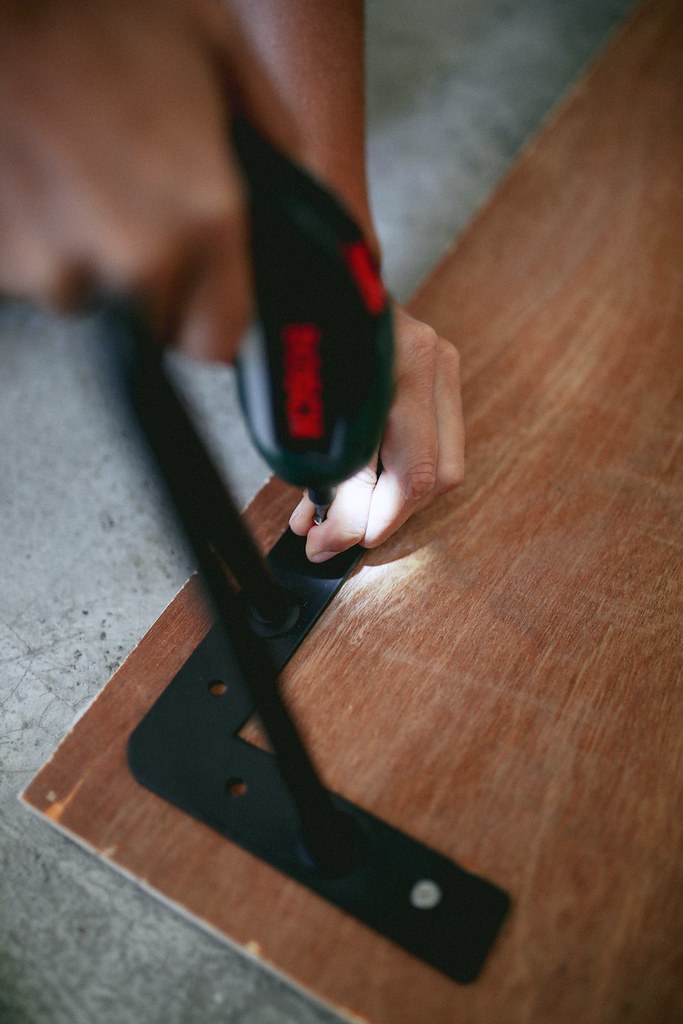
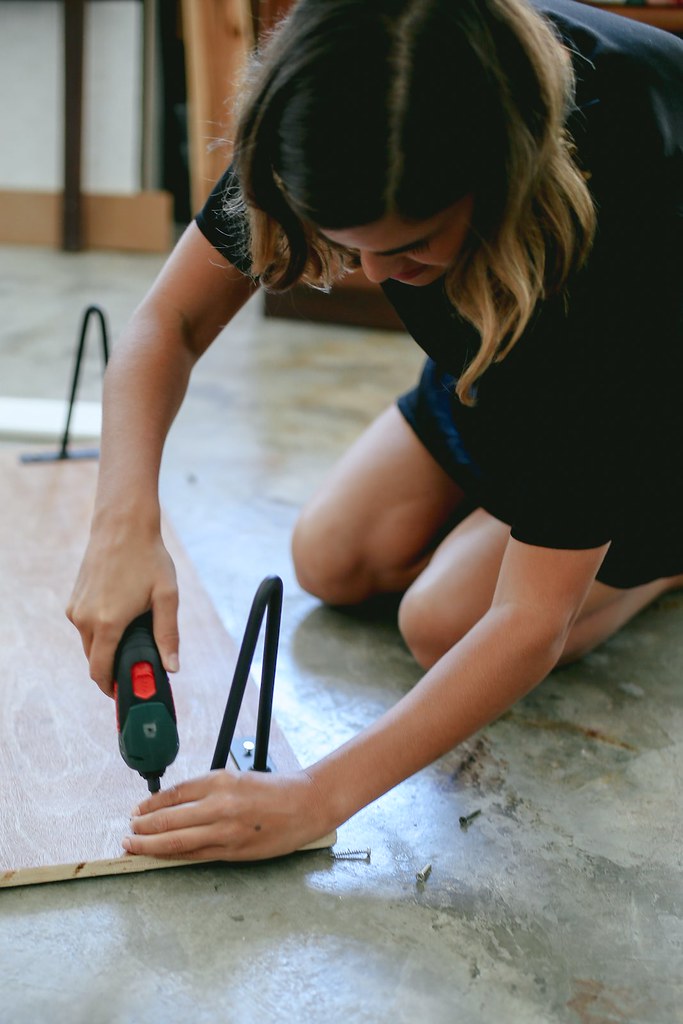
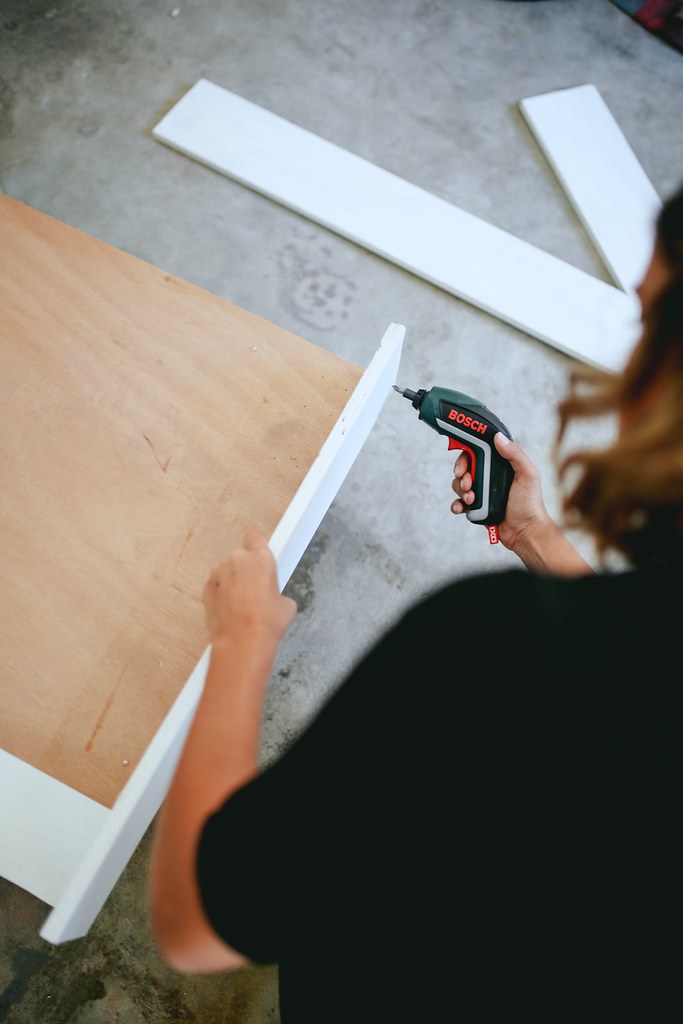
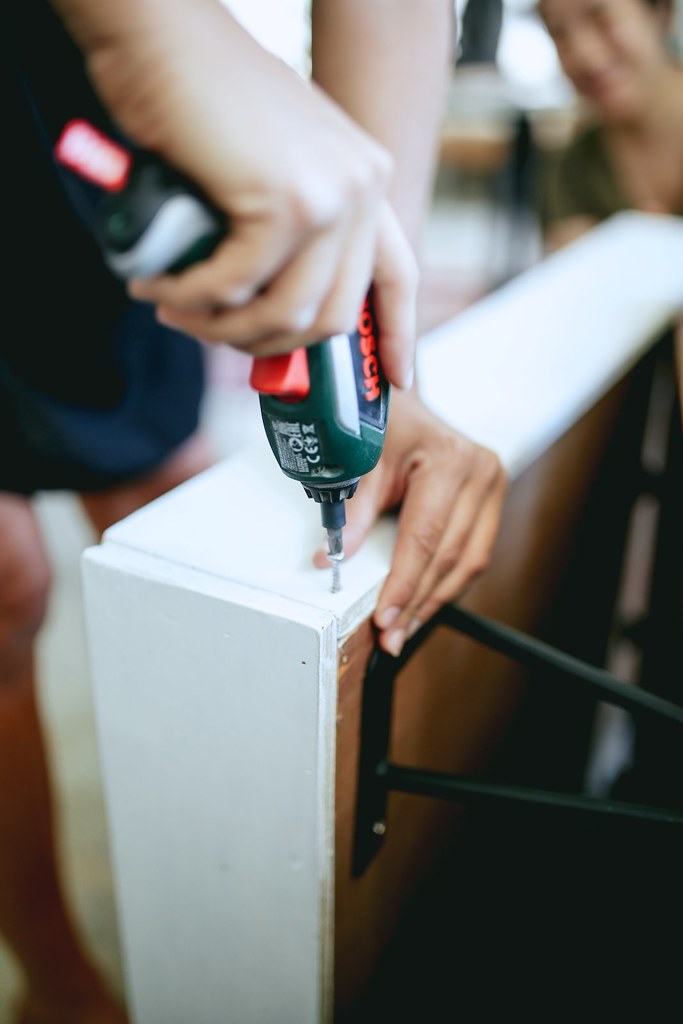
2. Arrange the hair pin legs on the base of the dog bed, then once you are happy with the spacing, use the power drill to secure the legs with screws.
3. Work your way around all four corners.
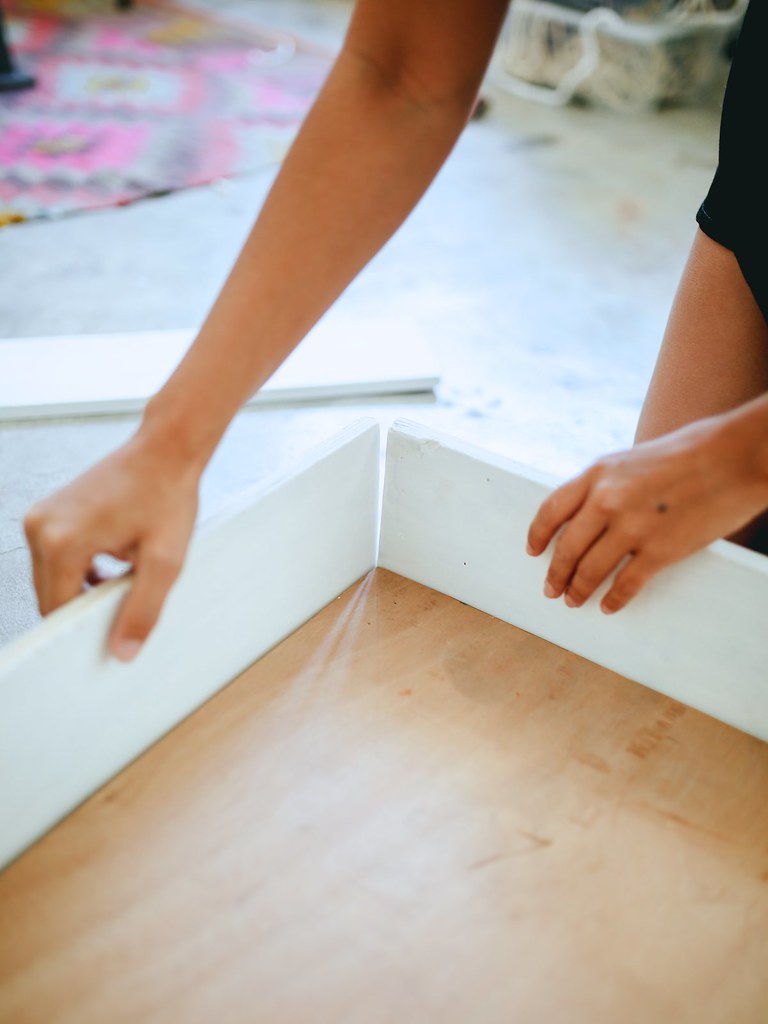
4. Place and drill the sides on, making sure it lies flush with the front. (Note: the sides will stick out at the back 1.3cm to accommodate for the width of the back piece of plywood). If you find it hard to secure this with just your screws, you can use liquid nails too prior to drilling it on.
5. Once you’ve secured the sides of the dog bed, put the back piece on.
6. Secure the back piece to the base and sides. Before you screw them in, use the liquid nails to glue the two edges together so that they are nice and secure.
Voila!
*ollie is a super chilled dog, but for some reason can’t relax in front of the camera… Lucky it’s only the odd snapchat cameo he has to put up with. 🙂 Take a load off pup!
Photos by Bryant Lee
