If you’ve been tuning in here for a while you’ll know that I have a penchant for pieces that you can wear over and over – those tan sandals being the perfect (perhaps nowadays ever a slightly annoying) example. Don’t hate me, when I love something I fall head heals regardless of how potentially un-insta-acceptable it might be to wear the same thing over and over. I guess for me that’s where the perfect tee comes in, something that pretty much defines the meaning of wardrobe essential that you can wear and wear (and wear). To celebrate (and you know, take scissors to) the humble cotton tee, my friends at Grana and I got together to show you how to do the easiest DIY update of the season – turning one of their Pima Cotton tees into a rope neck halter tank. Channeling a 90’s/nautical/last days of summer vibes – you’ve still got time!
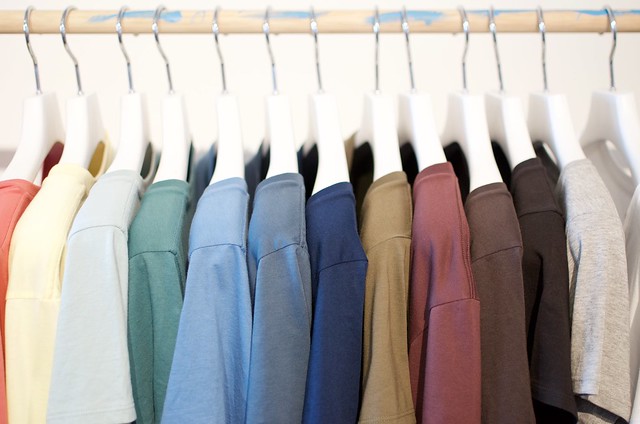
Although in the past I’ve veered towards obviously wearable colours like Black, White and Grey Marl for tees, Grana have recently added a few other shades that I think could be considered foundational colours, including a gorgeous Olive and Navy, as well as a gorgeous statement Yellow and Mulberry tones. For under $20 you can afford to experiment!
Watch the video on how to make it below:
Turn A Tee Into Halter Tank
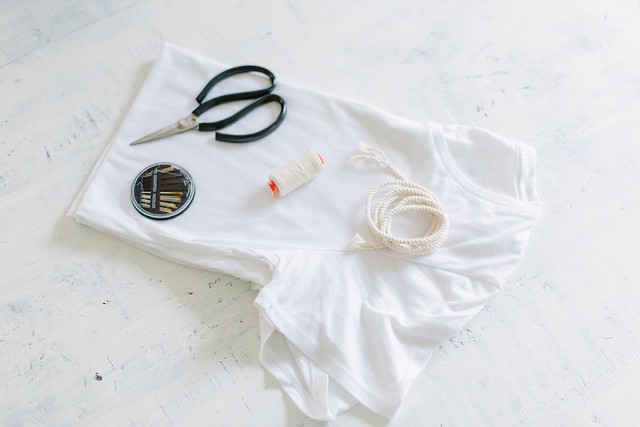
You need:
- a cotton tee (like these ones)
- rope
- scissors
- needle and thread
How to:
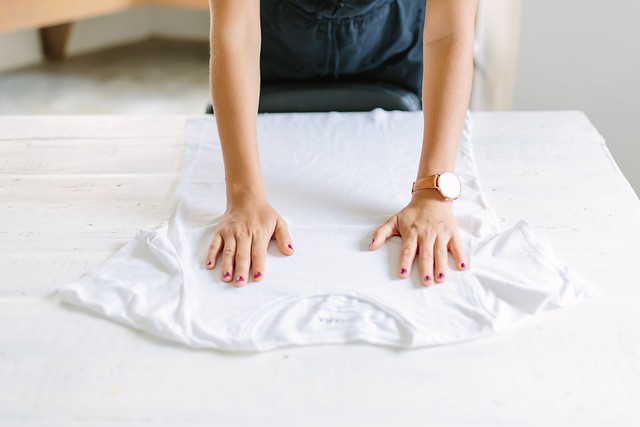
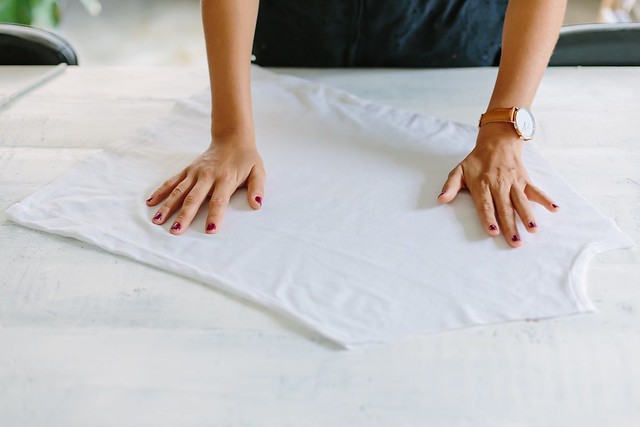
1. Lay your t-shirt out on a flat surface.
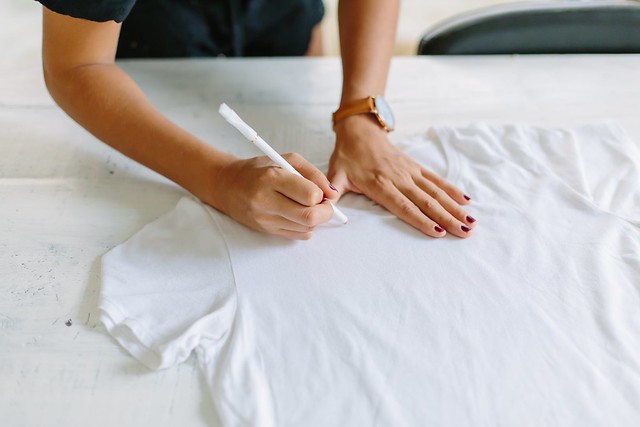
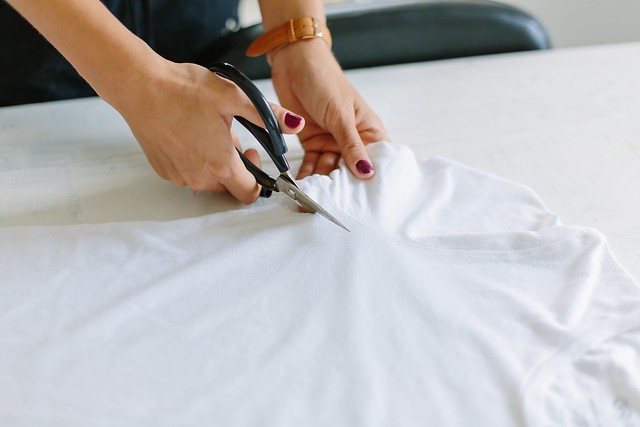
2. Using a chalk pencil, draw a straight line from your neck line to the side seam just under the sleeve.
3. Cut along this line. Repeat on the other side.
4. You then want to cut the body section into a halter style by cutting the back off it, essentially you will cut a straight line along the back.
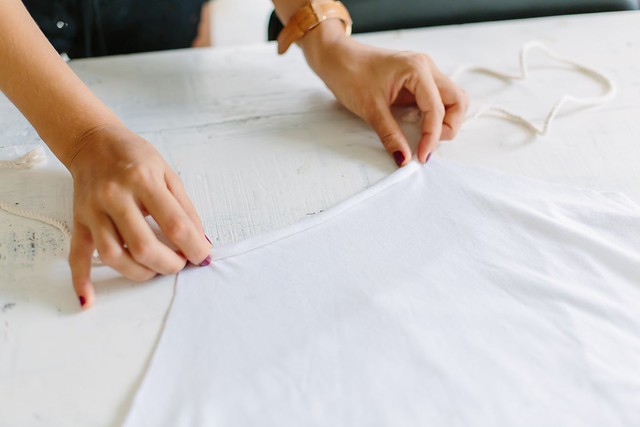
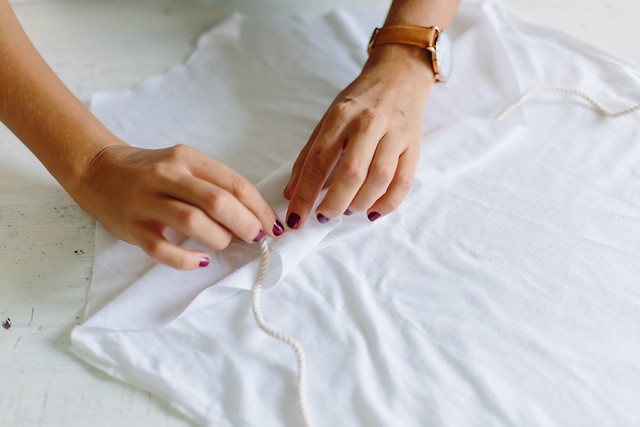
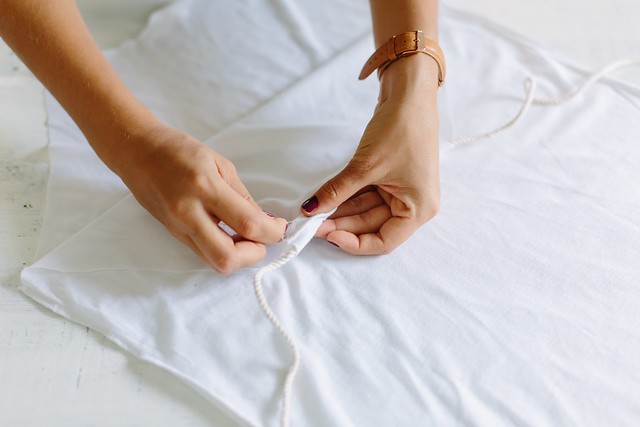
5. Take your piece of rope and place it along your neckline, wrap the shirt around your rope.
6. Make sure that it is not too tight so that the rope can be adjustable when it is used for fastening.
7. Hand stitch along the back of your t-shirt to seal the loop your have created with the neckline of your t-shirt.
Voila! The best thing about making things with this pima cotton fabric is that the edges roll over time which allows you to avoid sewing the edges. Winning! You can also fray the rope at the ends to give it some texture, or tie in little knots.
If you’re interested in sizing, I usually take mine a little oversized and roll up the sleeves, so that’s an M in women or an S in mens if I’m after a more boyfriend look.
This post is in collaboration with Grana. Photos by Nicola Lemmon


