When off the shoulder silhouettes are your jam.
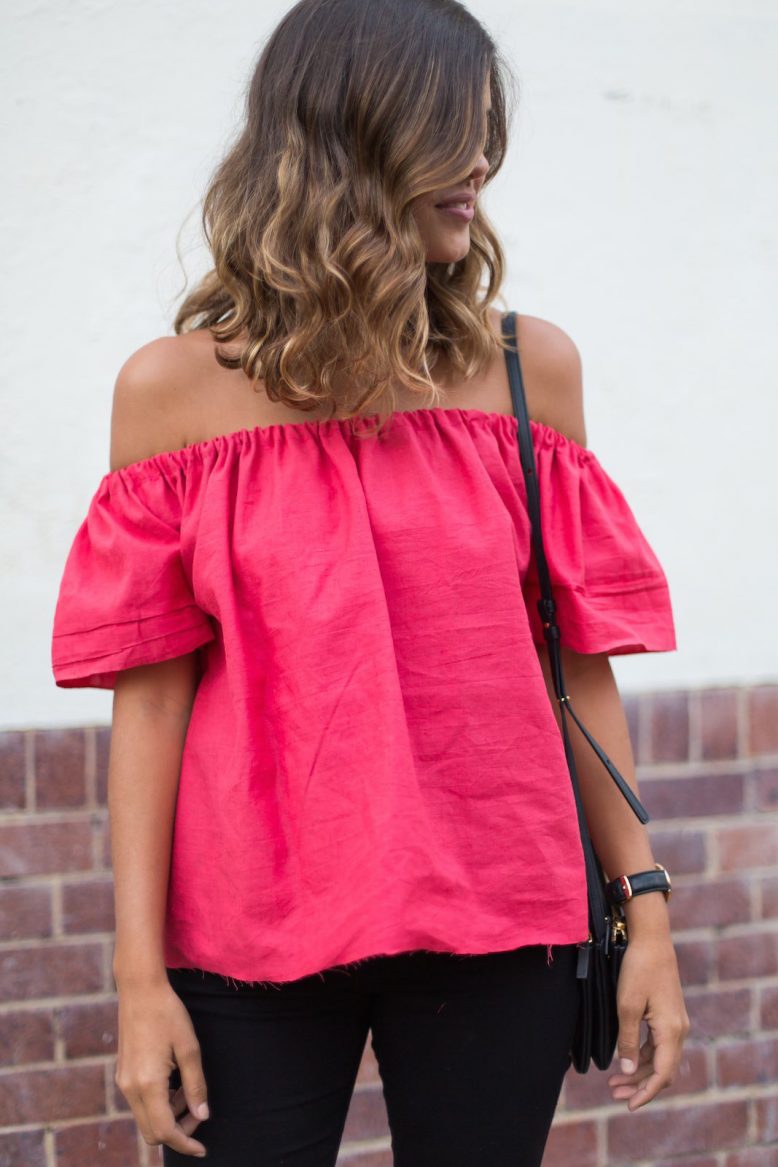
And in case you haven’t noticed, they’re definitely mine. Maybe it’s that they remind me of a past life as a German Beer Girl, orrrr bring to mind holidays in the sun where tops and bras with straps are banned. Either way, I find them endlessly easy to wear, and also to make (!). I’ve crafted a few styles in the last year or so (see here, here, here and here), and each one has been a little easier to make and to wear than the last. This one is my favourite design yet – a gathered waist skirt neckline with arm holes sewn on. Easy! Read on to see how.
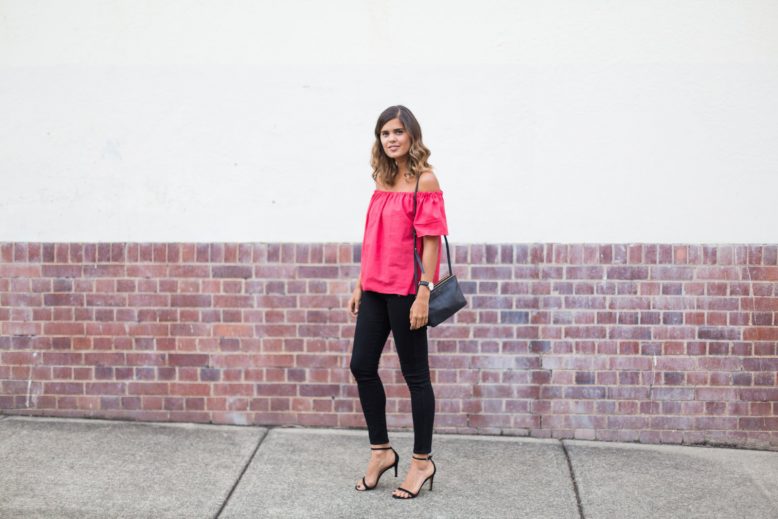
Wearing: DIY top, Riders by Lee jeans, Celine Bag, Mode Collective heels & Daniel Wellington Watch
DIY Off The Shoulder Top
1
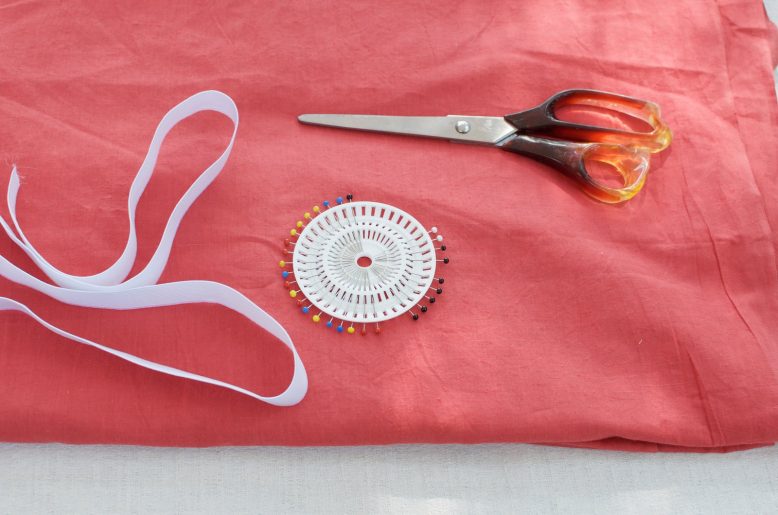
Cut two squares of fabric approximately the size of your shoulders to your waist. If your piece of fabric is wide enough you can fold your fabric in half and then cut along the fold. I used the selvedge of the fabric for the bottom to avoid hemming.
2
Measure how long you want your sleeves to be and then cut two smaller rectangles of fabric which will form your sleeves.
3
Fold your rectangle sleeves in half and pin the open sides to the side seams of your top, aligned with the top of the garment.
4
Sew your sleeves to the body of the garment whilst also sewing the sides of your front and back pieces together.
6
Measure your elastic and double that measurement. Fold the top of your garment inwards according to that measurement. Sew along the bottom of the folded section to create a fabric loop leaving room between the start and finish.
7
Take something sharp like a wooden screwer or safety pin and attach it to the elastic. Thread it through until the elastic appears at the other end. Sew the elastic together.
Like what you see? Or just want to save it for later?
Pin ItVoila!
Photos by Nicola Lemmon
See last year’s off the shoulder top here.
Like this DIY? Pin it!


