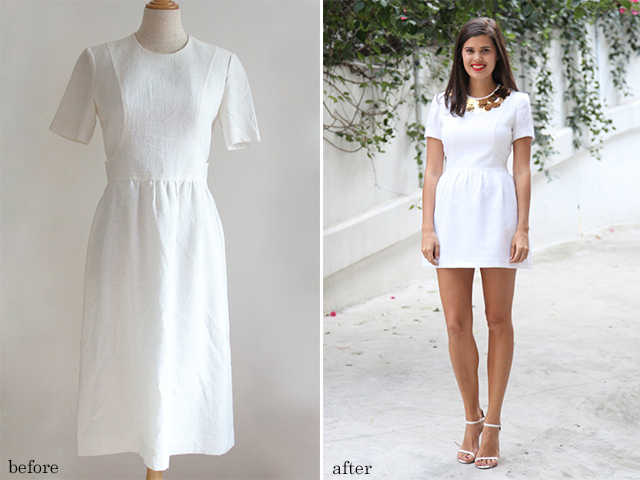
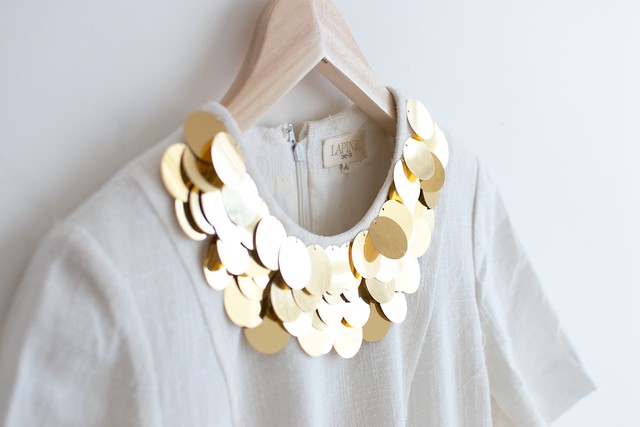
As many of you probably know by now, nothing satisfies me more than reworking old, boring pieces from my local secondhand shop into shiny and bright wardrobe essentials that I can not only wear down the street for a coffee, but actually throw on for my christmas party. I saw this white dress in a thrift store and bought it because I supposed that deep down it had some potential, if not only as a blank wall for me to go all Banksy on. Once home, I put it on and asked my boyfriend what he thought I should do with it and he said (with zero pause and much vehemence) ‘burn it!’. As you can imagine, his response was pretty much a red-rag-to-a-bull style challenge for me to see if I could make it into something not bound for a Joan of Arc inspired farewell. With a quick hem chop, a few nips and tucks and the addition of some golden paillette sequins, I think it worked out ok! Read on to see just how I did it.
You need:
- A dress or top with a simple round neckline
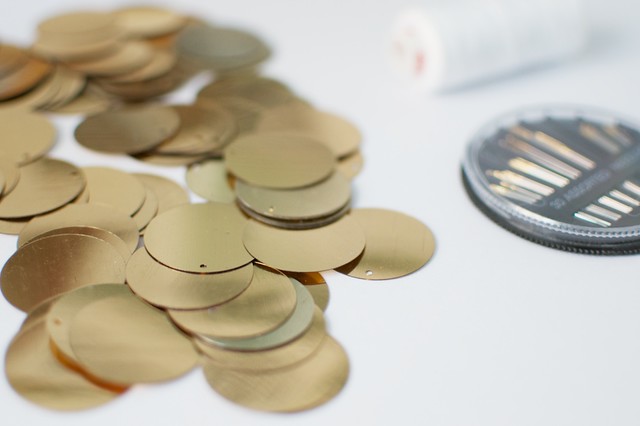
- 100 or so gold paillettes
- A needle and thread
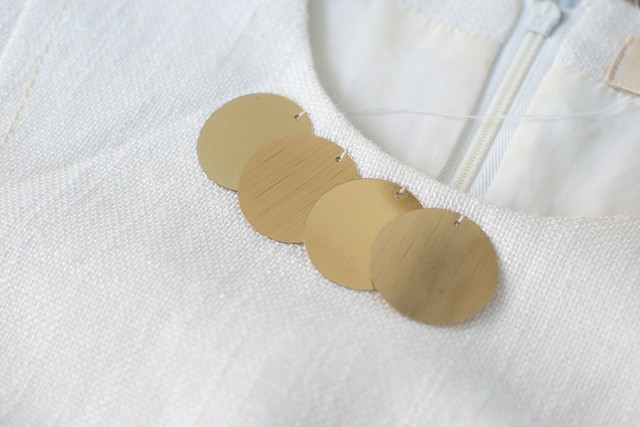
How to:
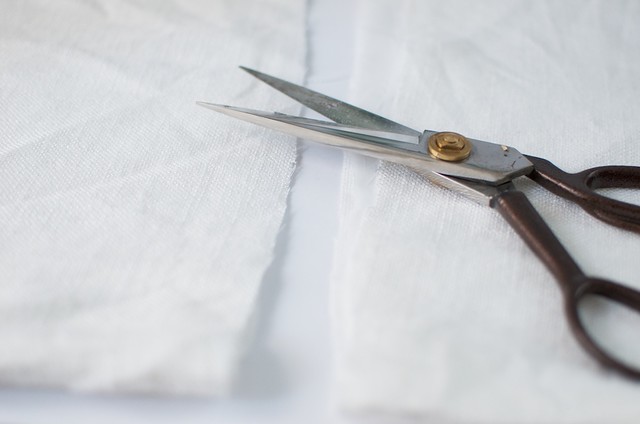
1. The first thing I did to make the dress more party worthy was to cut a few inches off the bottom of it because it was an odd middi length.
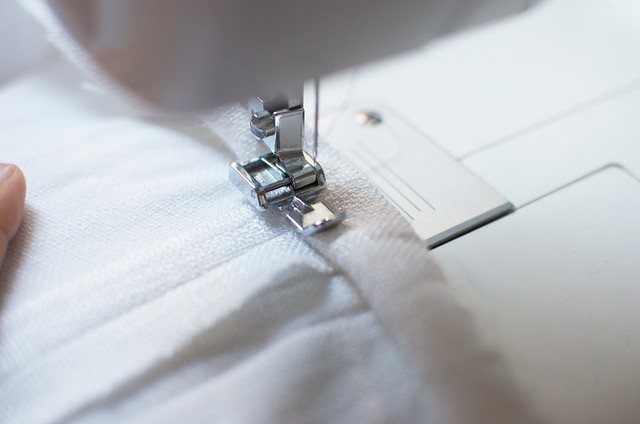
2. I used my sewing machine to finish the hem.
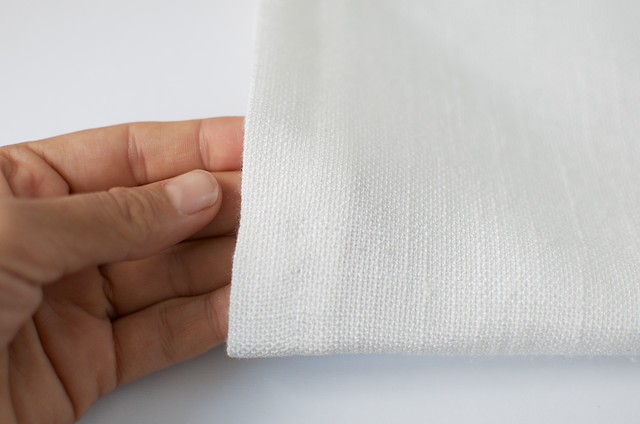
3. And then ironed it nice and flat. I also took it in a bit at the back by tightening the little belt tie that went around the back, and folded the sleeves under once and ironed them down. These small changes made the world of difference to the shape and overall look.
4. Then I grabbed a handful of paillettes… So shiny! (eyes light up).
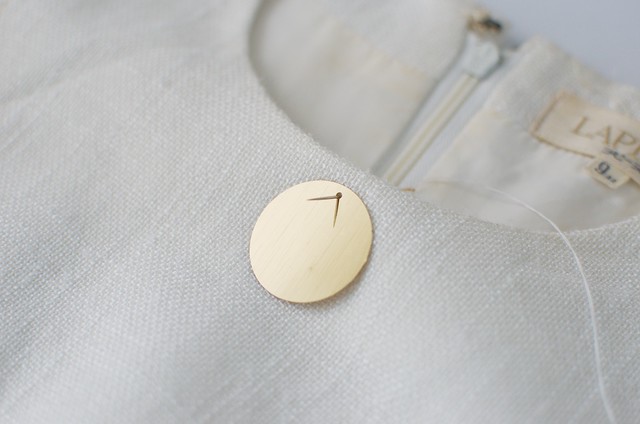
5. I then took some time out on the couch to then handsew the paillettes onto the dress. This might sound super tedious and some of you may want to opt for glue instead, but honestly it didn’t take much longer than an hour (in fact, one episode of homeland – the sewing gave me a great excuse to avert my eyes during the suspenseful bits!), and they have so much more movement and flow when they are sewn on.
6. I left a small gap along the edge so they didn’t scratch my skin.
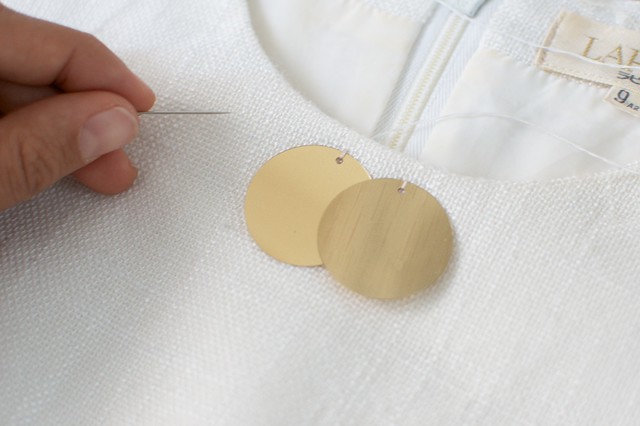
7. I sewed them all the way around to the shoulder seams, and then repeated with layers underneath.
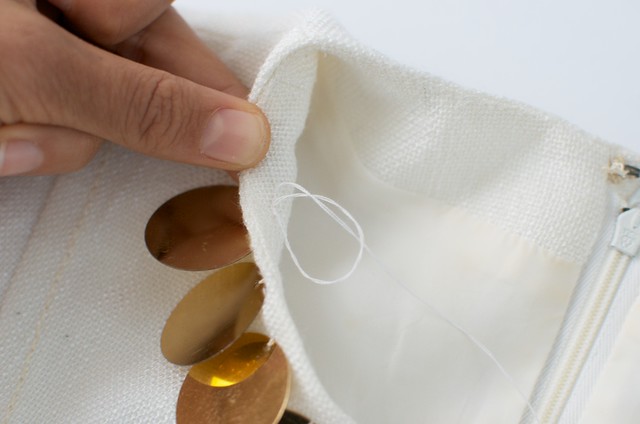
8. Knot each sequin at the back as I have done here by threading the needle through a loop made by a stitch . This will ensure that if one comes off, they don’t all come off.
9. In the end I did around 4 layers. I mainly tried to make sure the gaps between the sequins were filled and didn’t bother making it too tidy, straight or regimented.
Et voila! I have to say the this is exactly what I needed to satisfy my holiday-party-dress cravings! Can’t wait to wear it this week (can kinda see myself spilling red wine on it already…).
For more Before & After posts head here.
Outfit photos by Luke Casey
Like this easy DIY? Pin it on Pinterest!
