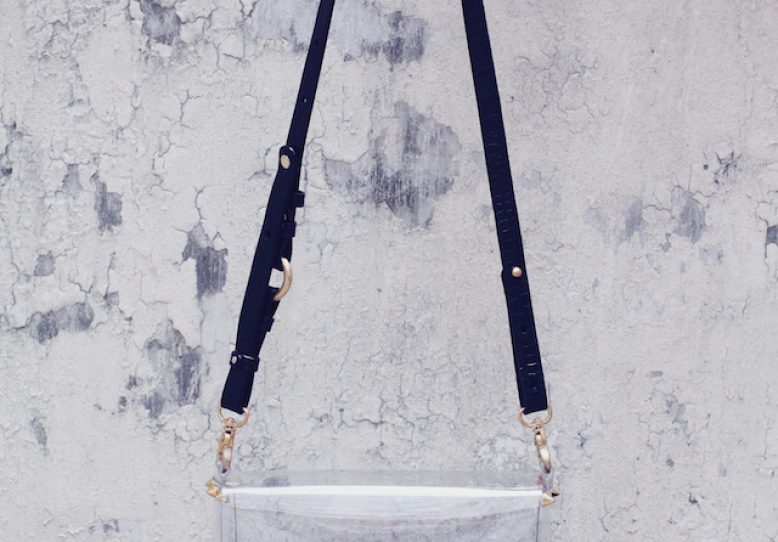
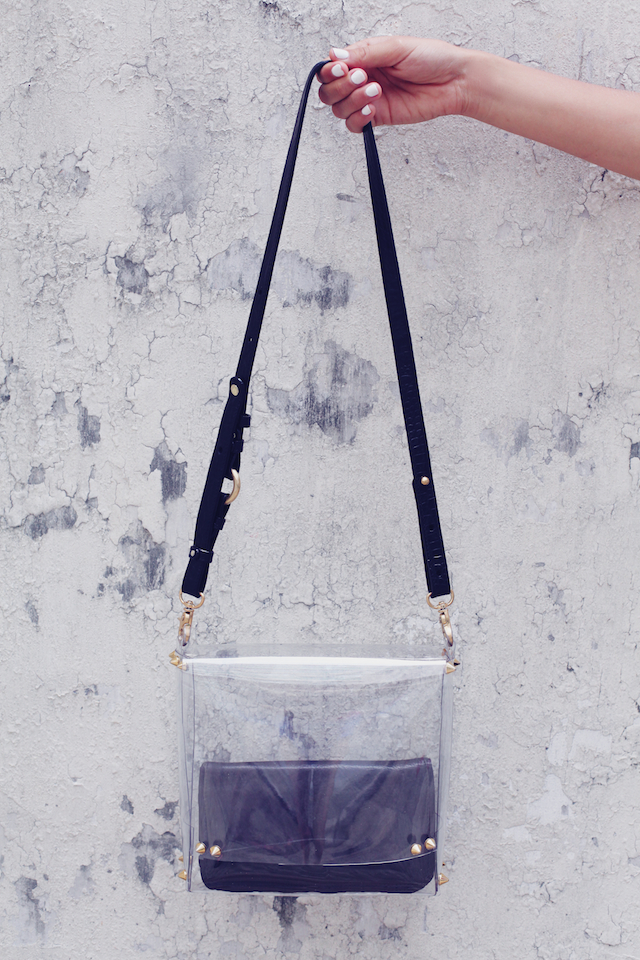
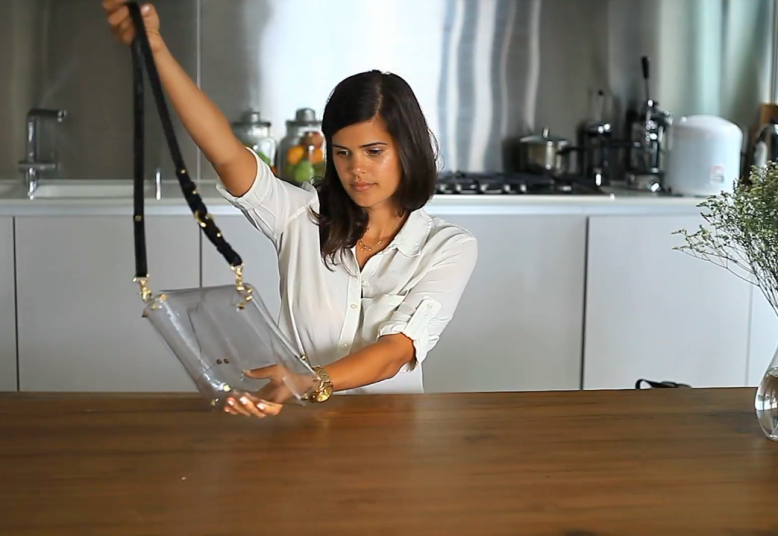
Introducing the DIY Transparent Satchel – my ALL TIME favourite project (worn here, here, here, here, here and just about everywhere else) and one that’s become a staple in my wardrobe. Because it’s transparent it goes with just about everything – for the first time ever I only needed one bag at Fashion Week recently in Sydney (first world problem? yes. but a happy moment none the less).
If you have a spare two minutes, feel free to watch the video and see how the bag is made and hear more about how it came about ( you can listen to me speak which is always slightly awkward – that’s so not my voice! – and yes my rising inflection makes everything I say sound like a question – thanks Australia for that one).
Supplies:
- Pre-cut/punched PVC template
- 20 gold cone studs
- Leather adjustable bag strap with luxe gold hardware
- Screwdriver
As I mentioned the kit comes pre-cut and hole punched, so all you have to do is fold and stud – see below for the steps.
How to:
1.Find the middle tab (the short one) and fold up.
2. Then fold the sides up and across the short tab making sure to carefully align the holes.
3. Fold the front flap over the top of the other two sides to ensure that the exposed edges of PVC are pointing towards the back of the bag.
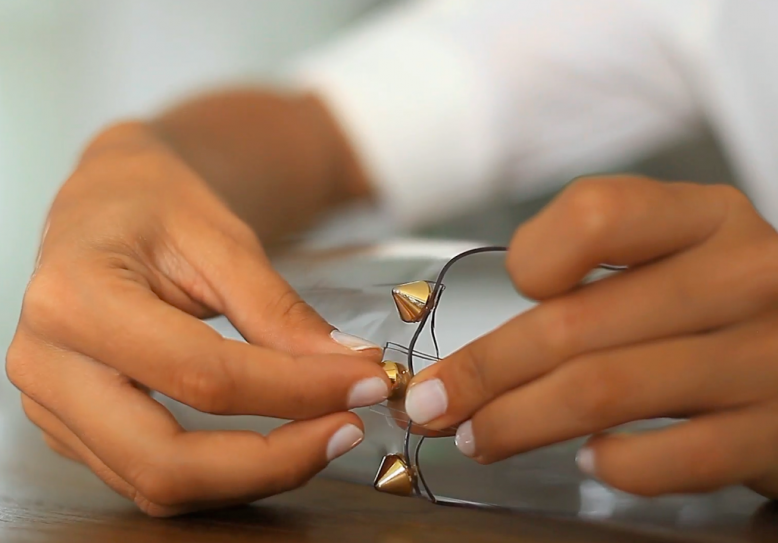
4. Push the screw through from the inside of the bag and secure with the cone stud fastening on top, ensuring you fasten all three layers of PVC together.
5. Do both sides as well as the top of the bag, screwing in the studs to secure.
6. Add the loop for attaching the strap by folding in half, pushing a screw through and then screwing onto the bag by pushing between the two layers at the top edge.
7. Attach the handle on both sides by clipping the clasps through the loops.
8. Add studs to the front flap of the bag.
9. Finally, carefully tighten all screws with the screwdriver, particularly the screw attaching the loops to the bag. This is very important so your bag can be used daily use and keep its shape.
Update: For those of you who are interested, the PVC template measures 35cm wide by 47cm long, with a 26cm flap!
