I’ve always been intrigued (and slightly baffled) by the process by which illustrators create their beautiful imagery, so I’m very happy that one of my all time favourite artists Kelly Smith (aka Birdy & Me) has agreed to shed some light on her process – from the first idea all the way through to the finished piece.
For those of you out there not familiar with her work, Kelly has the type of talent that most of us can only dream about – the ability to create whimsical and yet life like imagery that merges fashion and beauty to perfection. In short she draws life as we would all like to live it, full of flowers, pastels hues and perfectly tousled waves. Her illustrations have been commissioned by an awe inspiring number of magazines and brands, including Vogue, Net-a-Porter, H&M and Elle, and she is just about to publish the second book in a series entitled Sticker Fashionista. I couldn’t be more chuffed that Kelly took some of her precious time out to show us how she creates her amazing pieces, perfect for following along if you feel like honing your illustration skills (admittedly she makes it look easy when I imagine it’s anything but). Take it away Kelly!
There are so many different styles and techniques in illustration, and there’s definitely no right or wrong way to do it. Everyone has their own method and that’s what makes us all unique! So what I’m going to show you today is my process in 10 steps.
What I use:
- Paper
- Pencils (HB, B, 2B and a super soft lead like 3H)
- Eraser
- Watercolour paints & brushes
- Scanner
- Adobe Photoshop.
1. INSPIRATION
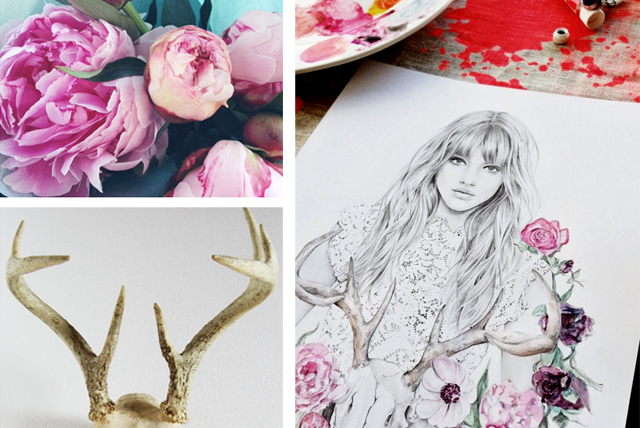
Inspiration is the first step in any creative process. If you don’t have idea immediately, turn to what inspires you; imagery, nature, films, music – it can be anything. Once you have an idea you can start to gather images that reflect your vision.
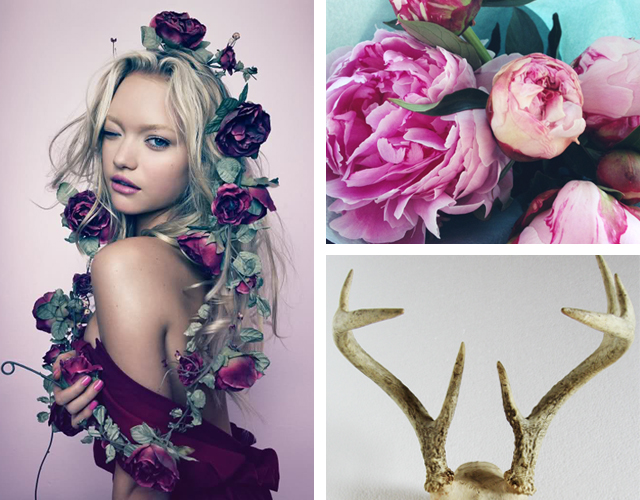
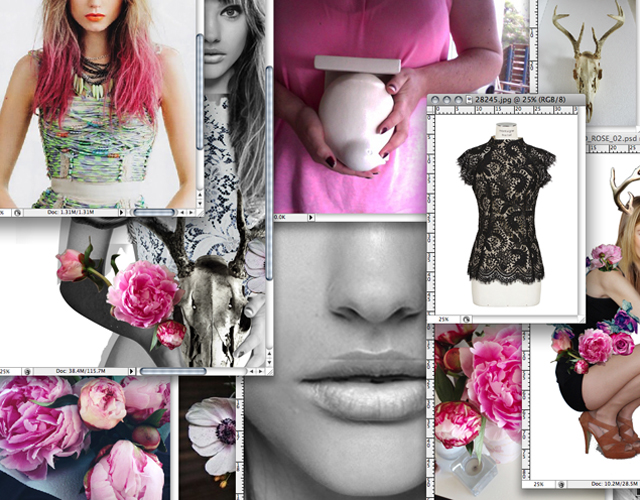
2. REFERENCE IMAGERY
Create your reference image. Some illustrators work from their imagination. Others, like myself, work from reference imagery. I like to photograph my own images and collage them together with various others to create one picture to draw from. I’m pretty exact with this due to the realistic style of my work.
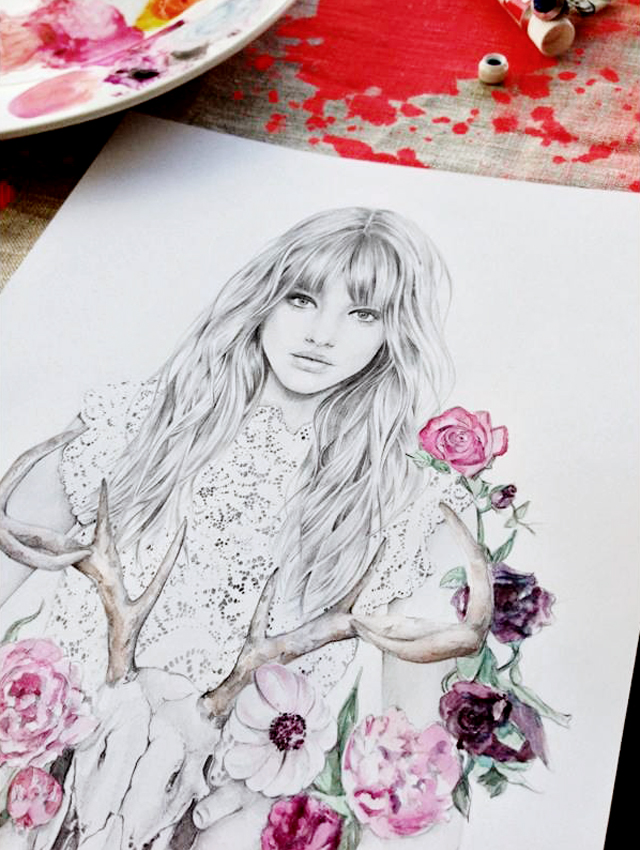
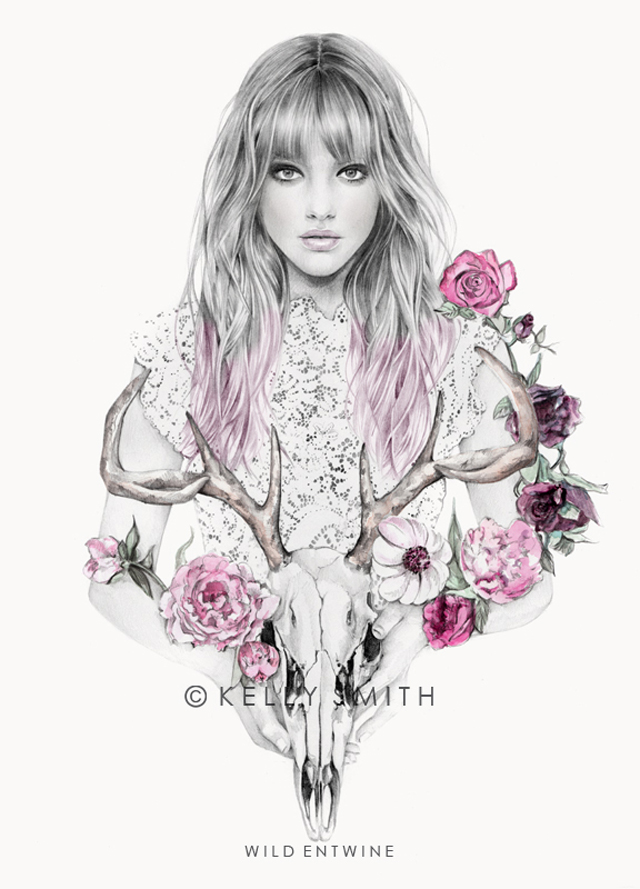
For this particular image I photographed myself holding an object of similar size to a skull. I then used images of flowers that I had photographed, along with the hair and facial features of various models that had been collaged together.
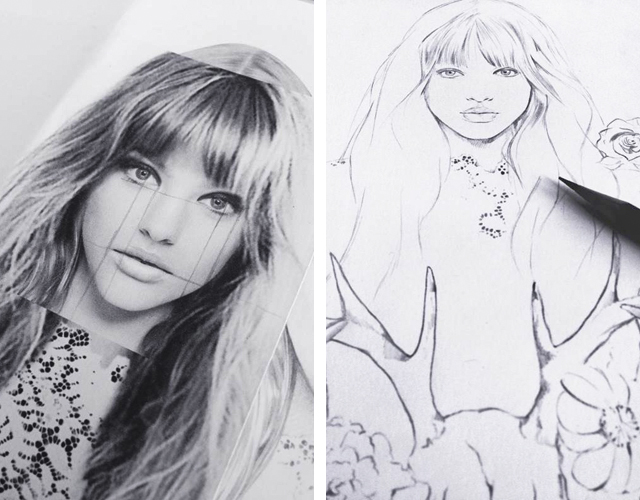
3. START SKETCHING
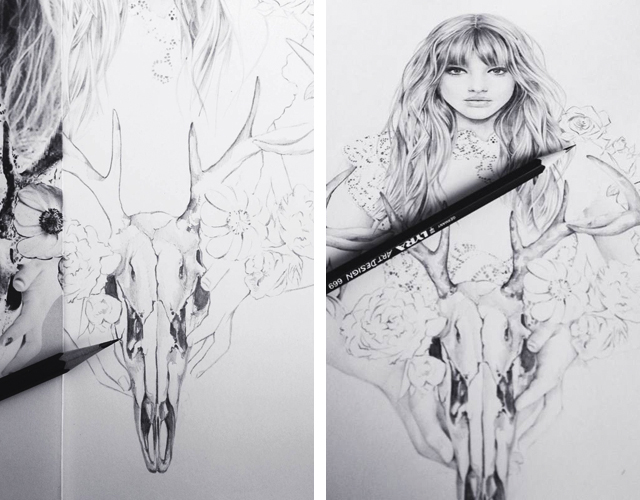
Using your reference image as a guide, start sketching out an outline. This will help you keep your proportions in tact before you start finalising the pencil work. Some people like to draw up grids to keep to scale. As I work on quite a small scale I prefer to draw rough lines over the reference image only so I can easily see where certain features or body parts line-up.
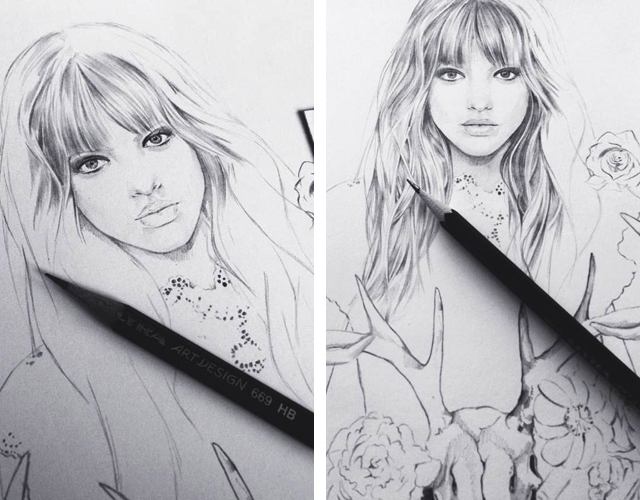
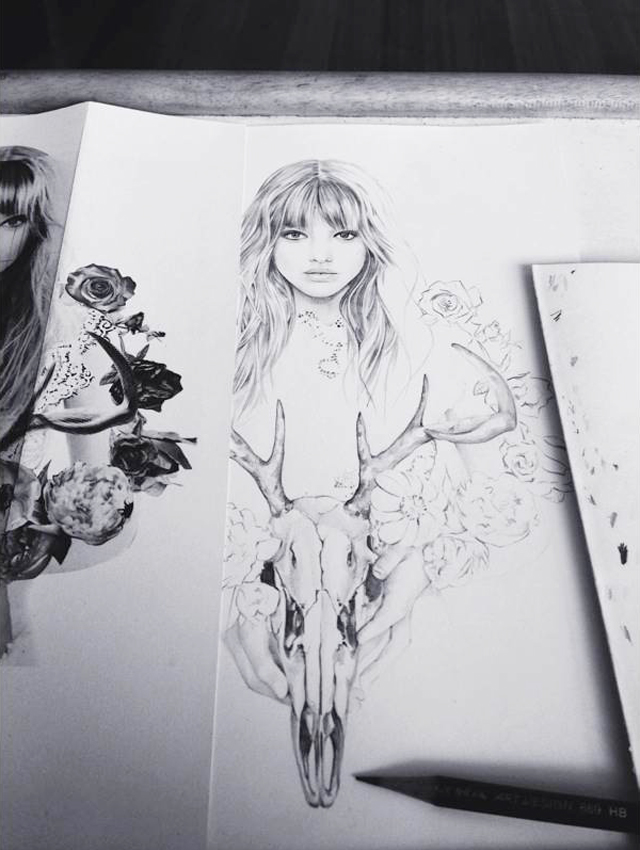
4. KEEP SKETCHING
Start refining your lines and existing pencil work. Don’t worry about going too thick or dark as you can erase these markings as you start to develop each area. We’re essentially ‘filling in the lines’ and developing depth and tone with shading and more refined pencil work.
5.TAKE A BREAK
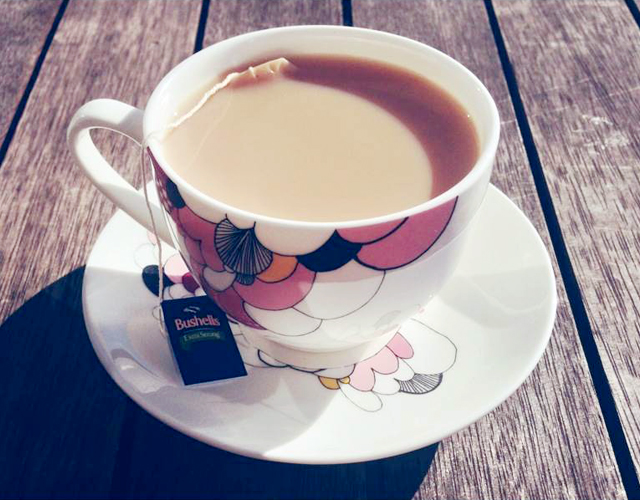
Step back from your work. Have a break – grab a coffee or a cup of tea– and take 5 minutes out. Sometimes when you look at the something for too long, you can start to lose perspective. It’s really nice to take some time out and focus on something else for a little while and come back to a project with fresh eyes. This helps you to spot any flaws in the work, which you can then fix up or change.
6. SCAN
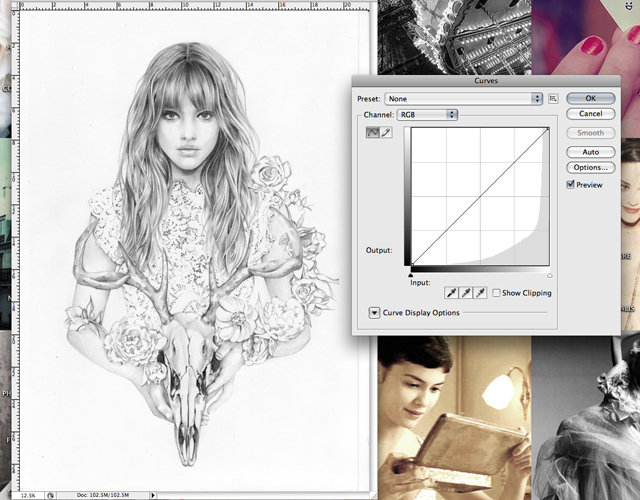
The next step is to move the finished illustration onto the computer. I like to do this as soon as I’ve completed all pencil work, especially before I apply any paint or other medium. It means that you have a perfect digital copy of the work, just in case you make any mistakes! Unlike pencil, paint or ink does not rub out!
7. ADD WATERCOLOURS BY HAND
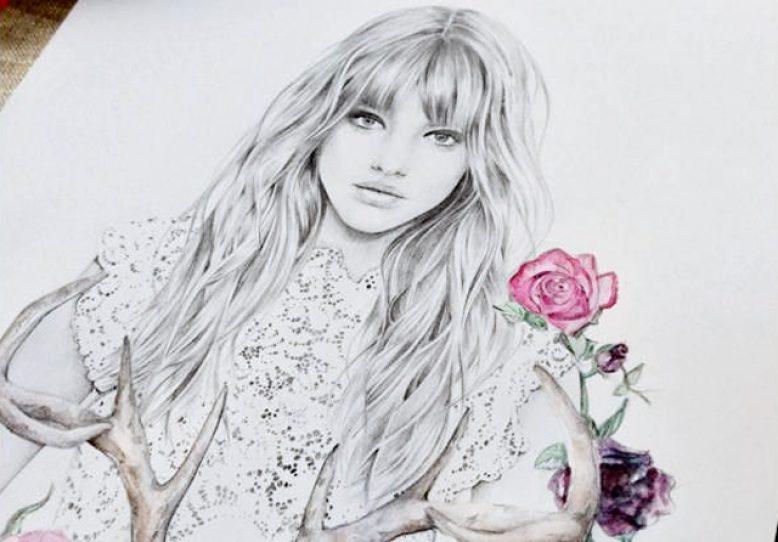
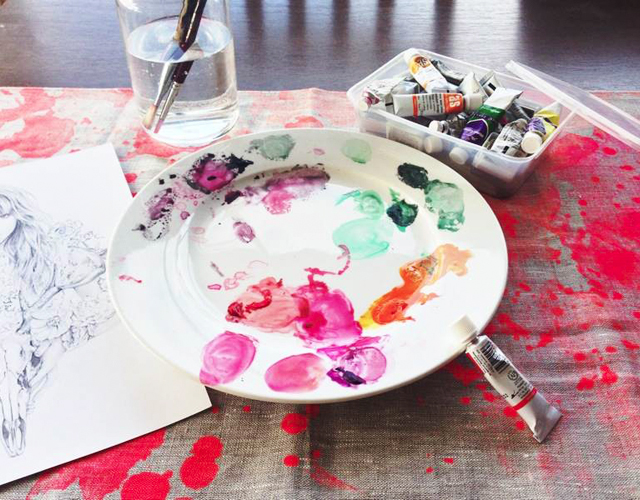
Sometimes I just add a little bit of colour digitally in photoshop, but this time I’m adding watercolour. It’s good to build the colour up slowly, so start with the lightest colour first and then add darker shades to create depth and texture.
8. RE-SCAN
When the paint is dry, scan the illustration again. Be careful to keep it perfectly straight on the glass so that both scans line up when you overlay them.
9. EDIT
Adjust the layers/contrast/shadows on the original scan until you’re happy with the tones. Clean up any dust or smudges. I use the clone tool. Do the same with your painted scan.
10. LAYER IMAGES
Finally, overlay both of your scans so that you’re left with one image. Create one, or two, more layers, depending on how much colour you want to apply digitally. I like to add subtle colour to the face – digital make-up if you will!
TA DA!
Now that I’ve finished – save, save save! You should now be left with a perfect digital file of your illustration.
Thanks so much Kelly! You can purchase a print of one of Kelly’s drawings here, and make sure to check out her website for more of her gorgeous work and updates on her new book to be released this month.


