Ever since Alexander Wang brought out his studded Diego bag (so long ago now!) I’ve had a whole lotta love for the bucket – something about it is just so easy to wear – to me it’s the perfect chilled out summer bag. This season I’ve been seeing bucket bags everywhere – from classic minimal ones to neon brights to crazy patterned ones, and I love them all! I had some metallic PU fabric that I didn’t know what to do with and decided to try my hand at making myself a bucket bag – not the most simple project around but definitely one of the most rewarding. Read on to see how I made it, and how you can make one too!
You need:
- 2 meters (2.2 yards) of PU leather, heavy woven fabric or light leather
- 2 meters (2.2 yards) of stiff fabric for the lining
- scissors
- a measuring tape
- a ruler
- matching thread
- a sewing machine
- pins
How to:
1. Determine the size you want for the base of your bag. I hunted around in the kitchen and used a strainer because I thought it was the right size (don’t laugh – it was the only thing I had in that perfect size – in between a plate and a saucer!). Use a pen to trace it onto the leather/fabric.
2. Cut out the base.
3. Then cut out the side panel. To do this you need to work out the correct length so measure the diameter of the circle you cut (from side to side going through the middle) and then times that by π = 3.14. Remember maths at school? Circumference = diameter x π. If you need a little assistance – use the calculator here. Make the height of the side panel equal to how tall you want your bag to be – with a few extra inches to allow you to turn over and sew down the edge.
Click on the template to enlarge.
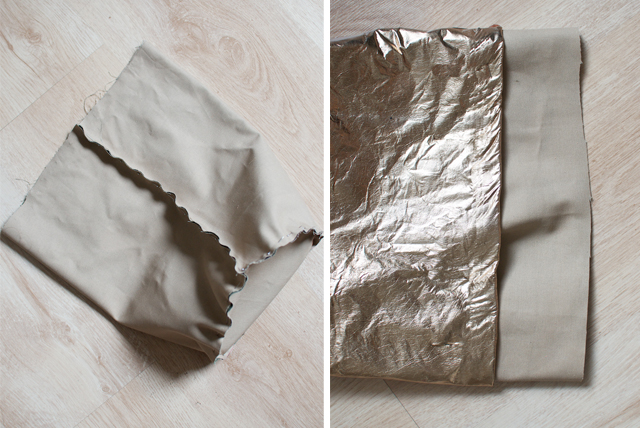
4. Fold the side panel in half and then sew along the short edge with your sewing machine, leaving the top two inches open (so you can turn down and hem).
5. Pin the side panel (which will be a cylinder now) to the base.
6. Sew the edges. This can be tricky so take it slowly.
7. Recreate the exact same process for your cotton lining.
8. Pin and sew the lining properly, and then, with the seam facing out, slide it into your bag.
9. To secure the lining in place, fold the top edge of the outside fabric over the lining onto the inside and sew down. You may have to trim the lining shorter to fit it properly. If you are using fabric for the outside you should double over the edge so you don’t get any fraying.
10. To make the holes for the drawstring/strap you have a few options. If you are using fabric I would use a grommet maker so that you don’t have any fraying happen from the strain of the drawstring, however if you are using leather or PU leather, you can cut slits instead – which is what I did. Measure where you want the holes to go – you want to do an even number of holes so the strap comes out at the back on each side of the seam.
11. Cut the holes, making sure they are the same height and avoid cutting the lining.
12. Sew your strap by folding over and sewing down, make it around 1 m (1.2 yards) long. If you are using fabric for this I would sew the strap inside out and then turn right way out so you don’t have too much fraying,
13. Thread the strap through.
13. Centre the strap so either end comes out beside the back seam and then link the strap up and sew together (by hand or machine) so the drawstring also acts as a long shoulder strap.
There you have it – I can’t wait to use this all summer!
Wearing: DIY Bucket Bag, Macgraw Shorts and DIY leather collar denim shirt
This was the first time I’ve tried to make a bucket bag and I think it turned out a-ok (practice makes perfect after all!) – I can’t wait to make the same style in some thick white fabric (I’m thinking neoprene!) for summer.
Photos of the finished product by Lauren Engel


