


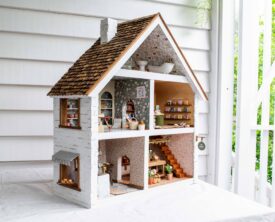
Just launched!
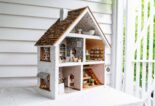
My Dollhouse Course
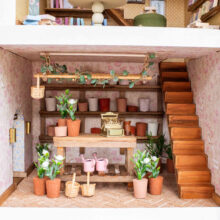
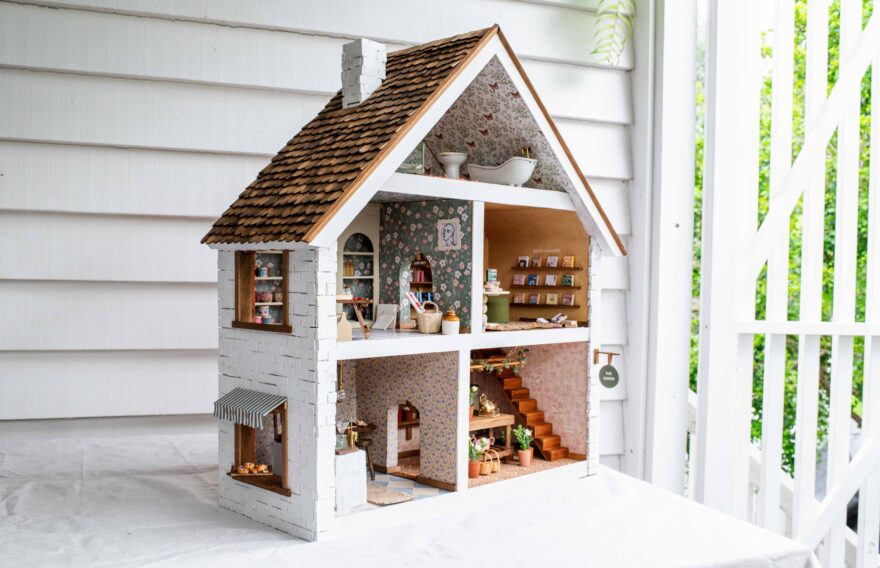
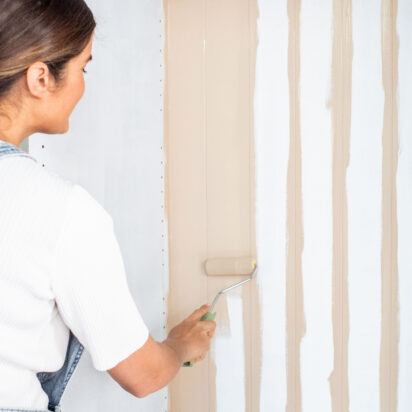
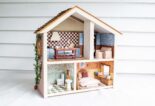
It’s finally live! With 33+ video lessons, TWO new dollhouses, a dollhouse project planner, a comprehensive shopping guide and so much more, I’ve poured my heart, soul and SANITY into this course over the last few months. And for a limited time it’s a ‘miniature’ price so you can get starte
Enroll Now


")


