


DIY Storage
How To Make A Mug House
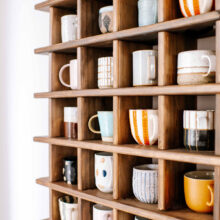
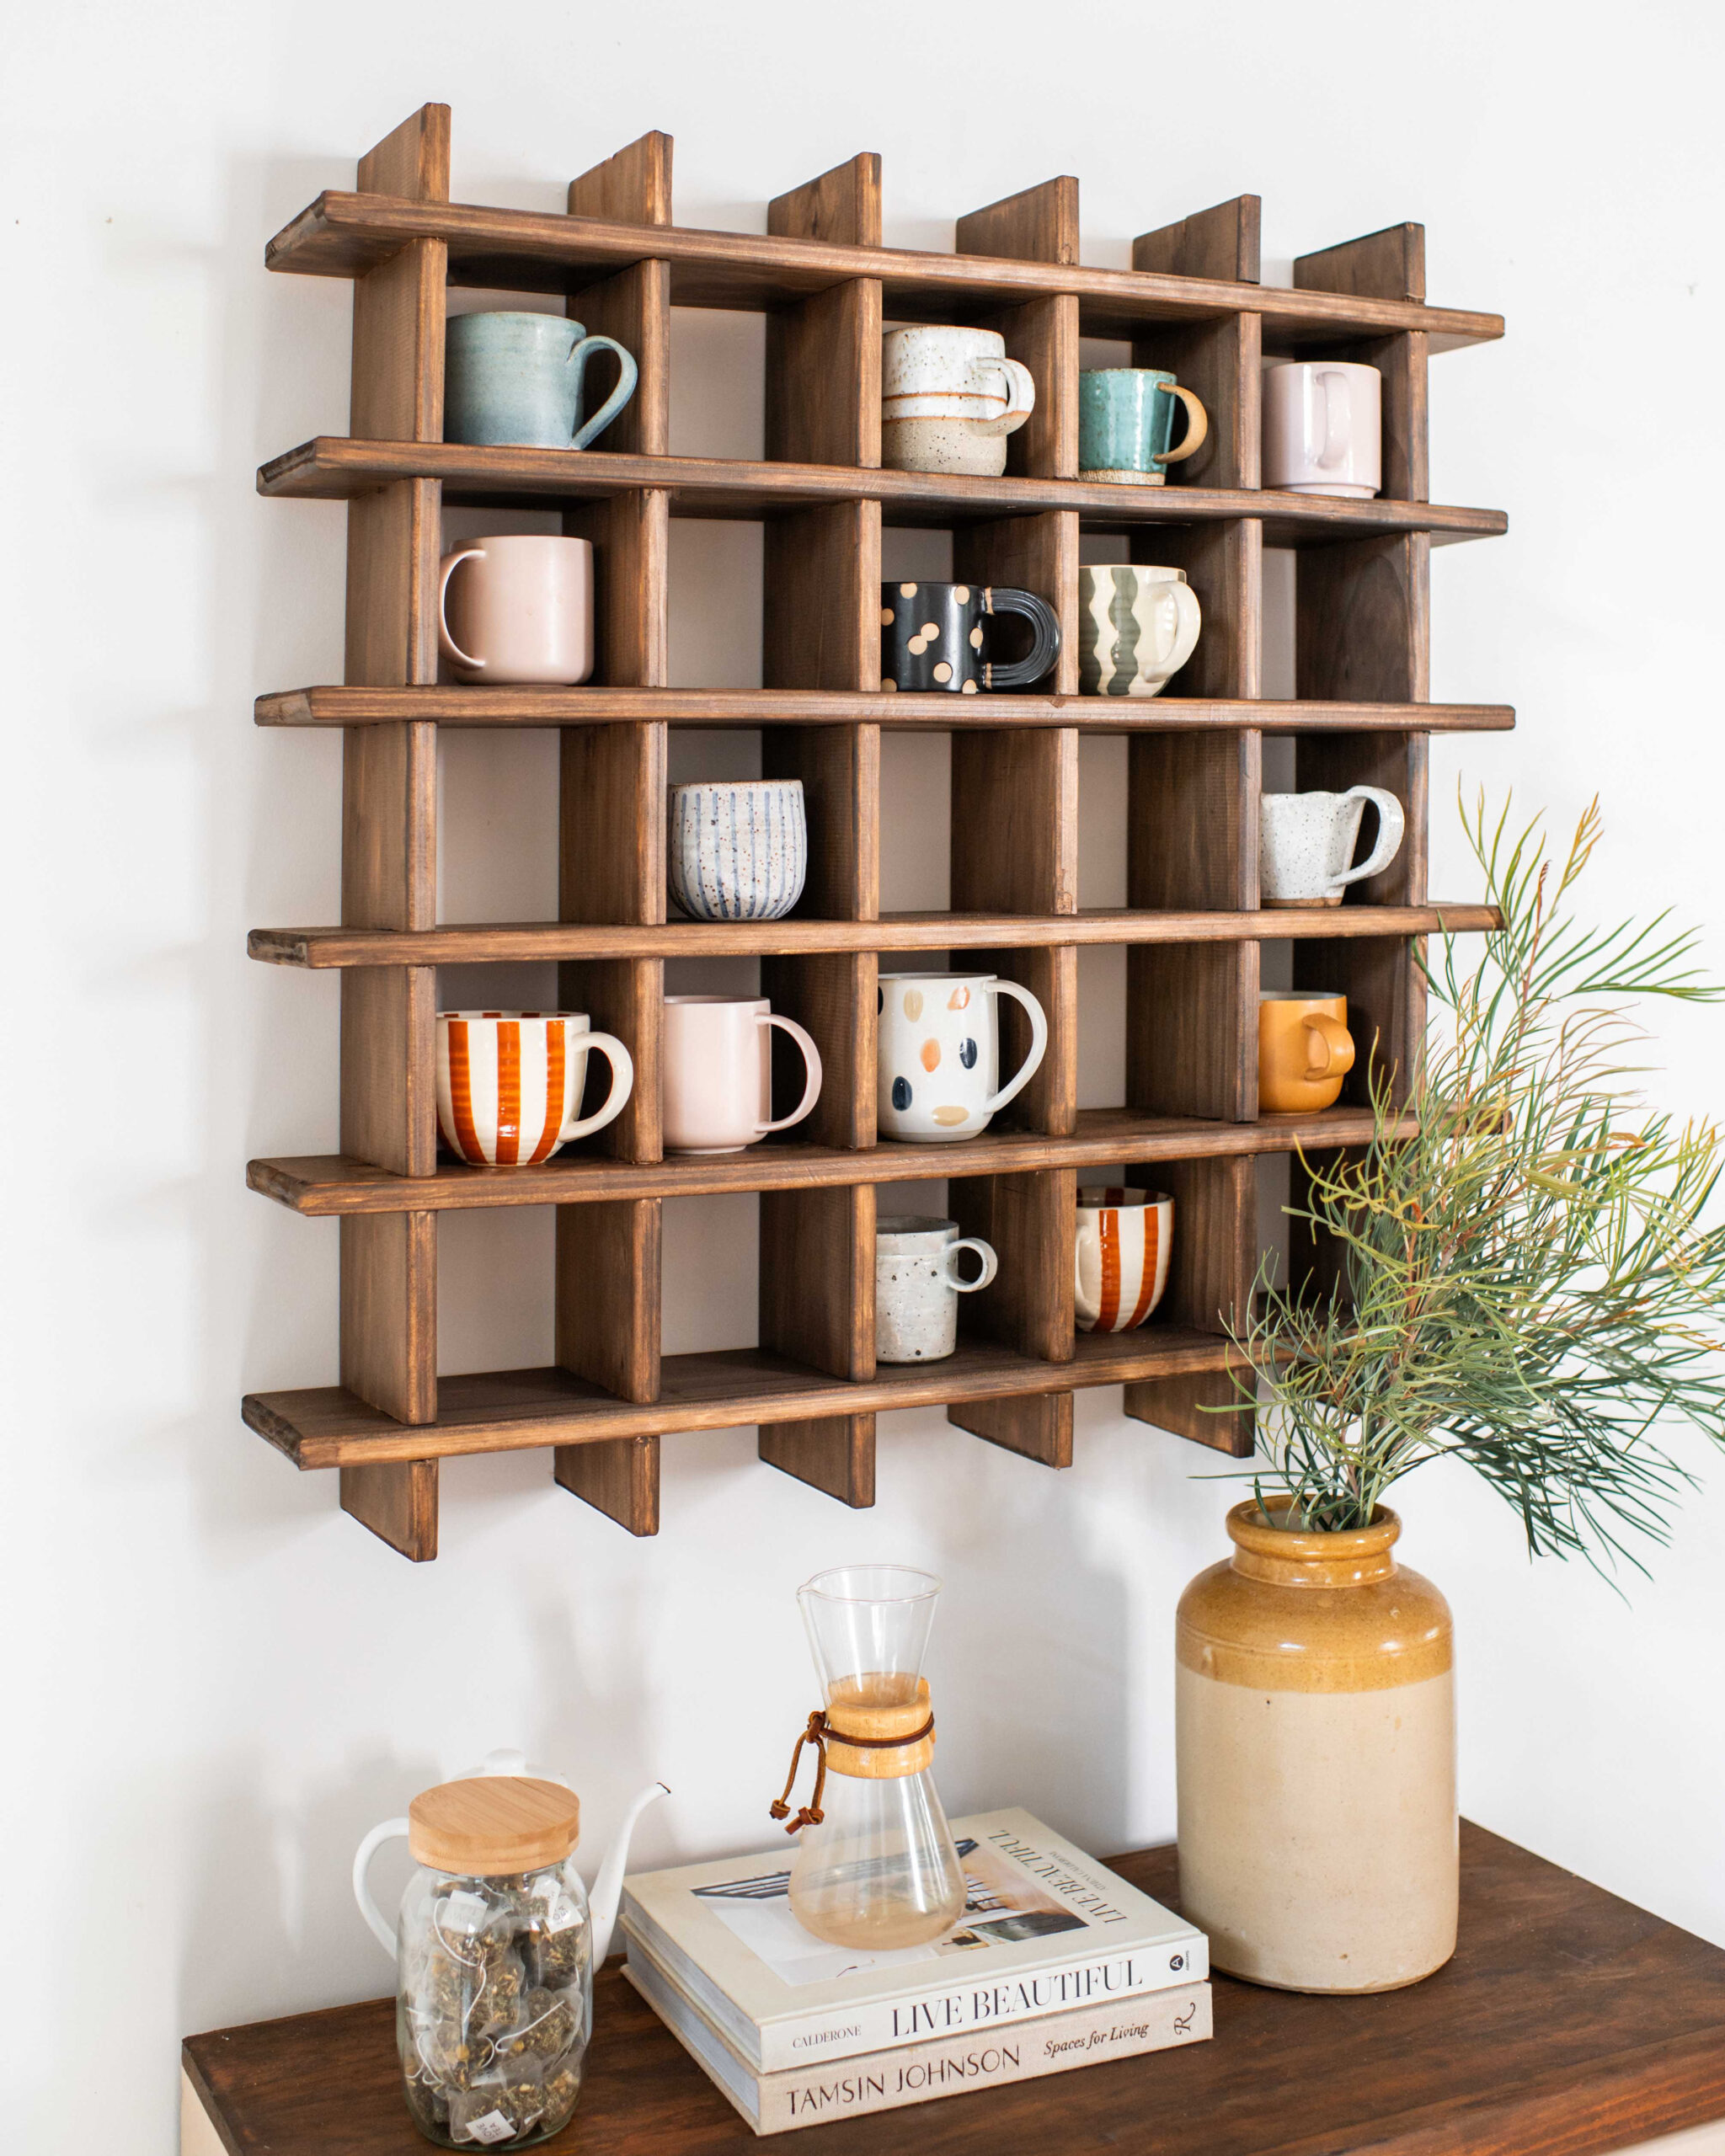
We made a house for our mugs! You are probably all aware of my love...
Read
We made a house for our mugs! You are probably all aware of my love...
Read Front Door")

We have a new front door! I know, it feels like the end of an...
Read
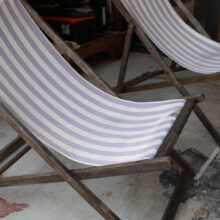
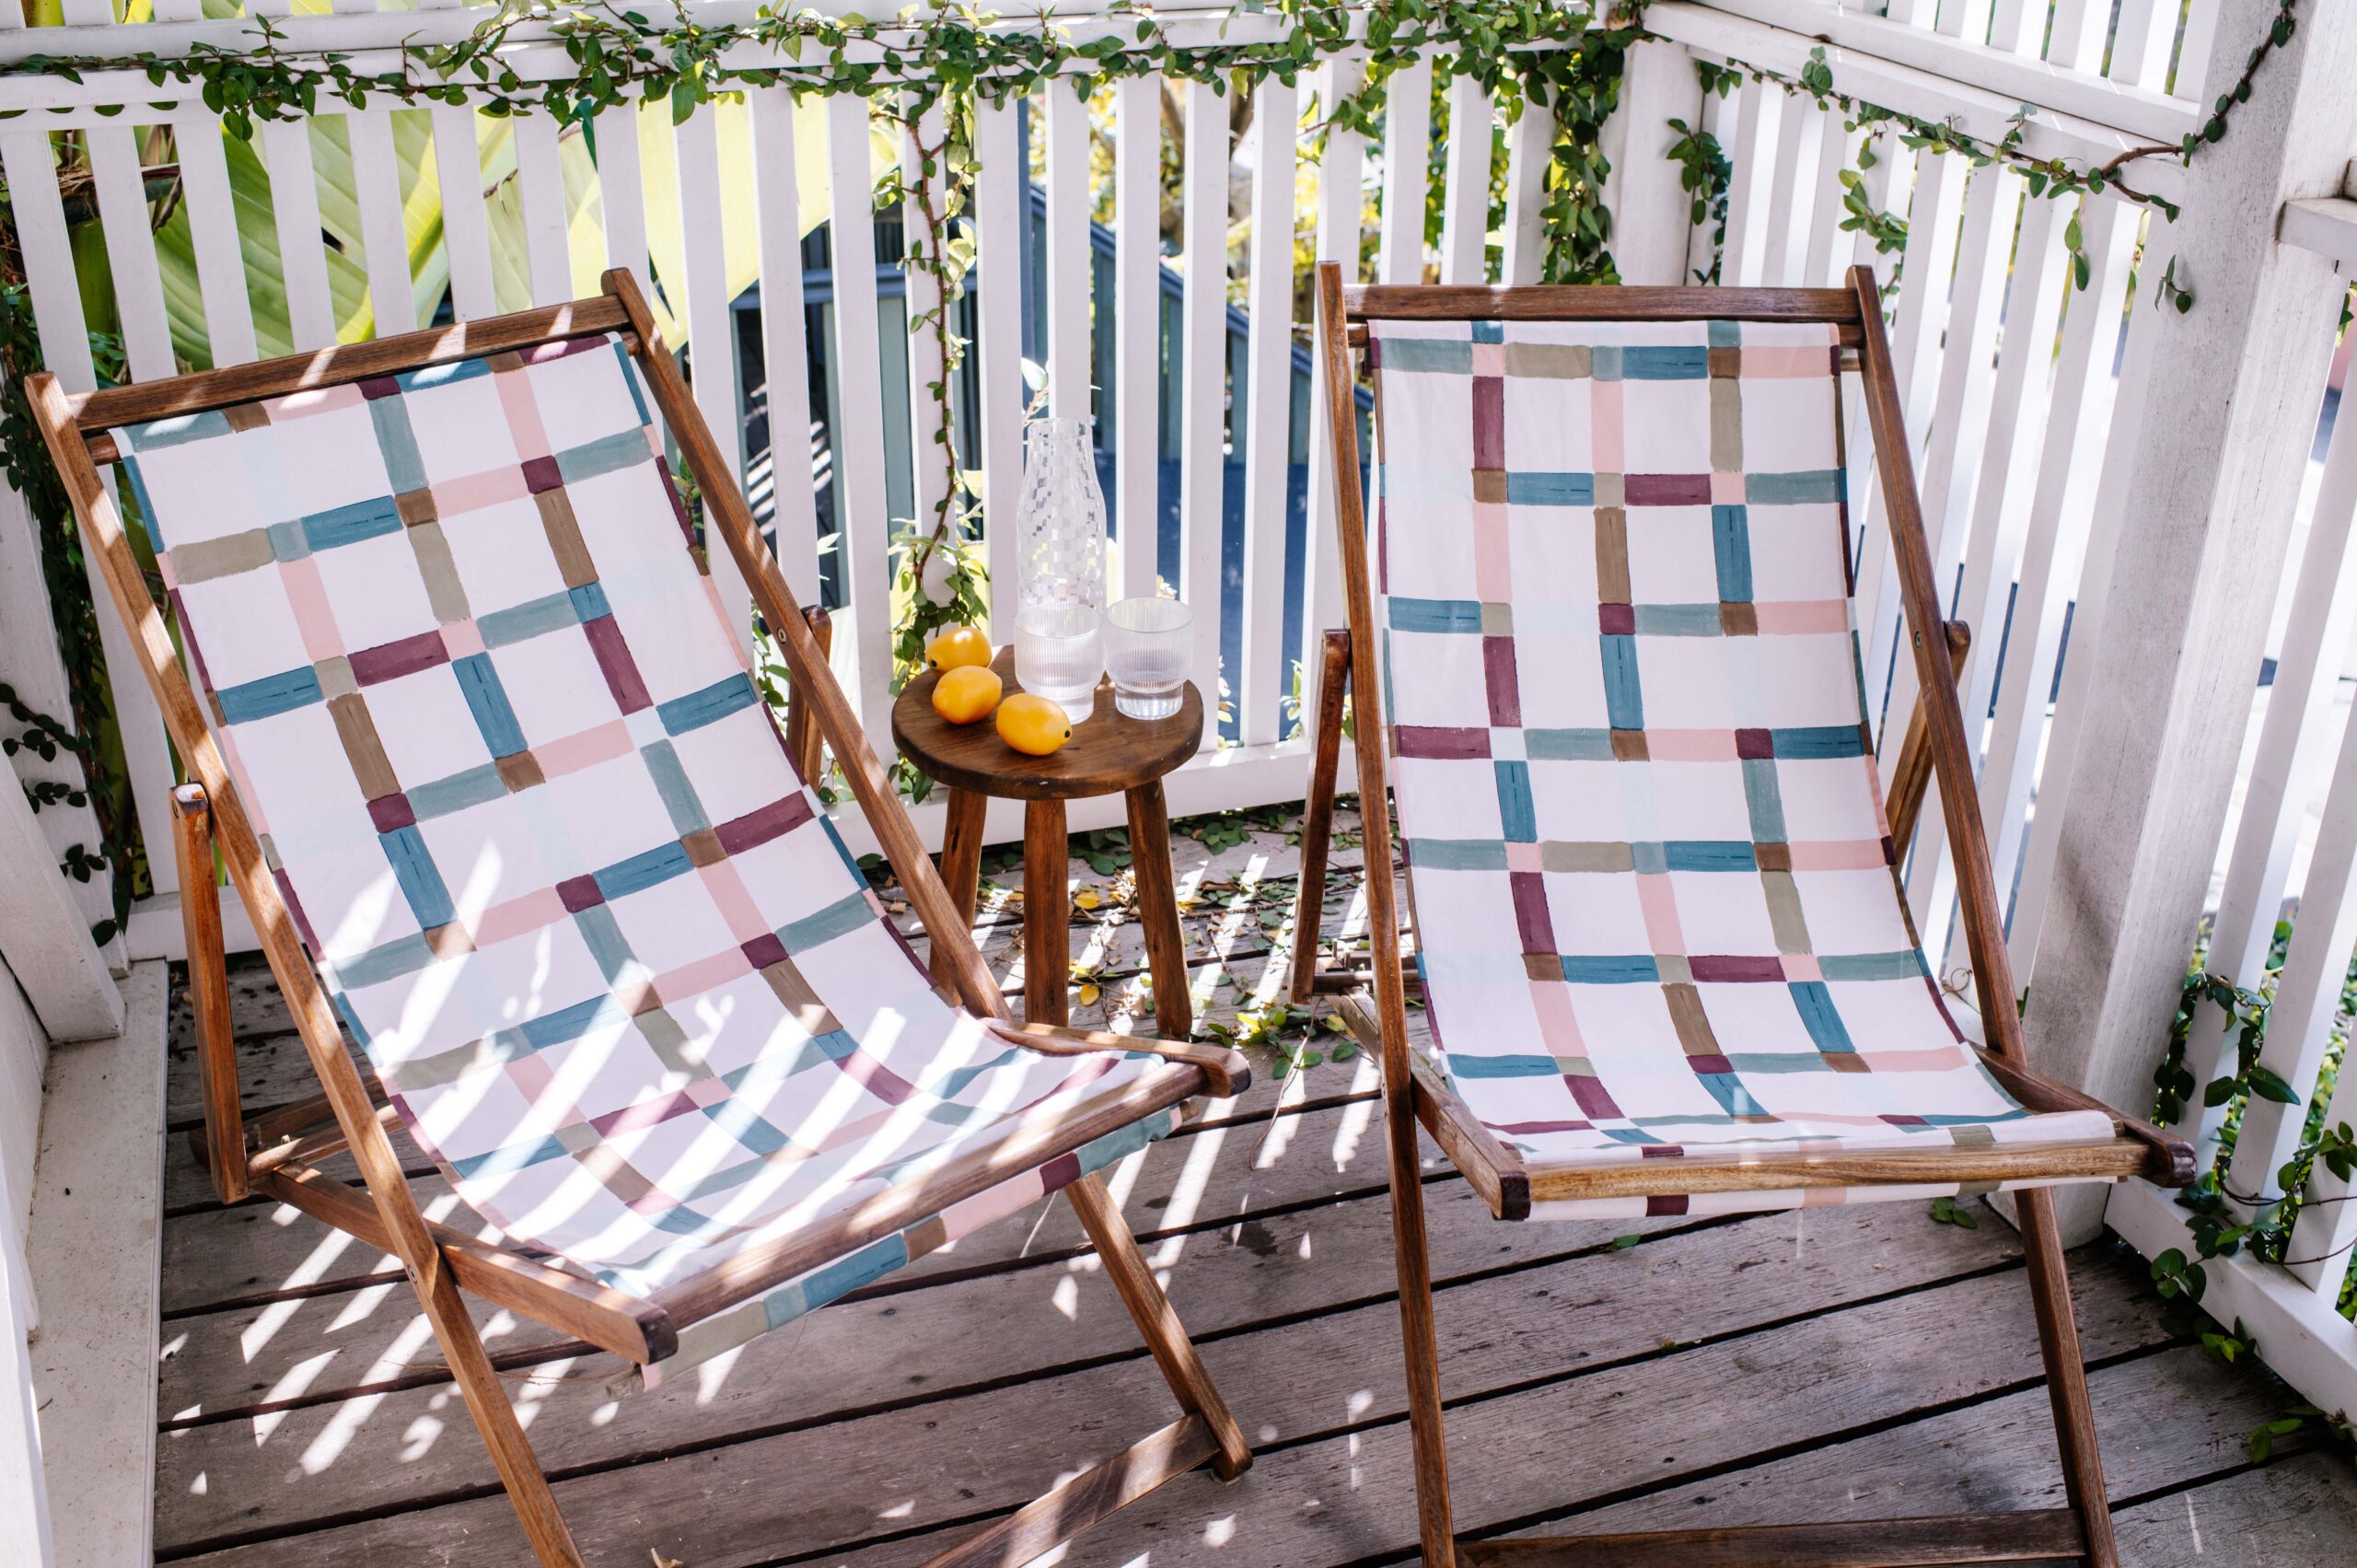
I love the feeling I get when the weather starts warming up and the memory...
Read
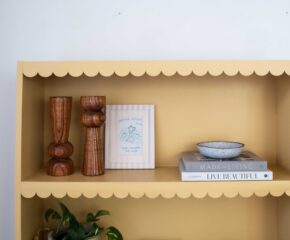
Honestly, this is such a huge transformation and I’m so excited about it! I’ve been...
Read
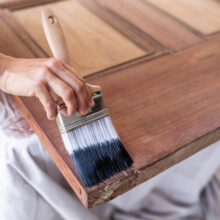
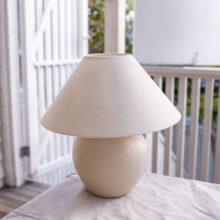
If you're looking but a seriously cute update to a basic piece of furniture, this...
Read

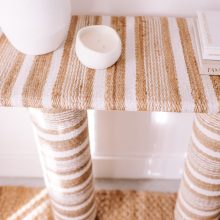
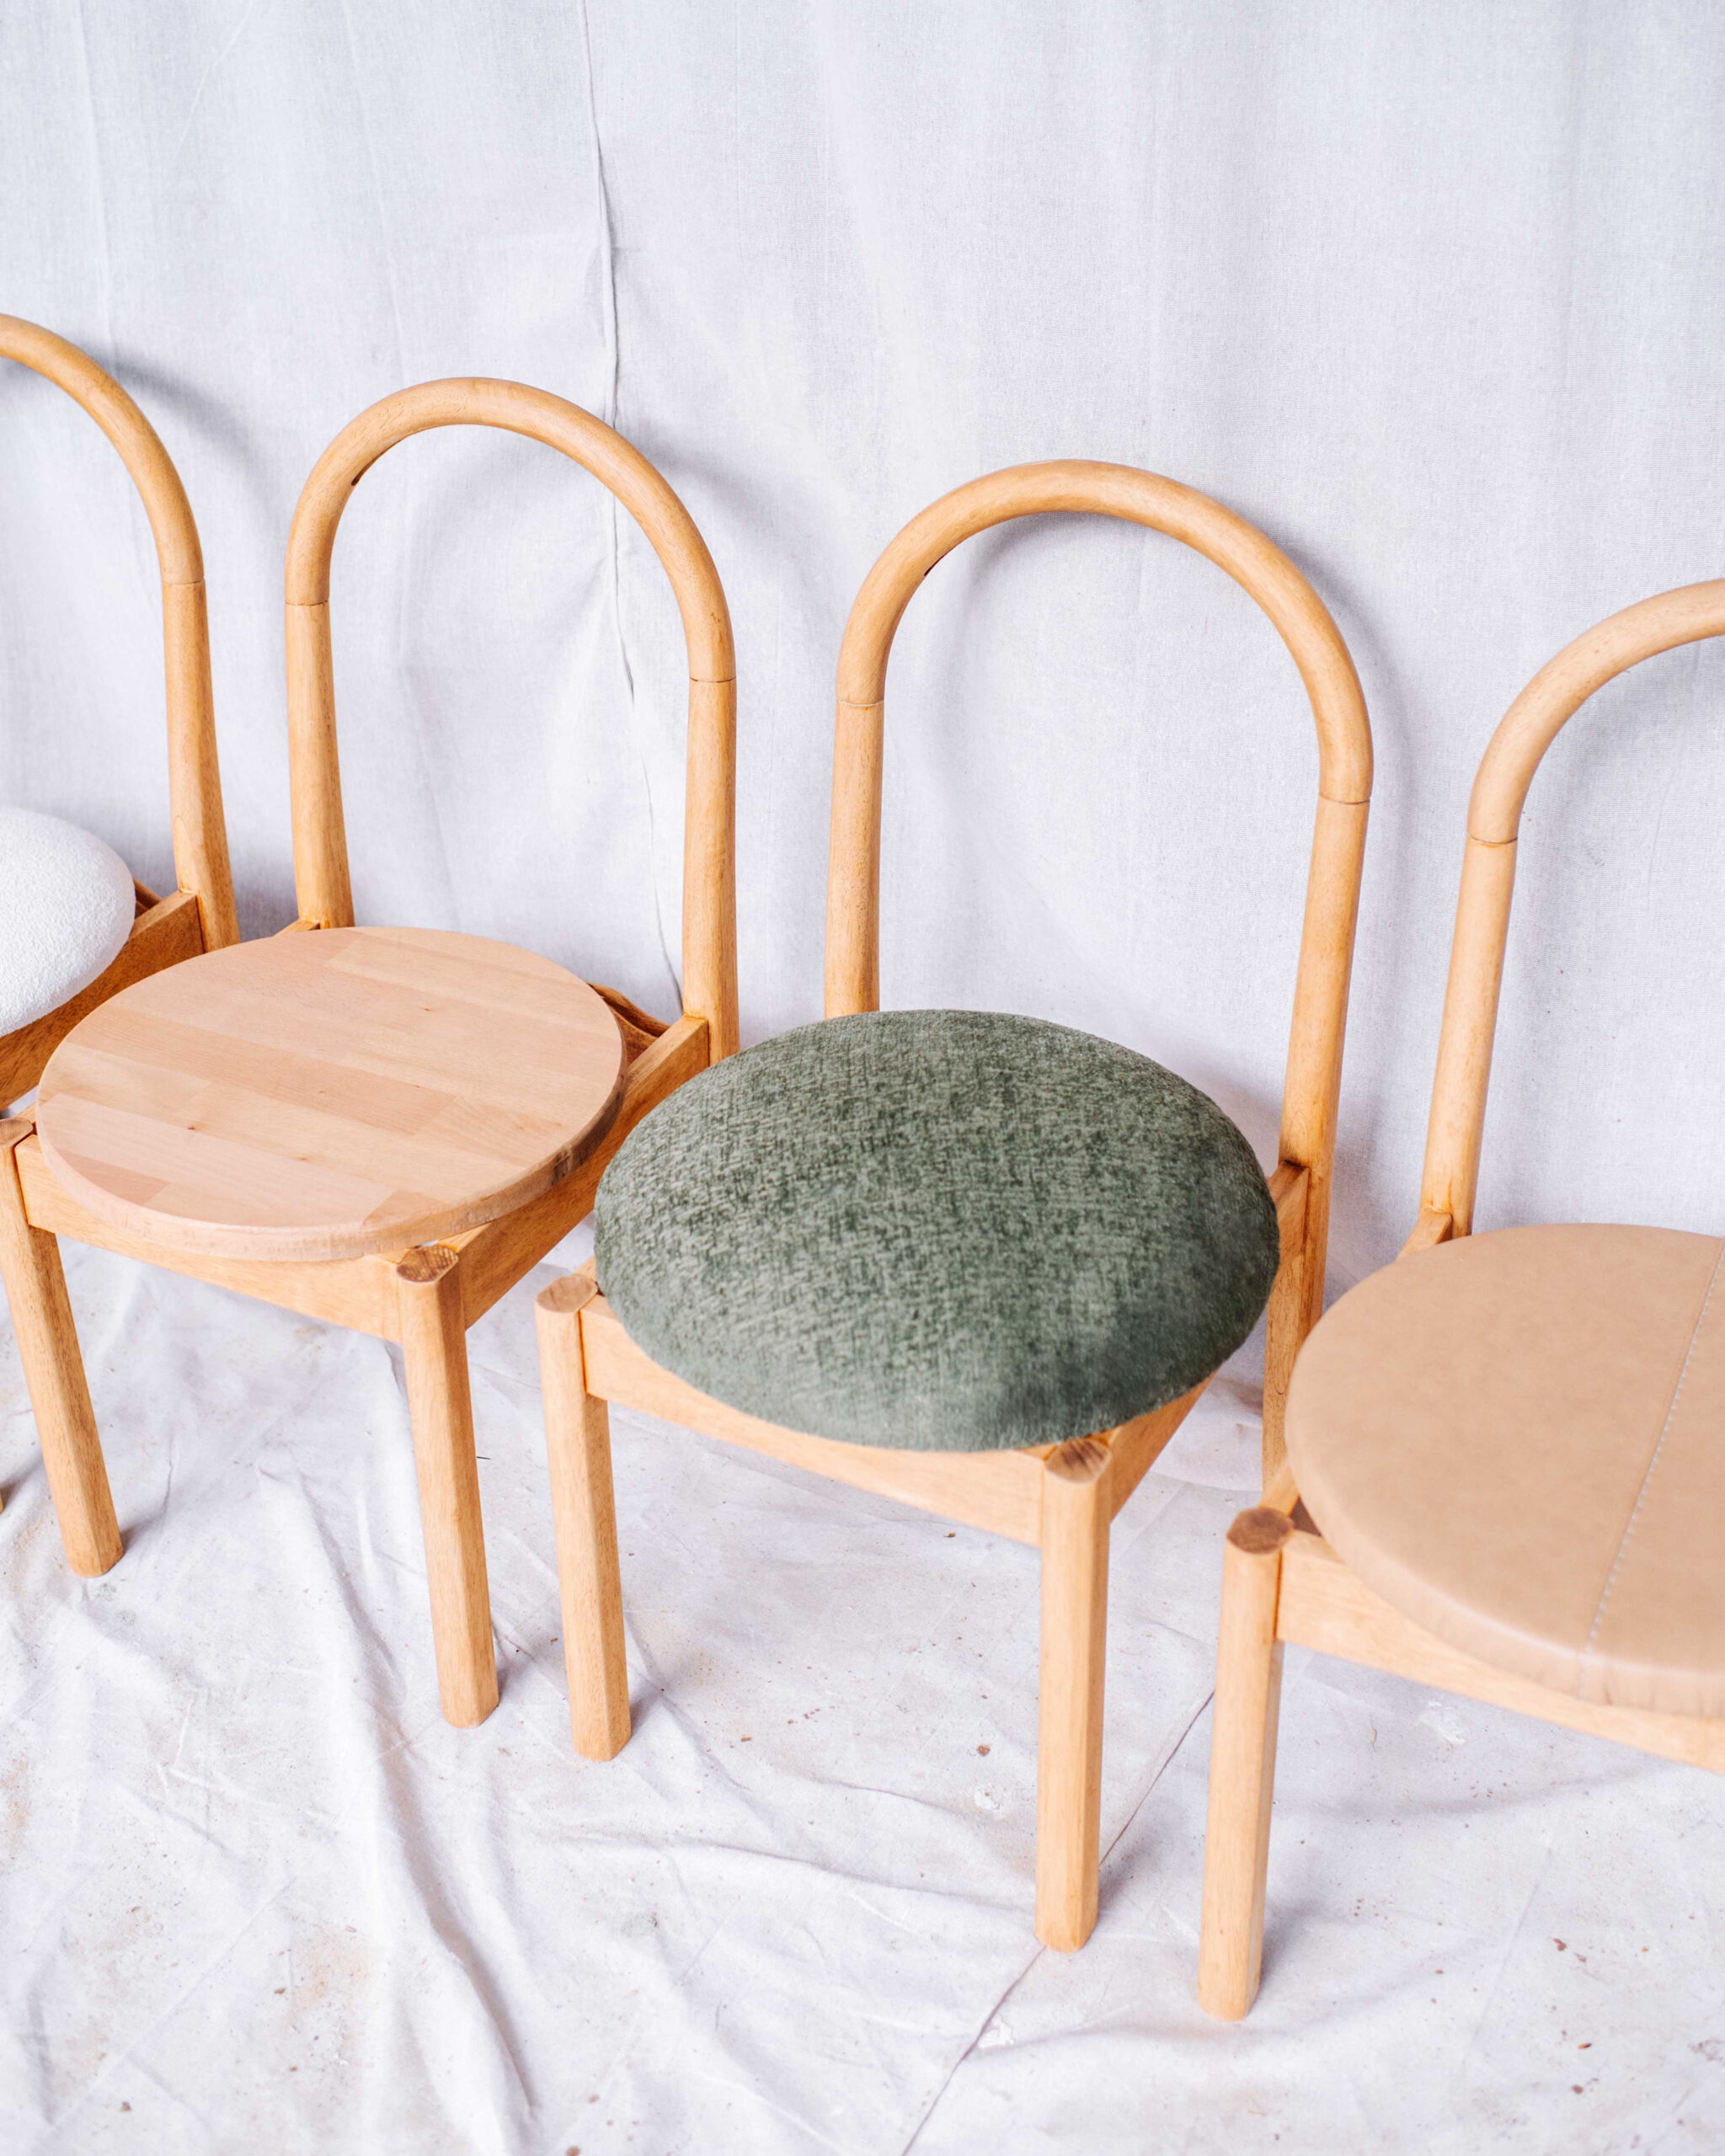
I've felt so inspired by textured furniture lately and have been wanting to have a...
Read
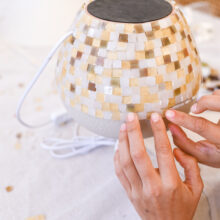
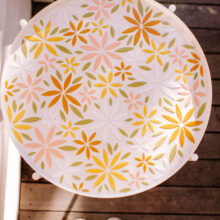
I honestly can't believe I'd never tried mosaics until this week! As a lover of...
Read
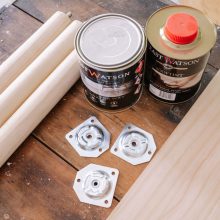
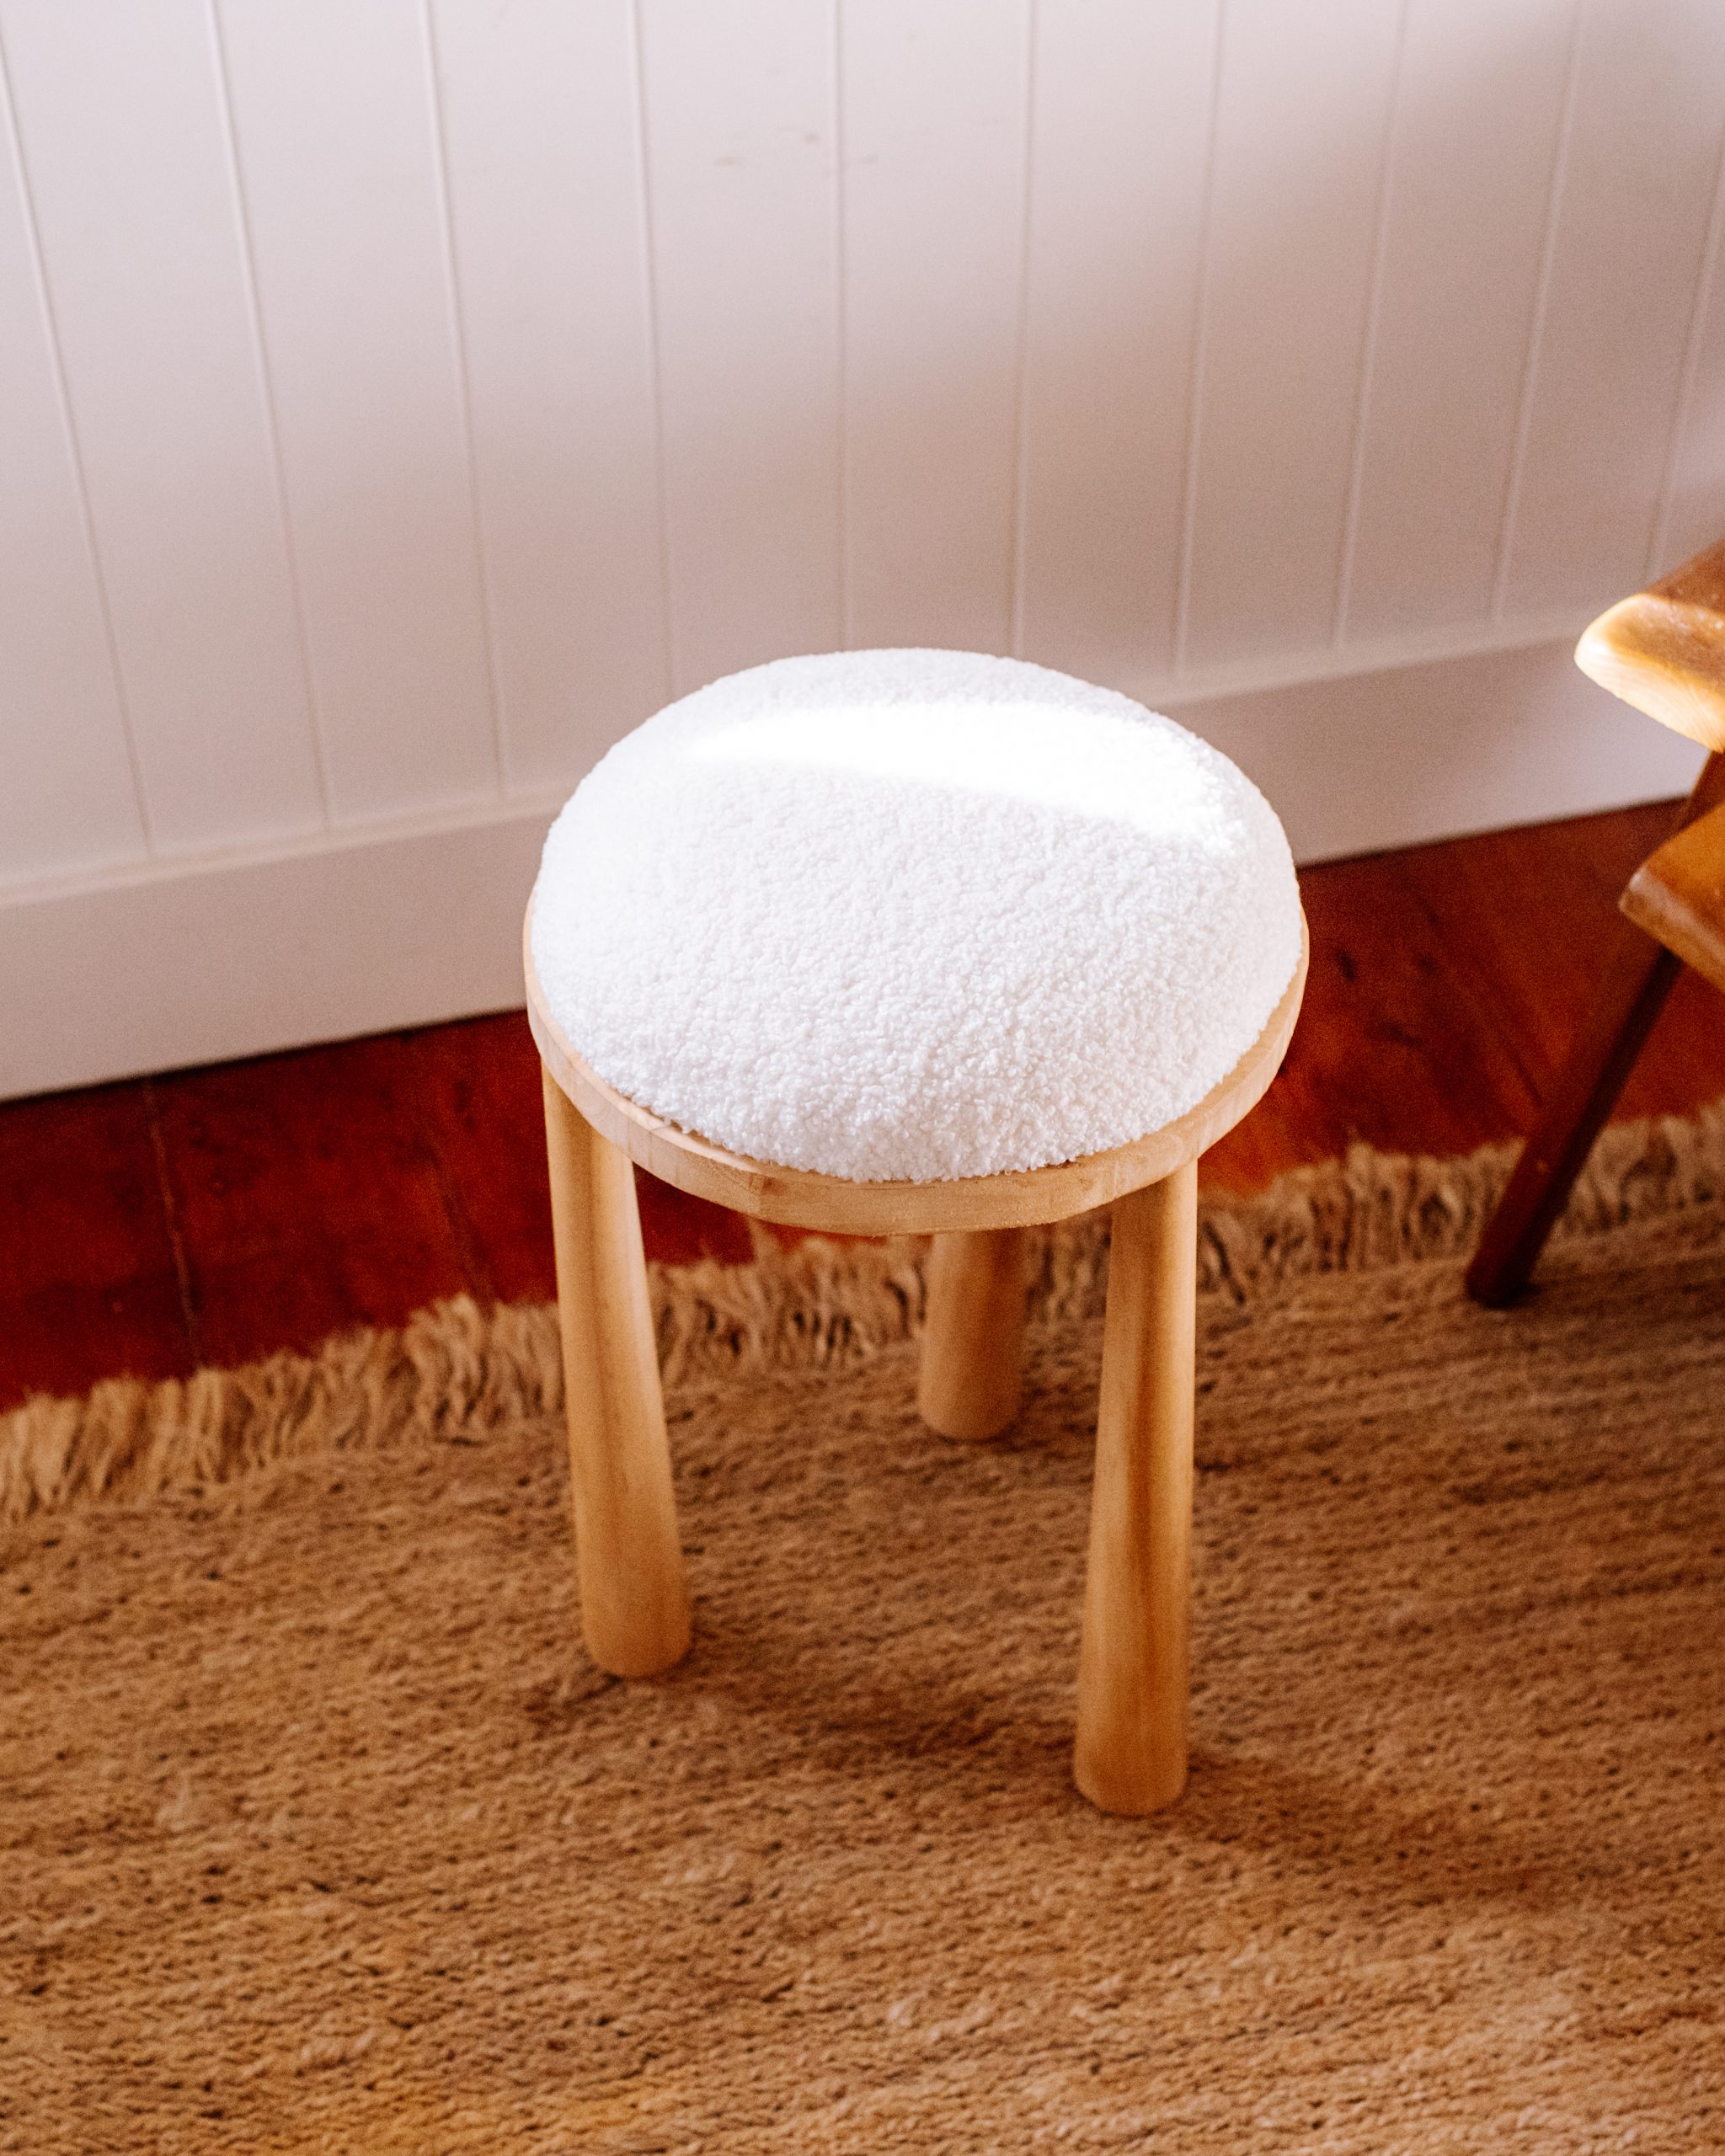
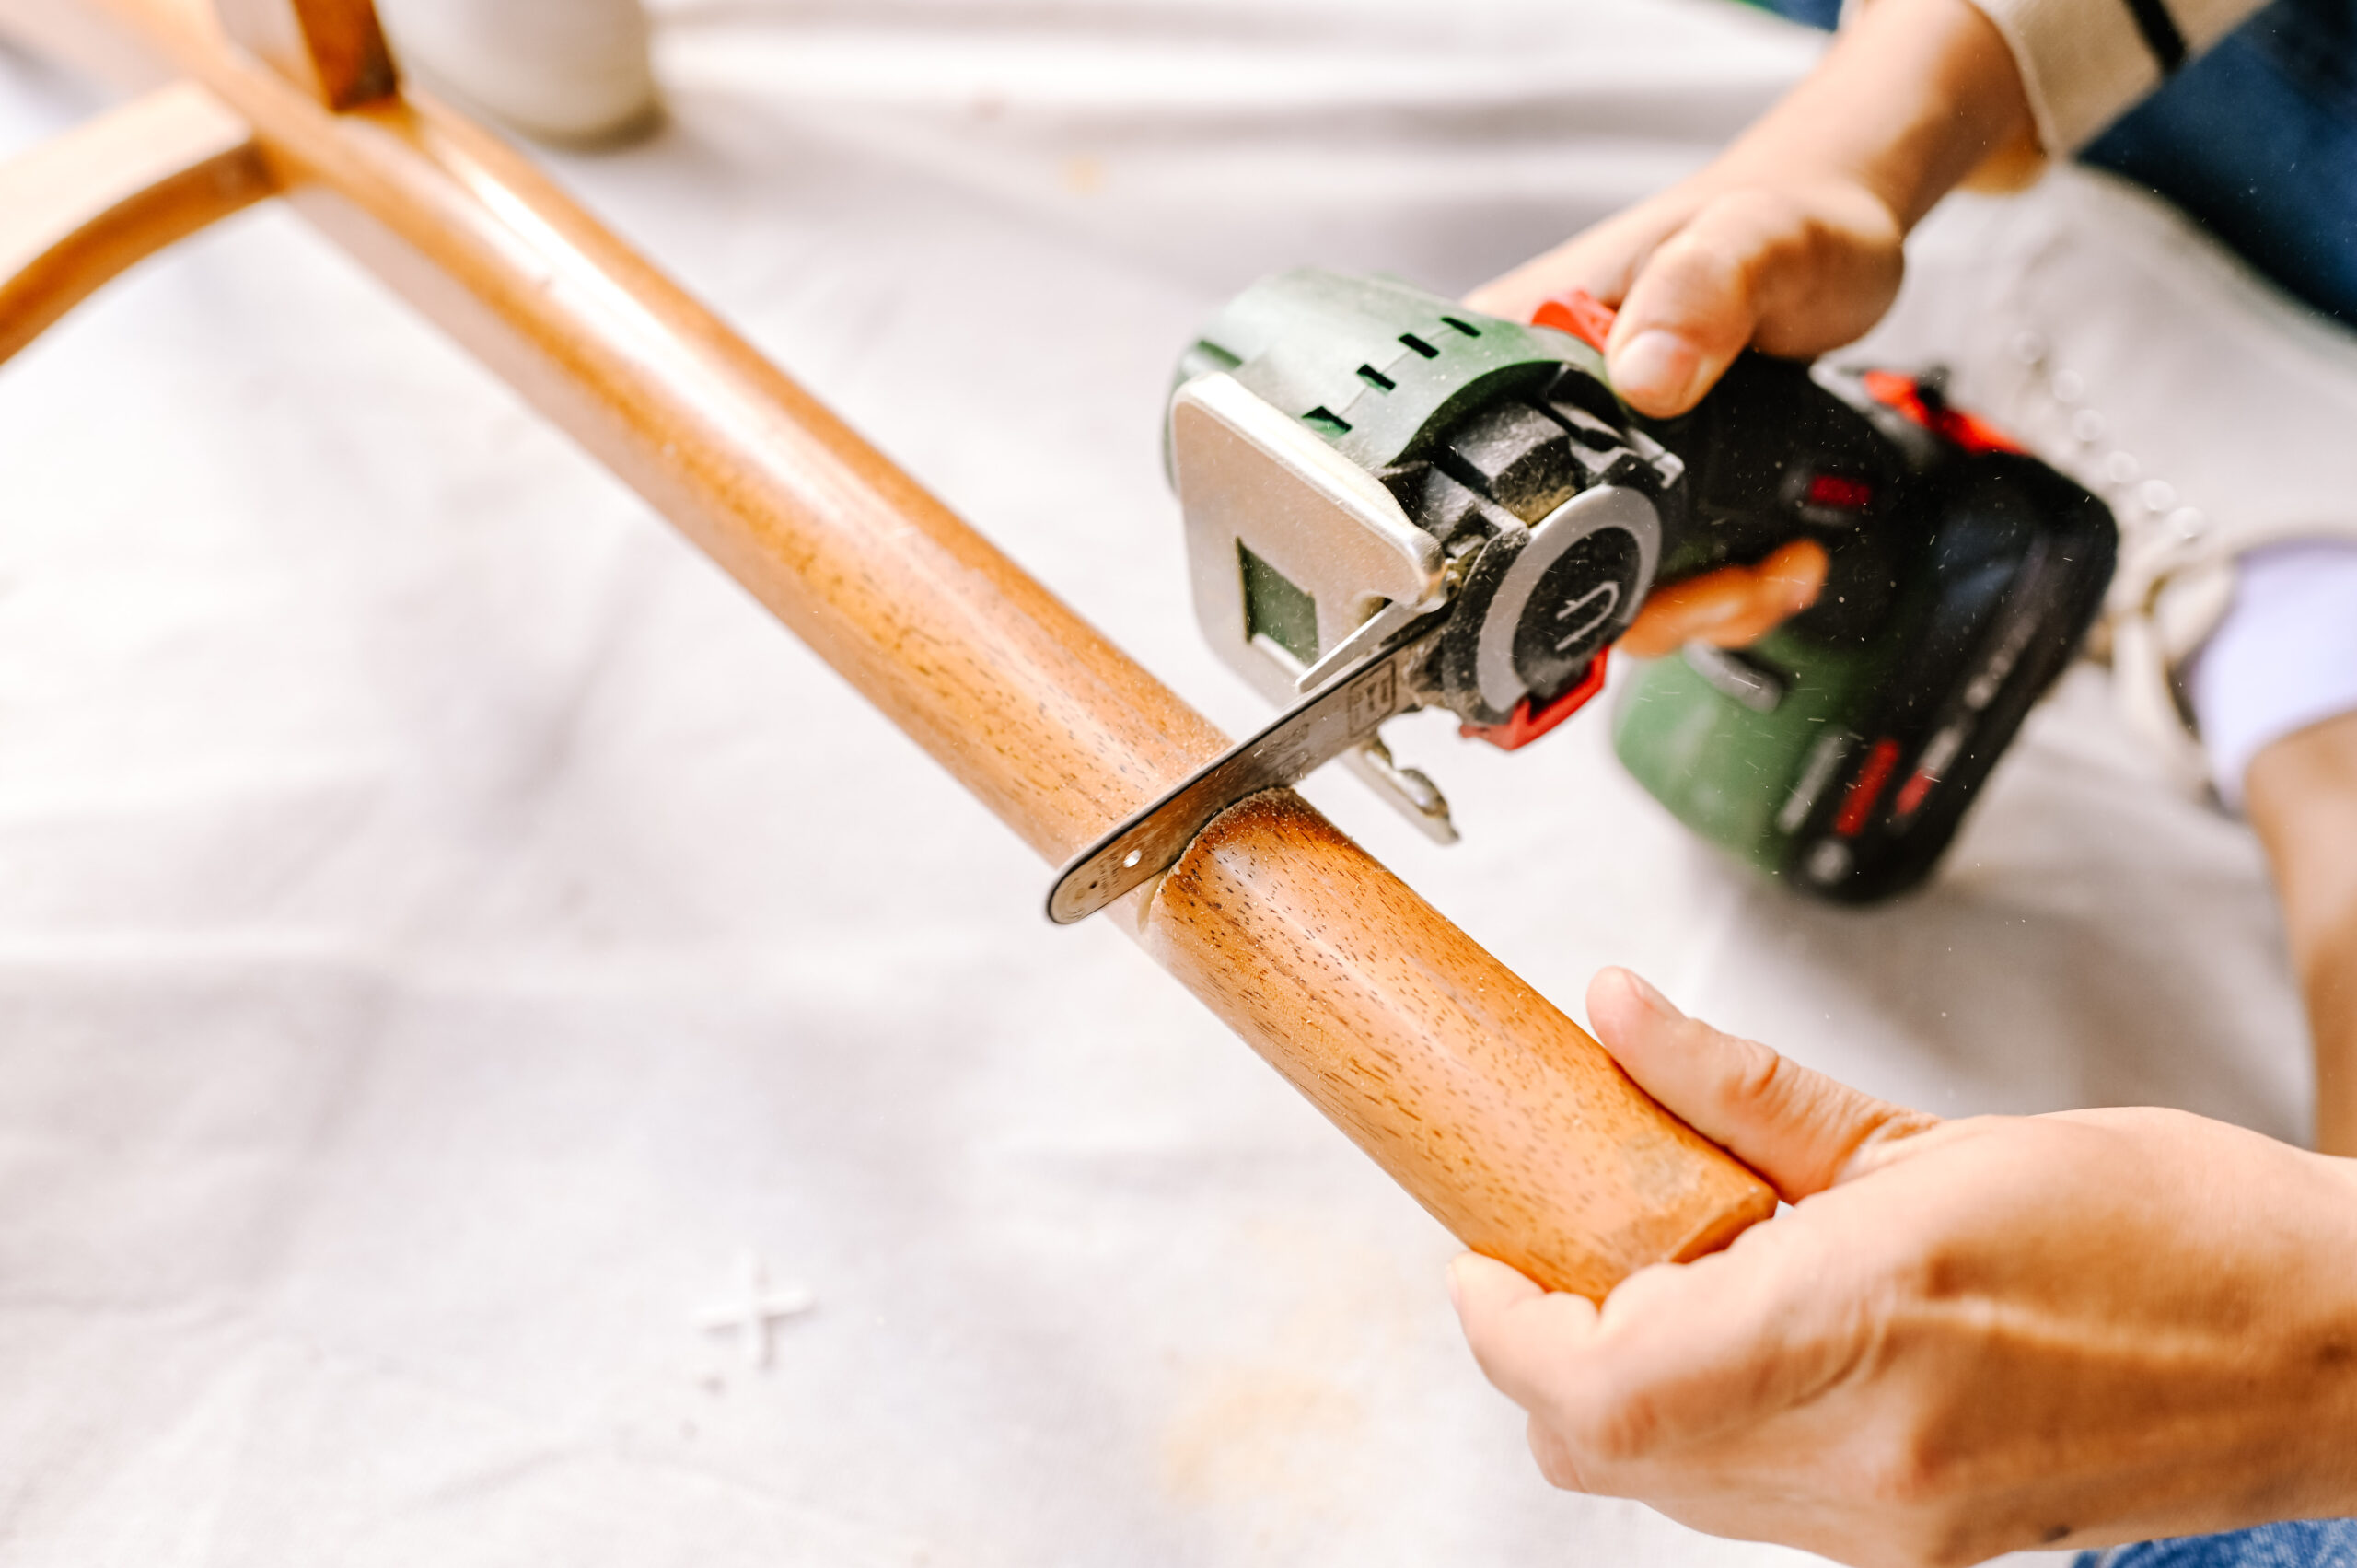
I've been loving the look of chairs and stool made out of wood that have...
Read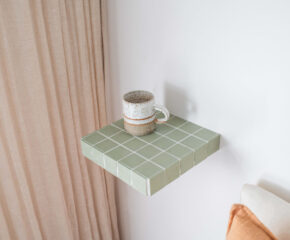


