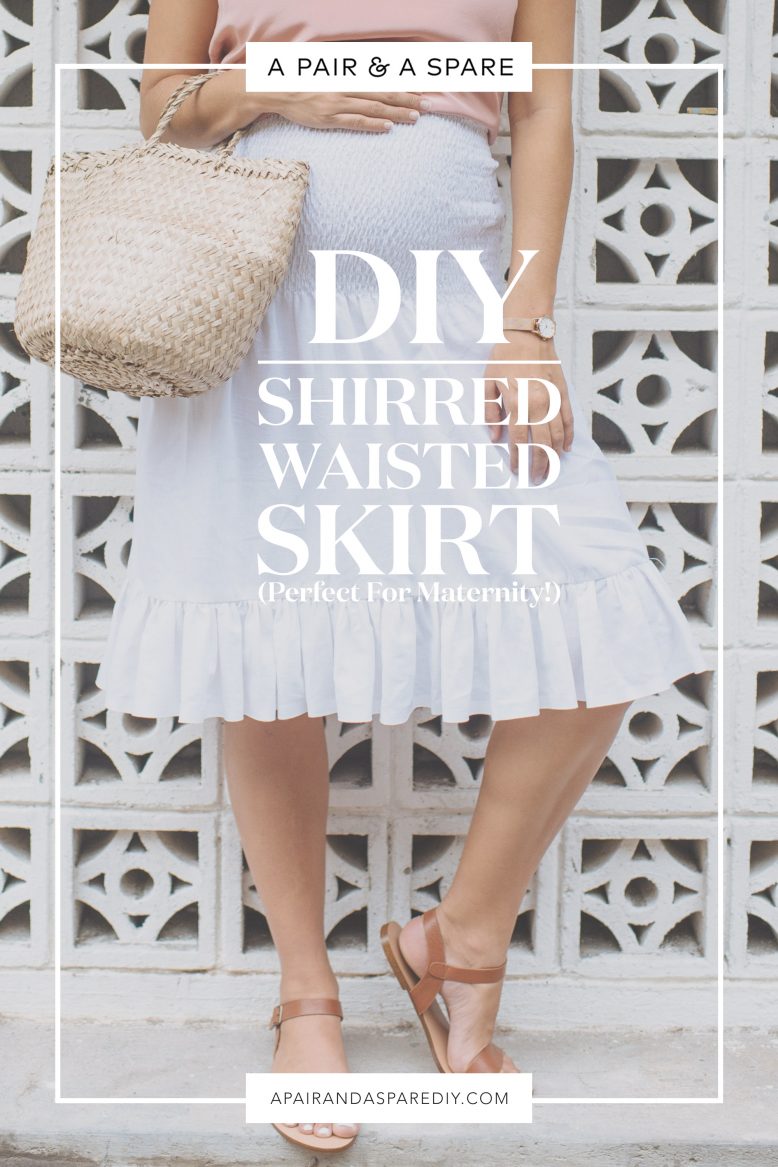
Wow, it’s amazing how many of you have been in touch complaining about maternity wear, and asking that I put together some DIY projects that not only look great but work for a changing bod… Well here goes!
I had always planned to make so many of my pregnancy outfits, and in the last few weeks, I’ve finally got down to it. In truth, in the earlier months my bump was a bit underwhelming (I’ve heard this can be the case first time around) so there wasn’t a huge need for full-on maternity gear (just a few tweaks here and there I will share with you soon). But now, ze bump is getting bigger! And has since around 25 weeks, so it’s time to get crafty. And (aside from the back pains and constant waking in the night to pee) I’m quite excited for this bit! My goal for maternity gear is that it doesn’t feel like it – it comfortable and perfect for a changing body but not something you’ll want to burn post pregnancy. Enter item number one – the shirred skirt.
If you’ve been tuning in for a while you’ll have seen some other of our shirred DIY projects – and you’ll probably also have noticed that shirring is everywhere right now. If you haven’t seen them make sure to check out the DIY Shirring Tutorial. The reason I love shirring for maternity wear is that it accentuates your figure and is really comfortable, two things I’ve found sooo important in the last few months. You’ll also notice that this trend is everywhere right now, meaning you’ll feel chic as well as unflustered. And for those of you sans bump for whom the thought of maternity gear is lightyears away, this skirt is great for maternity but is actually just a normal skirt, so it works for anyone, no matter the stage of life. Enjoy!
What You'll Need
To create your pattern for your shirred skirt, take a skirt you own and trace around it. Mirror these skirt patterns and add the shirring allowance in between like in the diagram, the top edge of your new skirt pattern should then be half your waist measurement times 1.5 or 2, depending on your bump size. Make it 2 x if you would like to give it more room to grow over your pregnancy. The ruffle piece is a rectangular piece, we made ours 5” long, with its width being 2-3 times that of the entire width of the skirt hem.
1
Trace your skirt pattern onto your fabric. We only drafted half of the skirt so we folded the fabric and placed the pattern on the fold.
2
Cut the panels out and sew down the side seams after pinning the front and back panels together.
3
Then it's time to do the shirring on the upper part of the skirt using this method. How many rows of shirring and how far you'd like the rows to be apart is up to you, but we did them half a cm (or 3/8'') apart. It's also a good idea to mark guidelines on the fabric before you start shirring if you're not used to sewing by eye.
4
We then added a ruffle to the bottom of the skirt, which is optional (you can always just hem the bottom and away you go). Cut your ruffle piece and hem the bottom edge first.
5
Gather the top edge of the ruffle until it's the same length as the hem of the skirt, then sew and attach it to the hem.
I took these pics a few weeks ago, at 26 weeks, and in the last few weeks, my bump has well and truly popped! But luckily because of the shirring I can still wear this skirt and will be able to for a few more months. And then also post partum. Yay!


