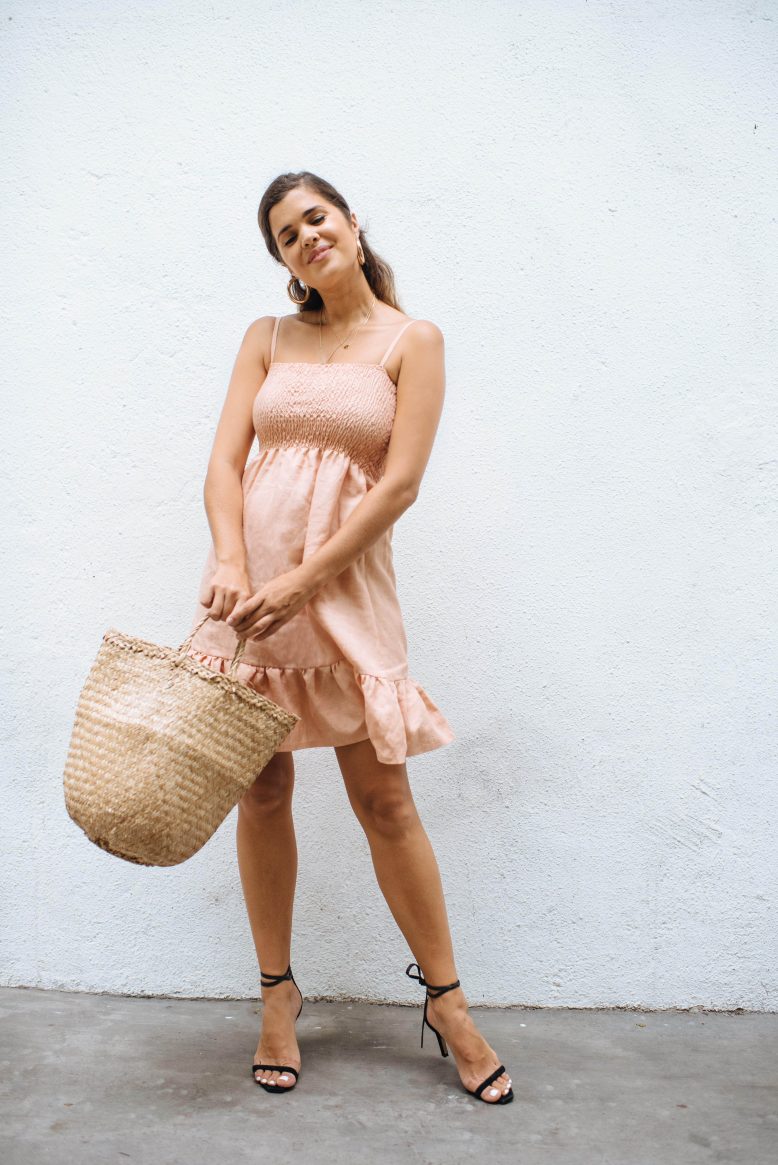
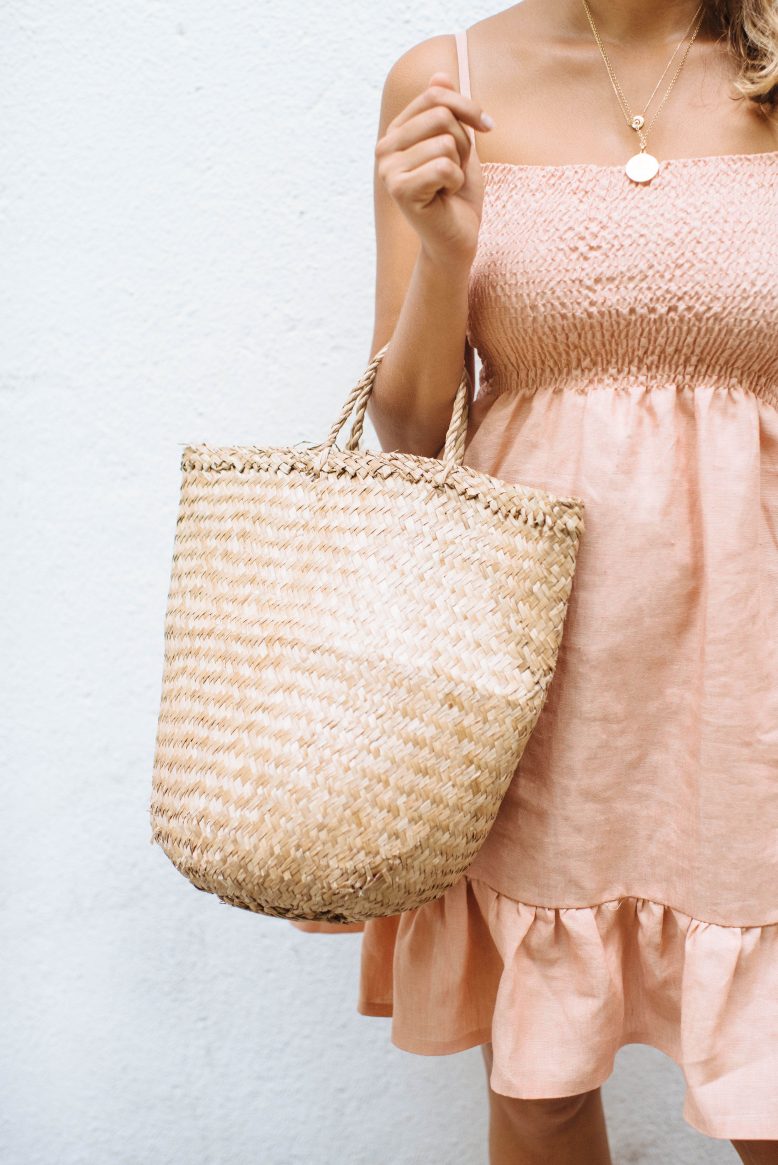
Let’s get shirring!
The silly season is in full swing and chances are you’ve got a few partays happening, and so we thought it would be fun to share a simple holiday dress idea. I’m such a fan of a skater style, but have always struggled with the complicated elements of a fitted bustier (maybe one day!). This shirred style has the elegance of a fitted dress without you having to work out all those circular angles… Yay! We’ve used a peach linen for this dress, but if you used black or even a luxe silk fabric you would up the holiday party ante. Enjoy!
DIY Shirred Mini Dress
Cutting Your Fabric
This mini dress uses the same method of shirring that we detailed in this post, except you are going to extend it into a dress and add a ruffle. The total width of the front and back panels need to be 1.5 times that of your waist measurement, since the fabric will shrink after shirring. And the width of the ruffle needs to be at least 2 times that of the dress hem, a larger width will mean more gathers in the ruffles.
What You'll Need
1
Draft your patterns onto your fabric, then leave a seam allowance and cut out your fabric pieces.
2
Pin down one side seam of the dress, and the seams between the ruffle pieces, then sew.
3
Finish the top and bottom hem of the dress and the ruffle hem piece, either rolling and sewing down or using fusing tape.
4
Mark shirring guidelines onto the front side of your fabric if you need to. We spaced our shirring lines half an inch apart.
5
Then shirr the top part of your dress using colored thread for the top thread and elastic thread in the bobbin. Use the method we detailed here. Fold and sew the top edge down.
6
Sew a straight stitch along one edge of your ruffle, then gather the ruffle until it is the same width as the bottom hem of your dress.
9
To create straps, fold two sides of the fabric strip towards the center, then fold them together closed again as you iron it shut with fusing tape. Then attach the straps to the top edge of your dress.
Voila!
Like this easy party dress DIY? Pin it on Pinterest!


