If you’re looking for a sign that it’s time to wear color, this is it.
Even though the weather is turning, I decided I had to share the last project that I wore in Ibiza. It was only a few weeks ago but it seems like a lifetime ago…. (Do you ever get that feeling? As in a few days after a holiday, you can’t even remember what you did? Or maybe it’s just me). Either way so much has happened since then and I’ve been frantically working on a new project that (fingers crossed!) is going to be very exciting. I’ll be sharing more soon! In the meantime, welcome to the second in my recent maxi dress addiction (here’s the first). This one was actually surprisingly easy to make… Read on for more!
*A few of you’ve emailed and messaged me asking for winter clothes DIYs, and I promise that it’s coming! But for now, enjoy this throwback (or forward) to the perfect summer. Capes, hoodies and mittens coming soon!
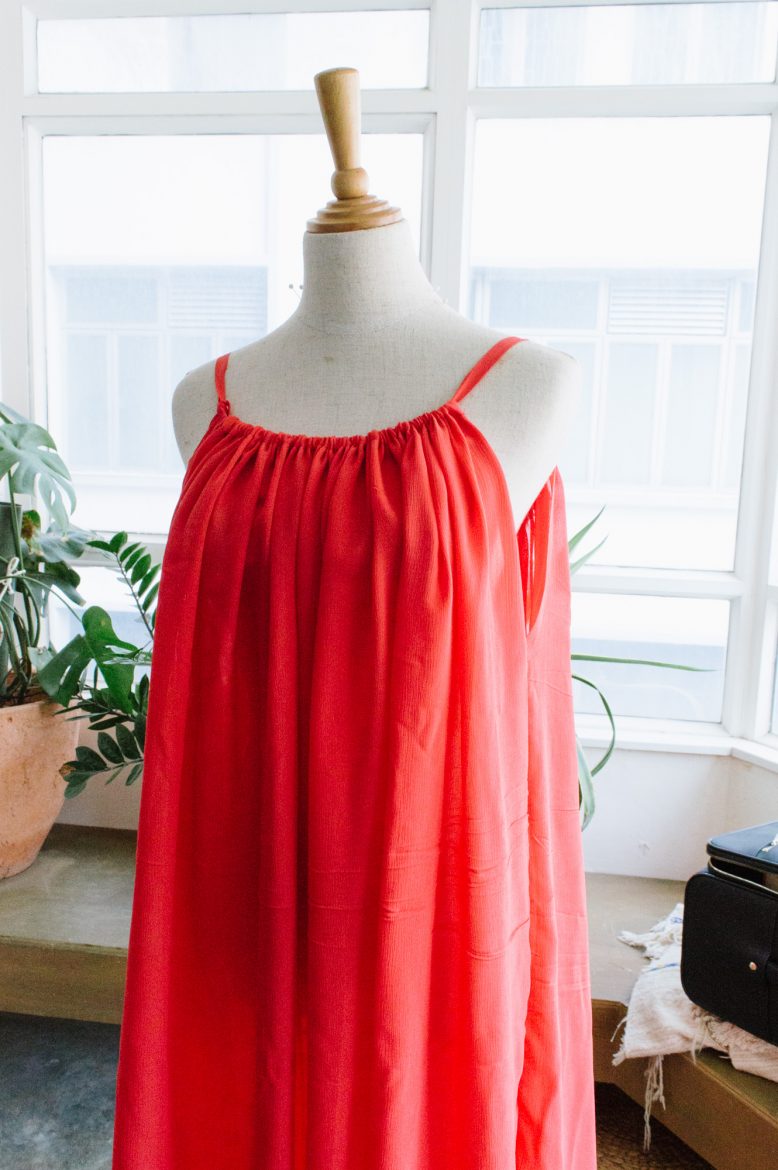
DIY Backless Silk Maxi Dress
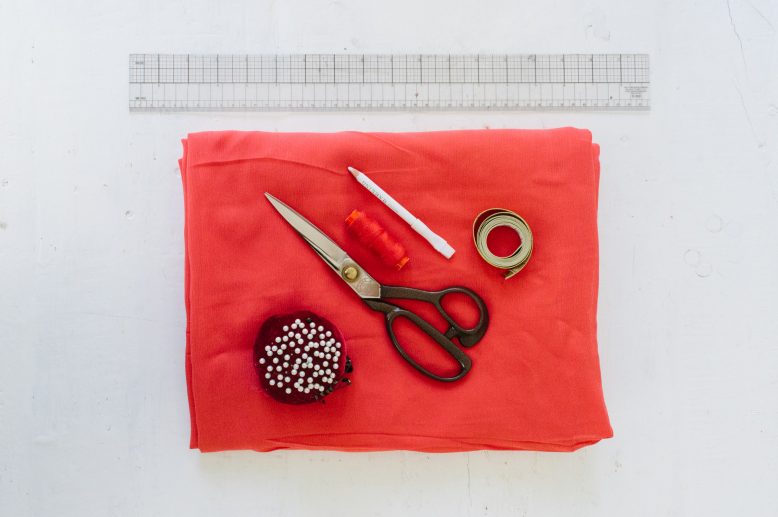
What You'll Need
Creating the Pattern
The pattern for this maxi dress is very simple, except snipping off two corners on the front panel, everything is basically just rectangles. The silk fabric we’ve used is 45” (115cm) wide, but it doesn’t really matter whether yours is narrower or wider, the width of the fabric only contributes to the amount of gathers in your dress. The more the better! On the corners of the front panel, cut out two triangular pieces that are 8” down and 2” across. This helps to shape the bust area. Not drawn in the diagram is a tie strap. You will find a step further in the tutorial on how to create a custom one in matching fabric. The strap we made was around 45” in length, but you’ll most likely need to adjust it depending on your height and how much back you want to reveal. The longer the strap obviously the moe your dress will hang down.2
Mark the triangular shapes on the front panel corners, then leave seam allowances and cut.
3
Finish the raw edges of the fabric first, using fusing tape. We recommend using fusing tape instead of sewing a folded hem since we're using silk for the dress, and we decided that an invisible finish will look best.
4
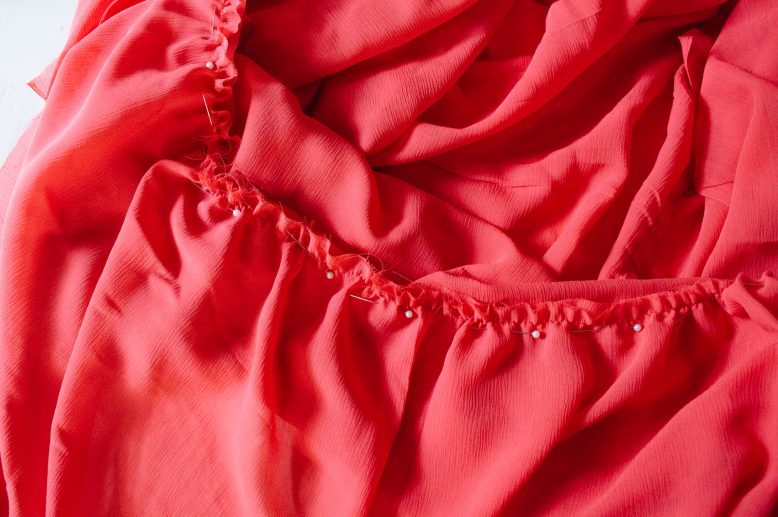
Fold the top seams of the dress pieces in and sew, creating a tunnel that is 1/2'' (approx 1.5cm) wide. A tie strap will be threaded through these tunnels later on.
6
To create the custom tie straps, cut strips of fabric that is double the width of your fusing tape, plus seam allowance. Fold the edges in to the middle, then fold again and fuse the two sides together with the fusing tape.
7
Pin a small safety pin to one end of your strap, then thread it through the tunnels in both the front and back dress pieces. Adjust the length of the strap if necessary then sew the ends of the strap together. Slip the ends of the strap into back panel's tunnel to hide it.
8
Then hand sew the edges of the tunnel to the strap to secure it. It'll prevent the dress from slipping around the strap and losing its shape. Depending on how low you set your back, you'll might have to trim the bottom part of the back of your dress to stop it from dragging on the ground.
9
After you trim the back bottom edge of the dress, gather your ruffle piece and sew it to the dress hem. Then, finish the raw edge of the ruffle.


