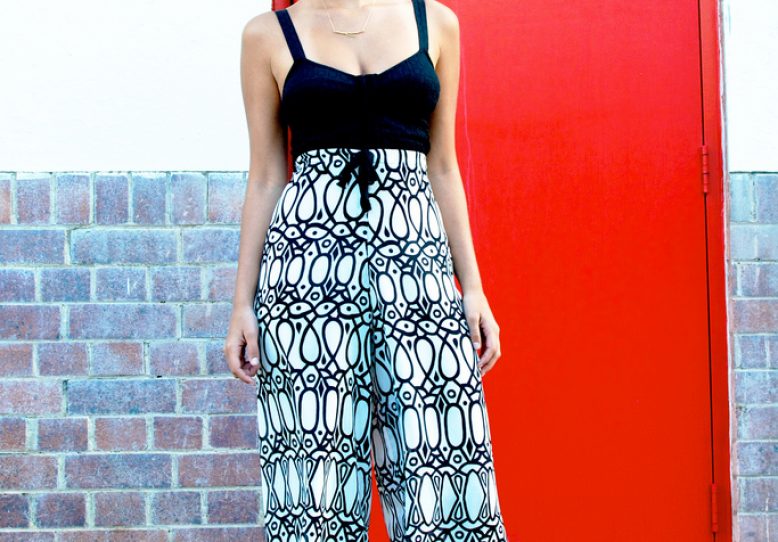
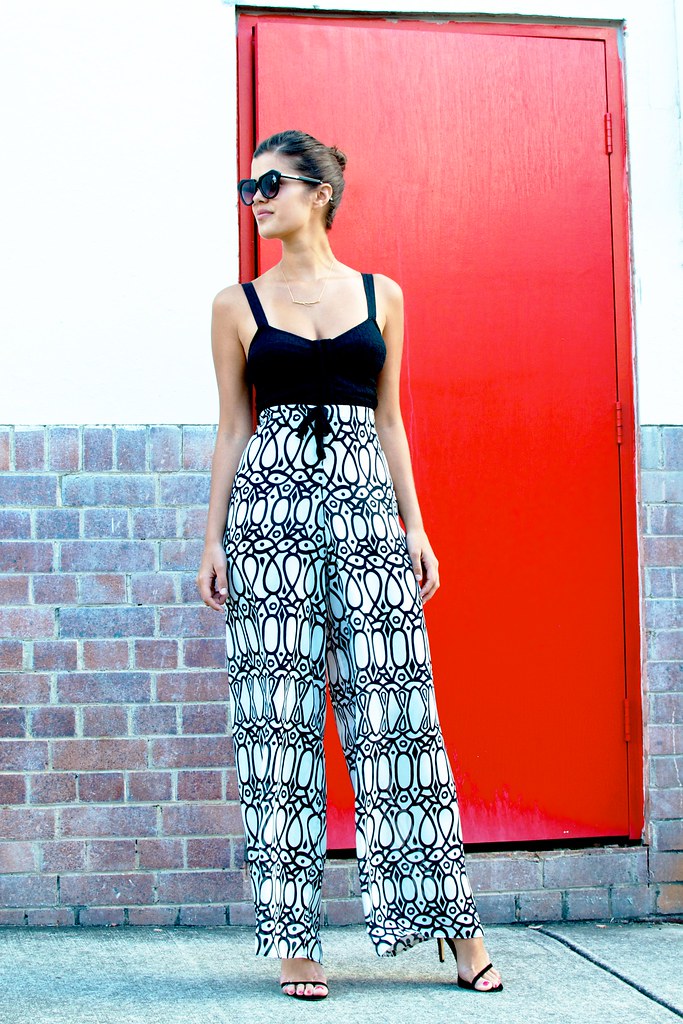
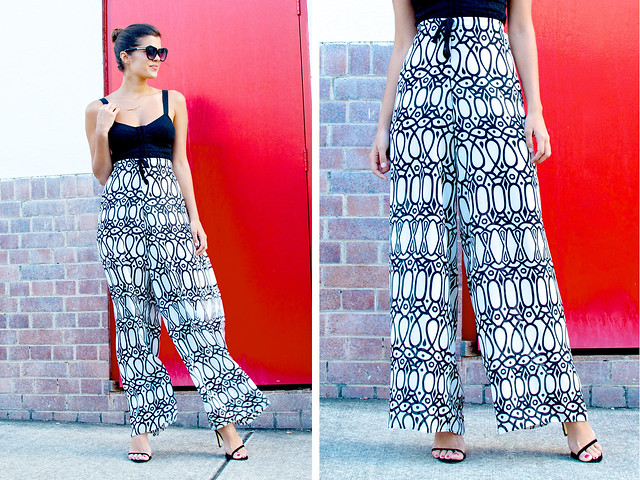
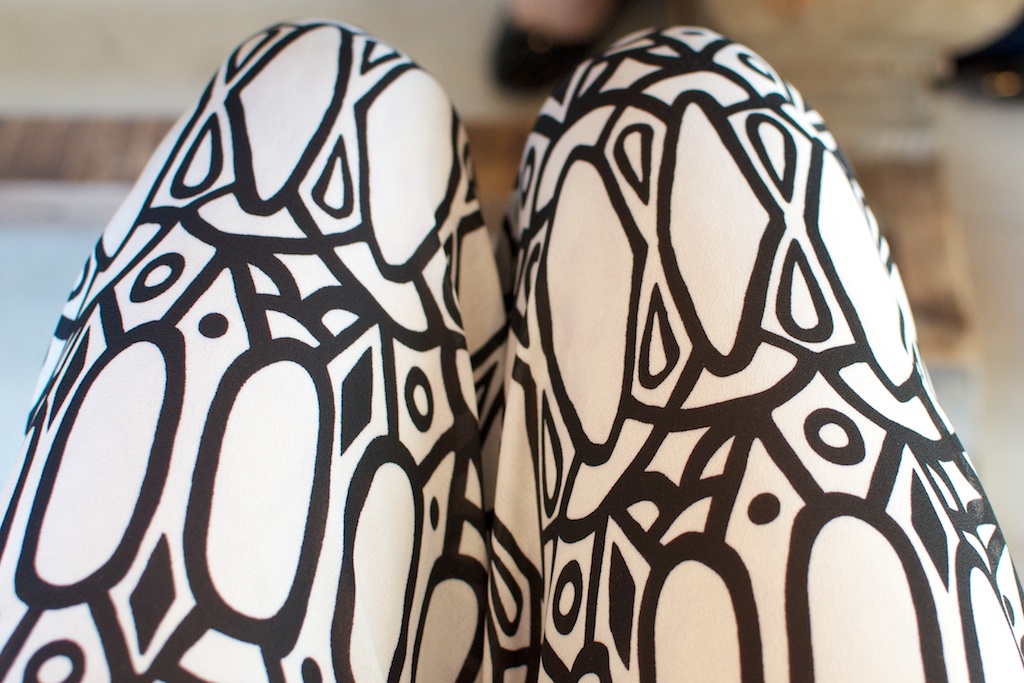
Monotone prints and patterns are seriously on my radar at the moment, so when I found some amazing black and white fabric with a random ethnic pattern I knew it would be perfect for a pair of palazzo pants. I love their movement in the breeze and the fact that people get tricked into thinking you’re wearing a skirt when in fat they are pants!
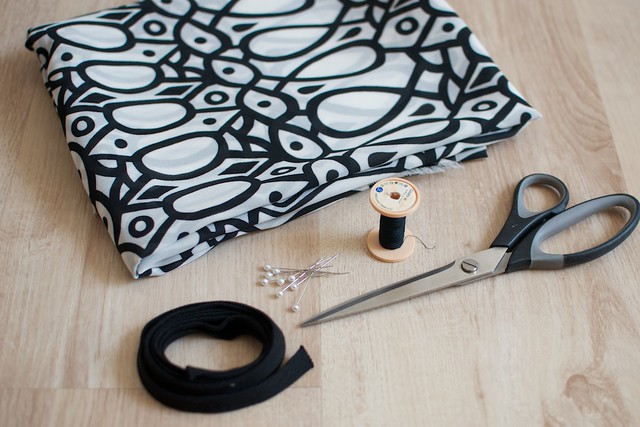
You need:
– 3m of printed fabric
– Scissors
– Some rope or ribbon to use as the waistband
– Pins
– Black thread
– A seam ripper
– A pen or chopstick
– A sewing machine
How to:
1. Grab yourself a pair of wide leg trousers (pajama or fisherman trousers are fine). Fold your fabric in half and then lay the trousers with the long edge along the fold. Cut around the trousers, adding a good couple of cms/inches along the outside for the seams. Now repeat this step so you have two pieces of fabric.
2. Lay the two pieces of fabric again each other with the right side (outside) of the fabric facing in. Pin along the rounded edge. Try to match the patten up here as much as possible between the two pieces of fabric – this is where it will meet in the crotch.
3. Sew the two rounded seams with a zig zag stitch.
4. Flip the seams around so that they lay flat against each other to create the crotch.
5. Pin and sew the inner leg seams, from the crotch down to the ankle.
6. Double the ankle hem over twice and sew down. For the waistband, double it over twice, making sure to leave 2.5cm (1in) of a gap for the waistband casing.
7. Using the seam ripper, at the front of the trousers open a few of the stitches of the waistband along the seam to create a hole. Tape the ribbon to the chopstick and then push it through the waistband casing, bringing it out the other side and tying the ends in a bow.
Thanks to my beautiful friend Jess who’s taken over as blog photographer while I’m in Aus (although I’m not sure she knows it yet..)
